142 stories
·
0 followers

EP108 Zig Zag Sofa

1 Share


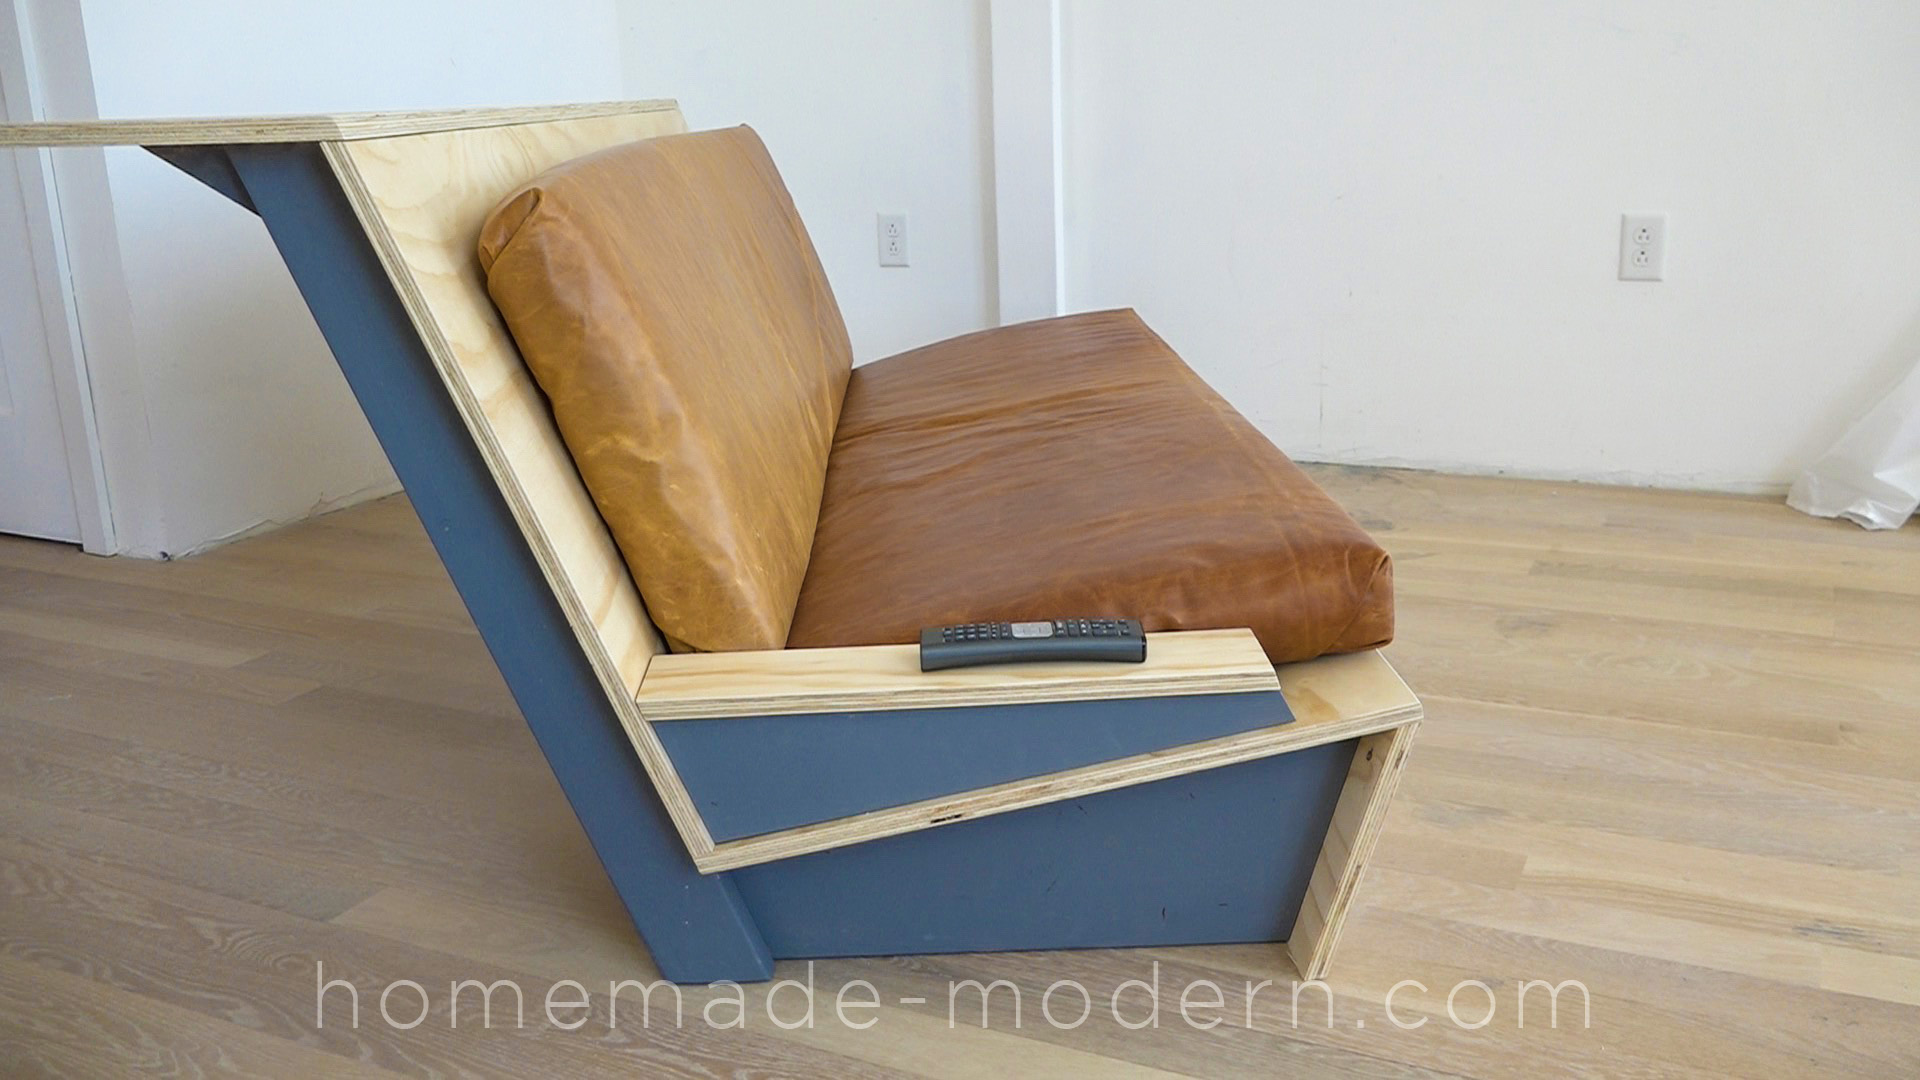
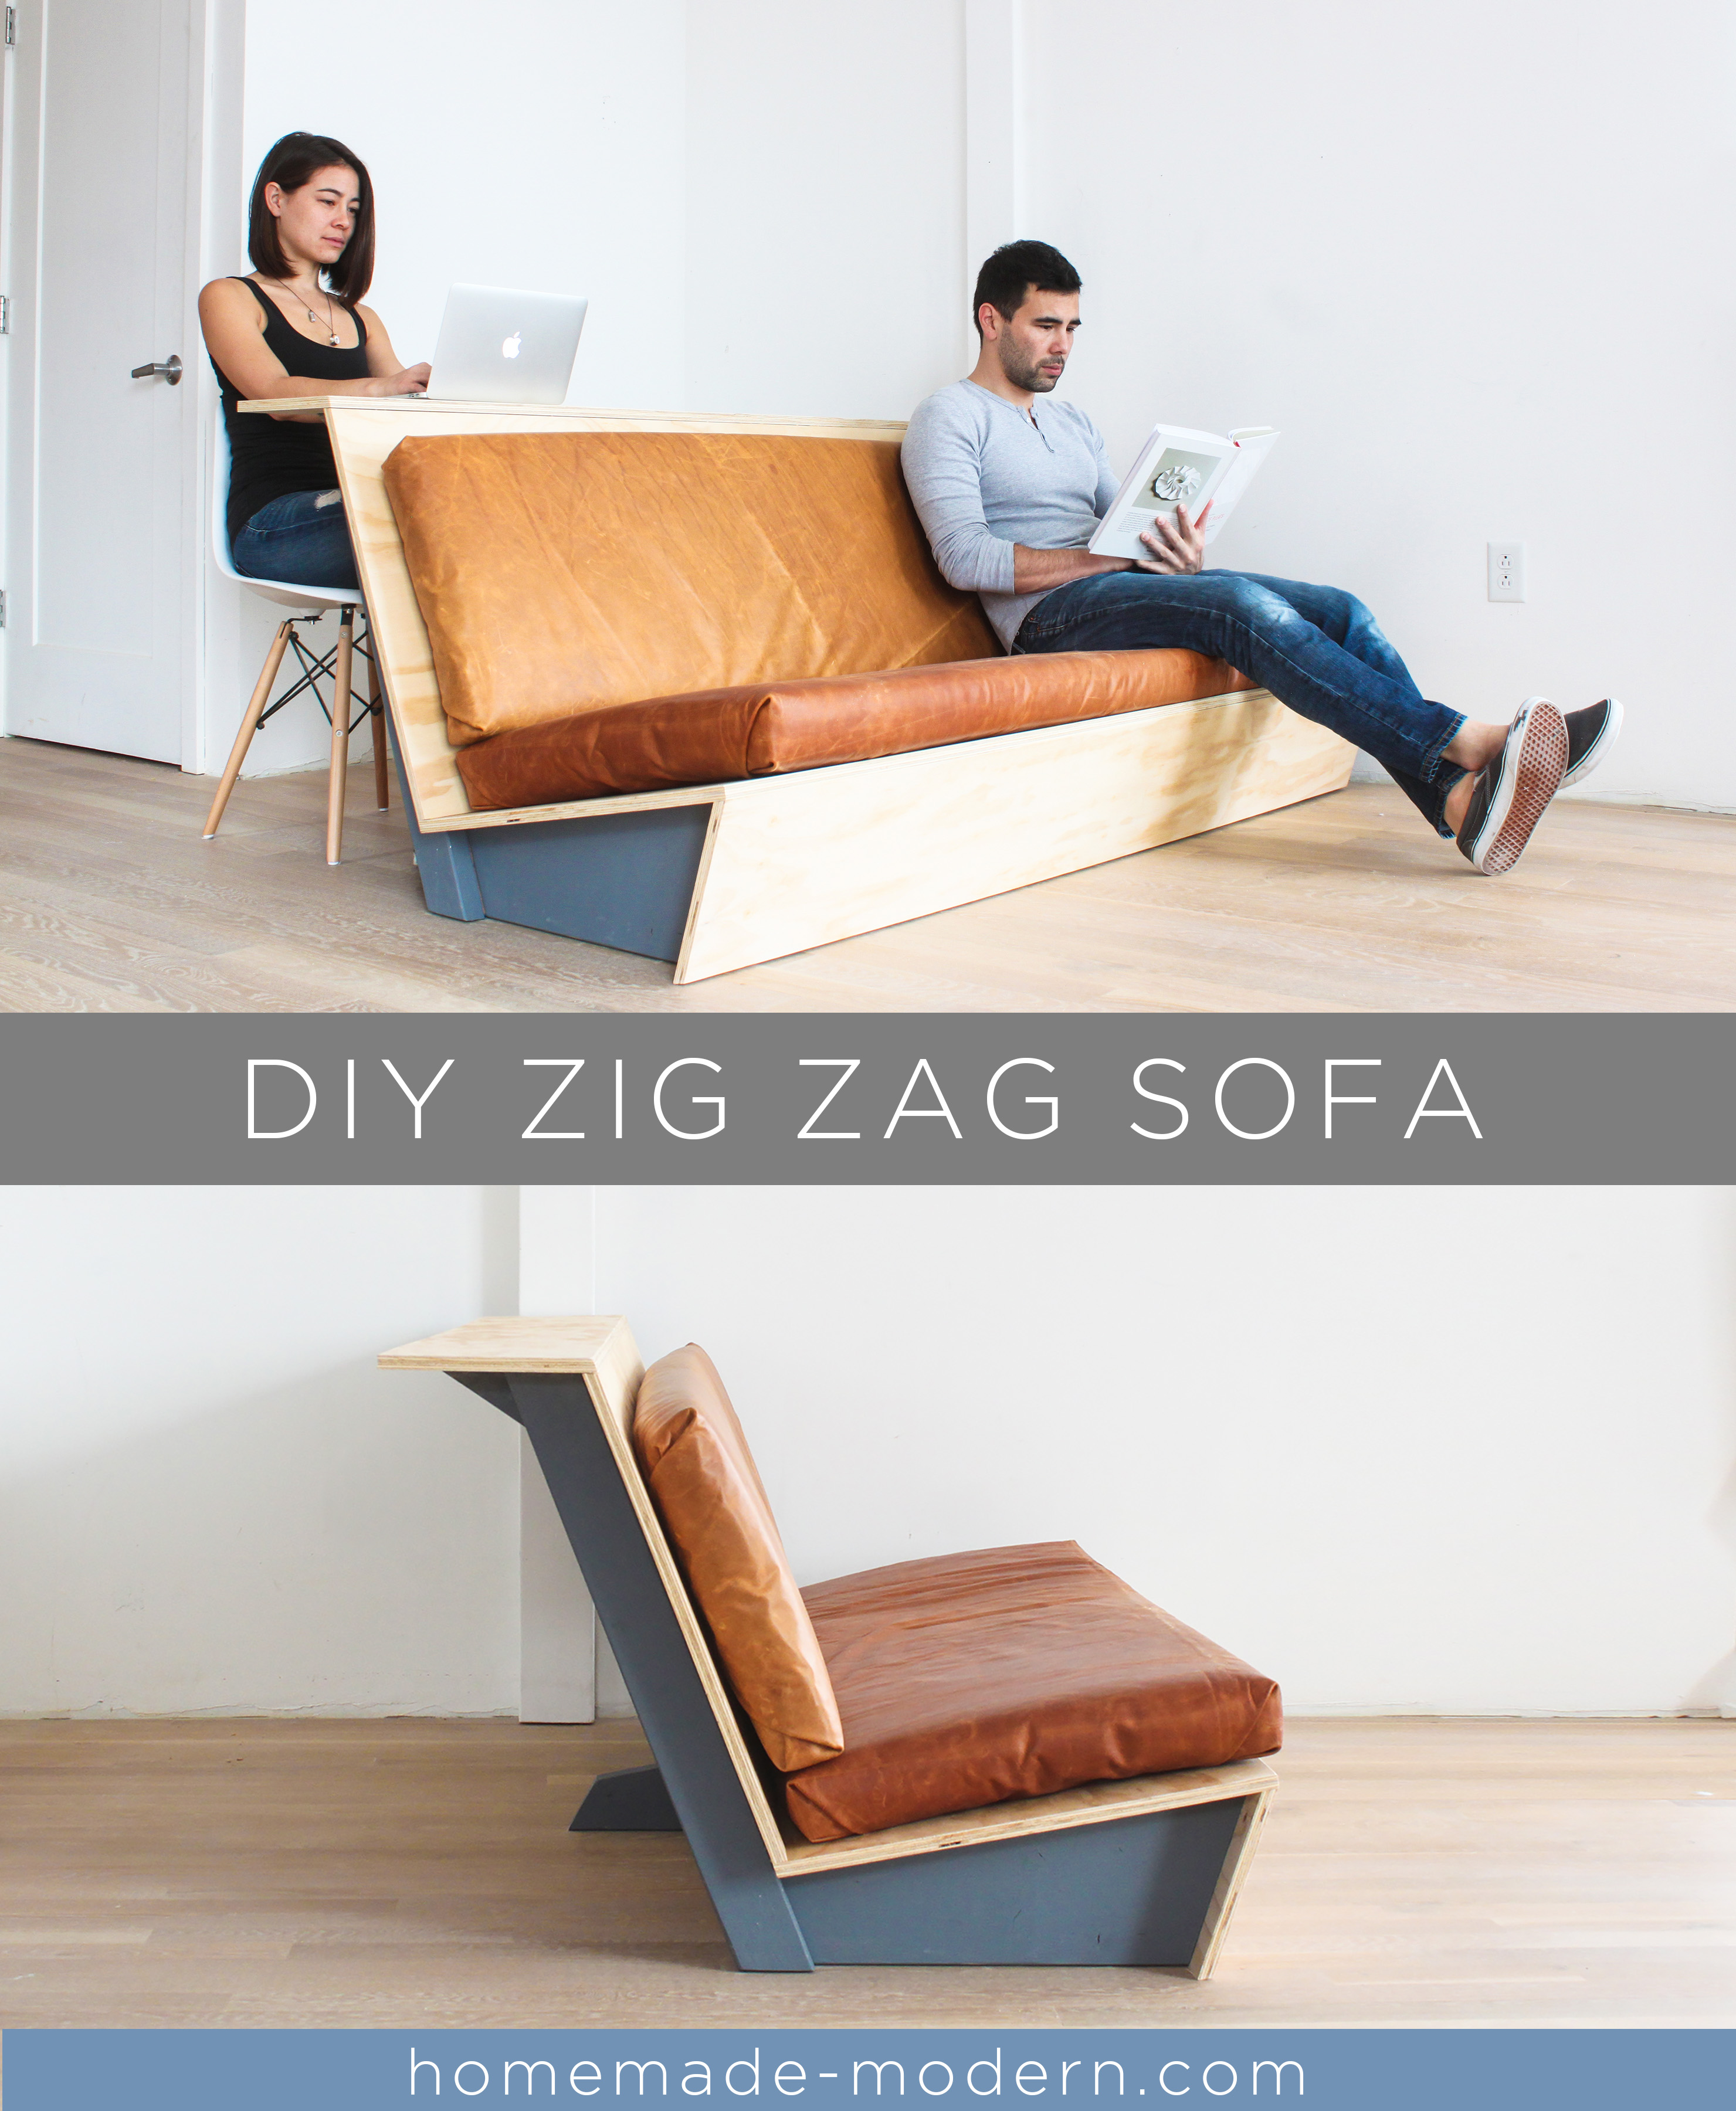
This DIY Zig Zag Sofa was designed specifically for lofts and has a built-in counter along the back. For more information go to HomeMade-Modern.com

I designed this sofa so that it has a built-in counter along the back. The counter gives it additional functionality that makes it great for having a get-together for watching a movie or sporting event, even in a small space. The frame for this DIY sofa is made out of ¾” thick plywood, a 2x10, and some 2x4s that I got from Home Depot. I ordered the foam for the cushions online and covered them with leather from Tandy Leather.

SUPPLIES:

HomeMade Modern2x10
Available at Home Depot
I bought a 12 foot long 2x10 from Home Depot. This type of lumber can be quite rough so I took my time picking through the pile to find a nice straight one. I had the nice people at Home Depot cut it in half so that it would fit in my car.

HomeMade Modern2x4
Available at Home Depot
I bought three 2x4s from Home Depot. I picked a nice straight ones out of the pile.

HomeMade Modern¾” Plywood
Available at Home Depot
I bought two sheets of ¾” thick sanded pine plywood. Furniture grade plywood would also work well.

HomeMade ModernMinwax Polycrylic
Available at Home Depot
I used Minwax polycrylic to seal the plywood.

HomeMade ModernBEHR Interior Paint
Available at Home Depot
I got some BEHR Interior Flat/Matte Paint in the color “Silver Hill” from Home Depot to paint the frames.

HomeMade ModernFoam Cushions
Available at Foam by Mail
I ordered the foam for the cushions from foambymail.com here is what I ordered: Cushion, Lux Foam - High Quality WITH DACRON WRAP Dimensions: 3" x 24" x 66" $79.41 Cushion, Lux Foam - High Quality WITH DACRON WRAP Dimensions: 3" x 18" x 66" $59.56.

HomeMade ModernLeather
Available at Tandy Leather
I went to my local Tandy Leather Store and got 2 whole hides. I didn’t use all the leather for these cushions. It would be a lot cheaper to cover the cushions with canvas or some other fabric but I really wanted to try a leather project.

TOOLS:
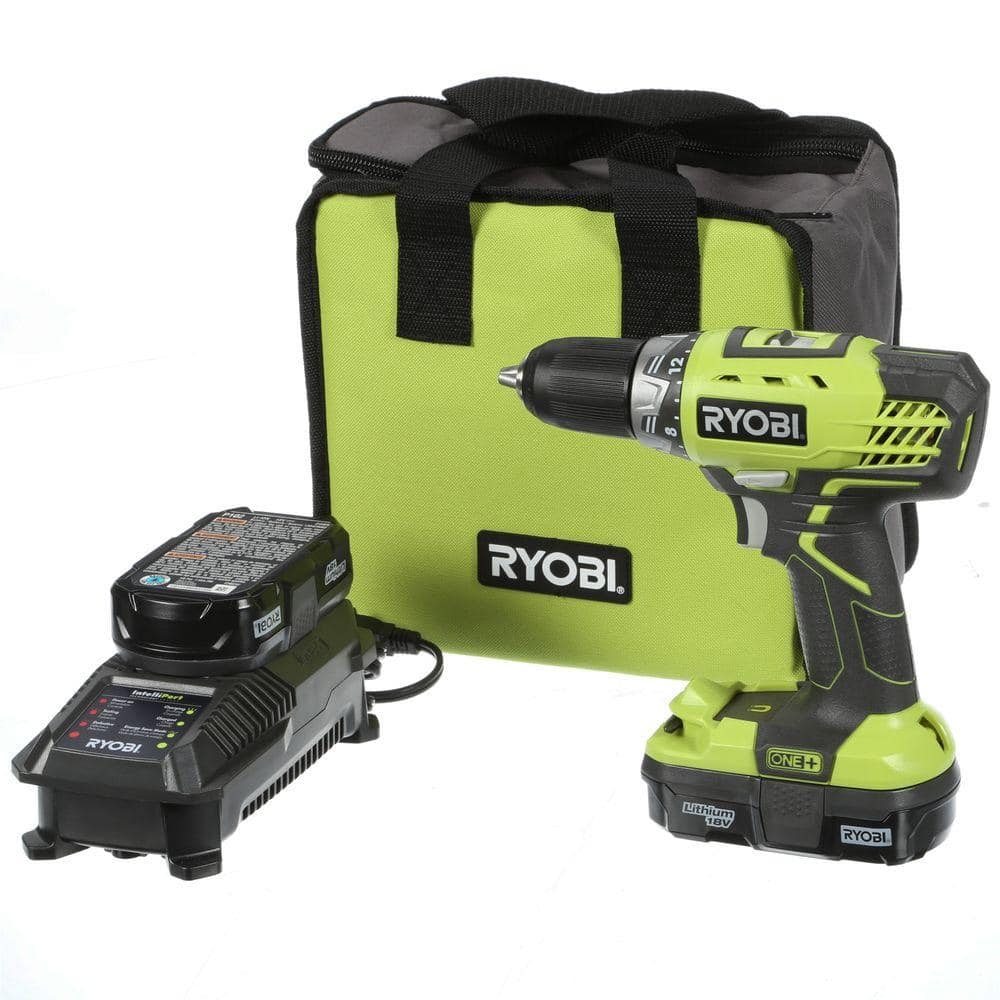


HomeMade ModernRYOBI 18 Volt Cordless Drill
Available at Home Depot


HomeMade ModernRYOBI Circular Saw
Available at Home Depot


HomeMade ModernRYOBI Circular Saw
Available at Home Depot


Download the DIY Concrete Wine Bar PDF »


INSTRUCTIONS:

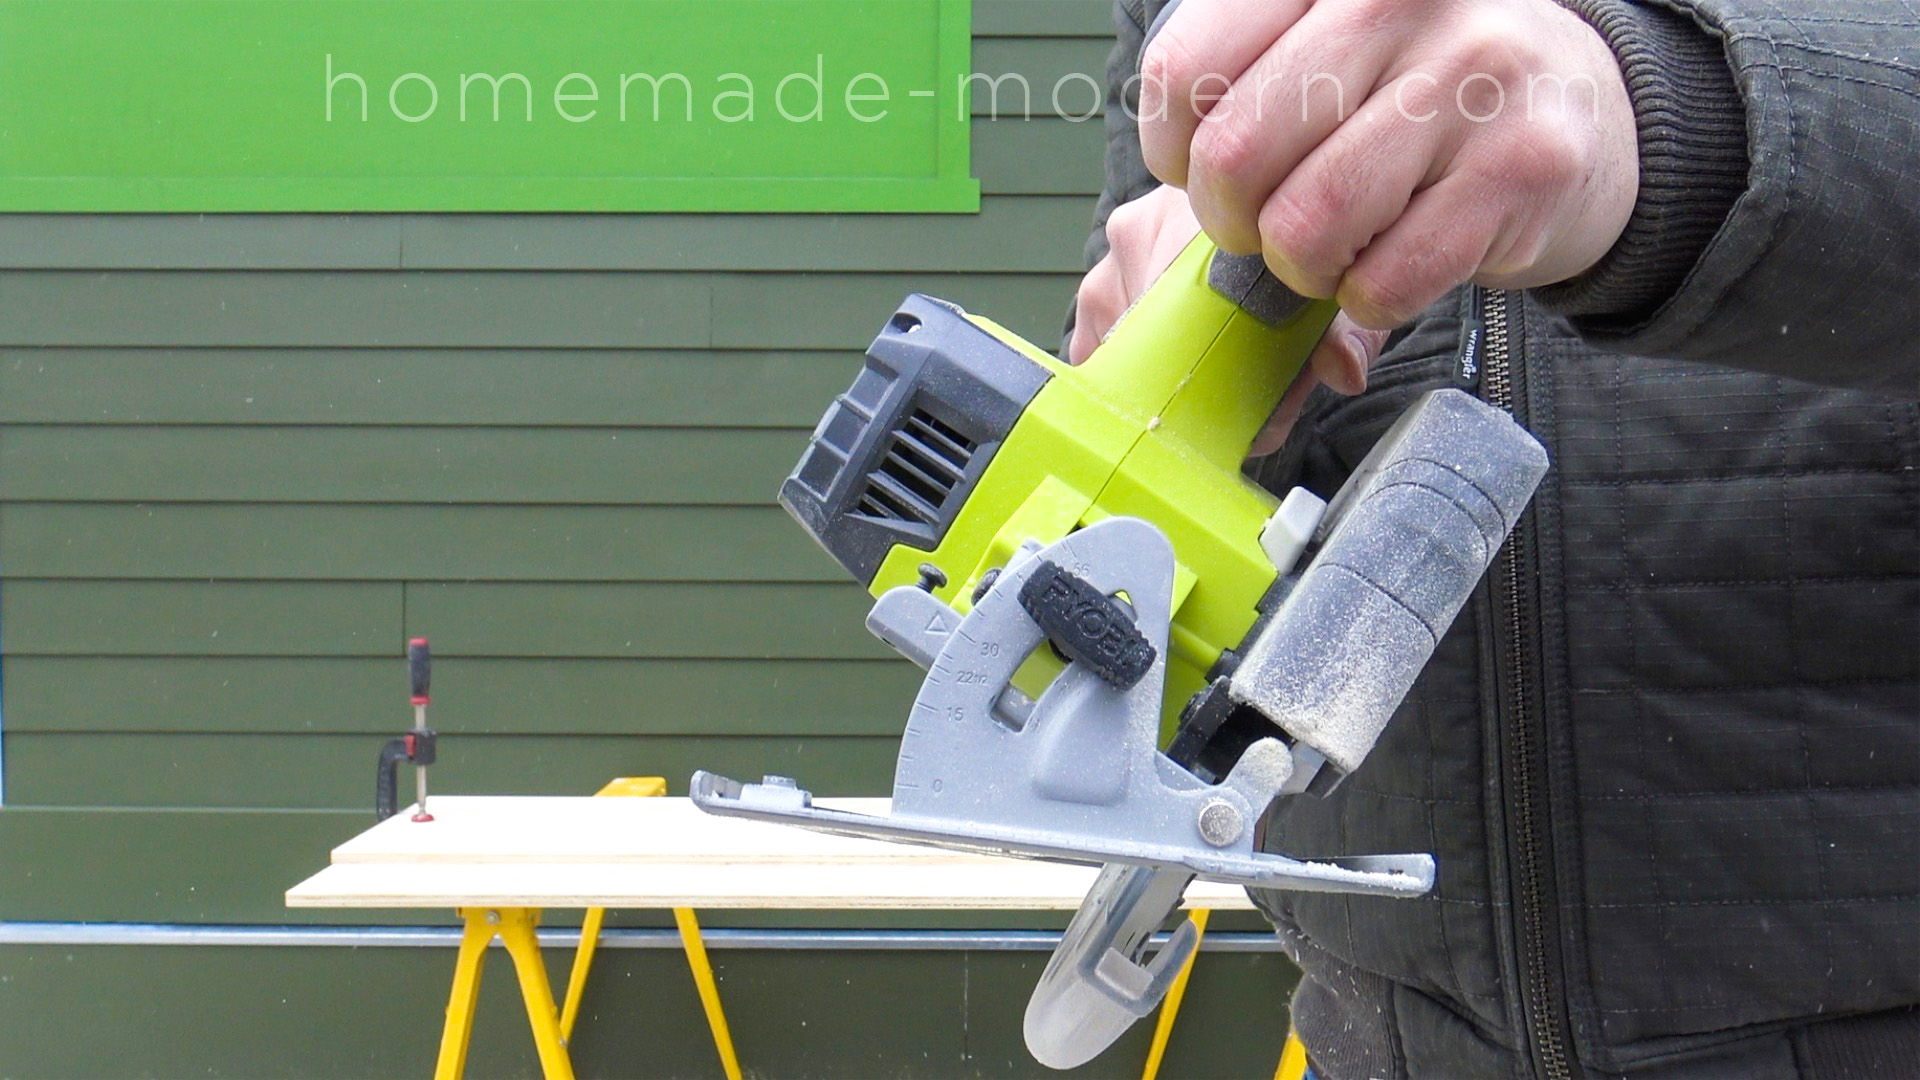
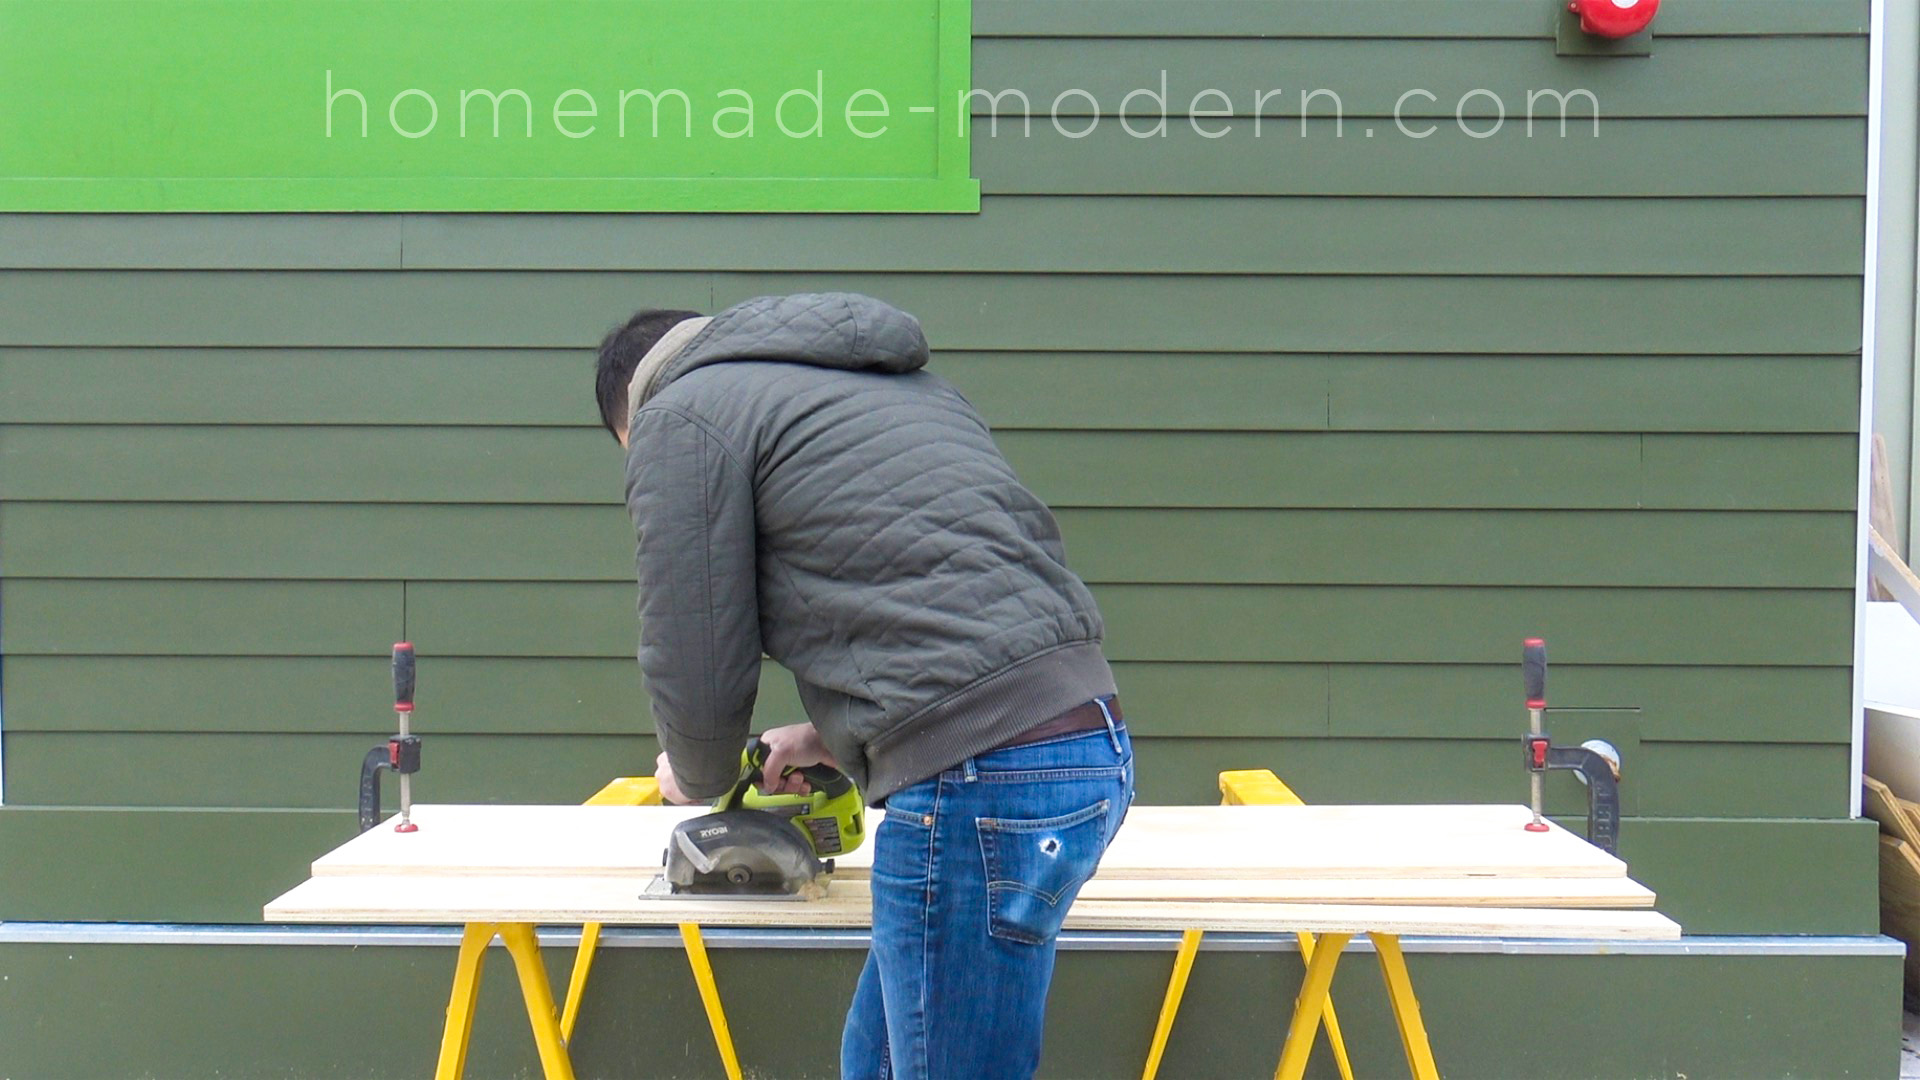
STEP 1: Set the circular saw blade at an angle and cut the plywood.
I used circular saw for all of the cutting in this project. I set my blade to the angles shown in the drawings and used a clamped on straight edge to make the plywood cuts. I started with just a couple of the angled cuts to get the pieces of plywood down to size. I don’t want to make the final cuts until I am able to make the frames and do field measurements.
This DIY Zig Zag Sofa was designed specifically for lofts and has a built-in counter along the back. For more information go to HomeMade-Modern.com

This DIY Zig Zag Sofa was designed specifically for lofts and has a built-in counter along the back. For more information go to HomeMade-Modern.com

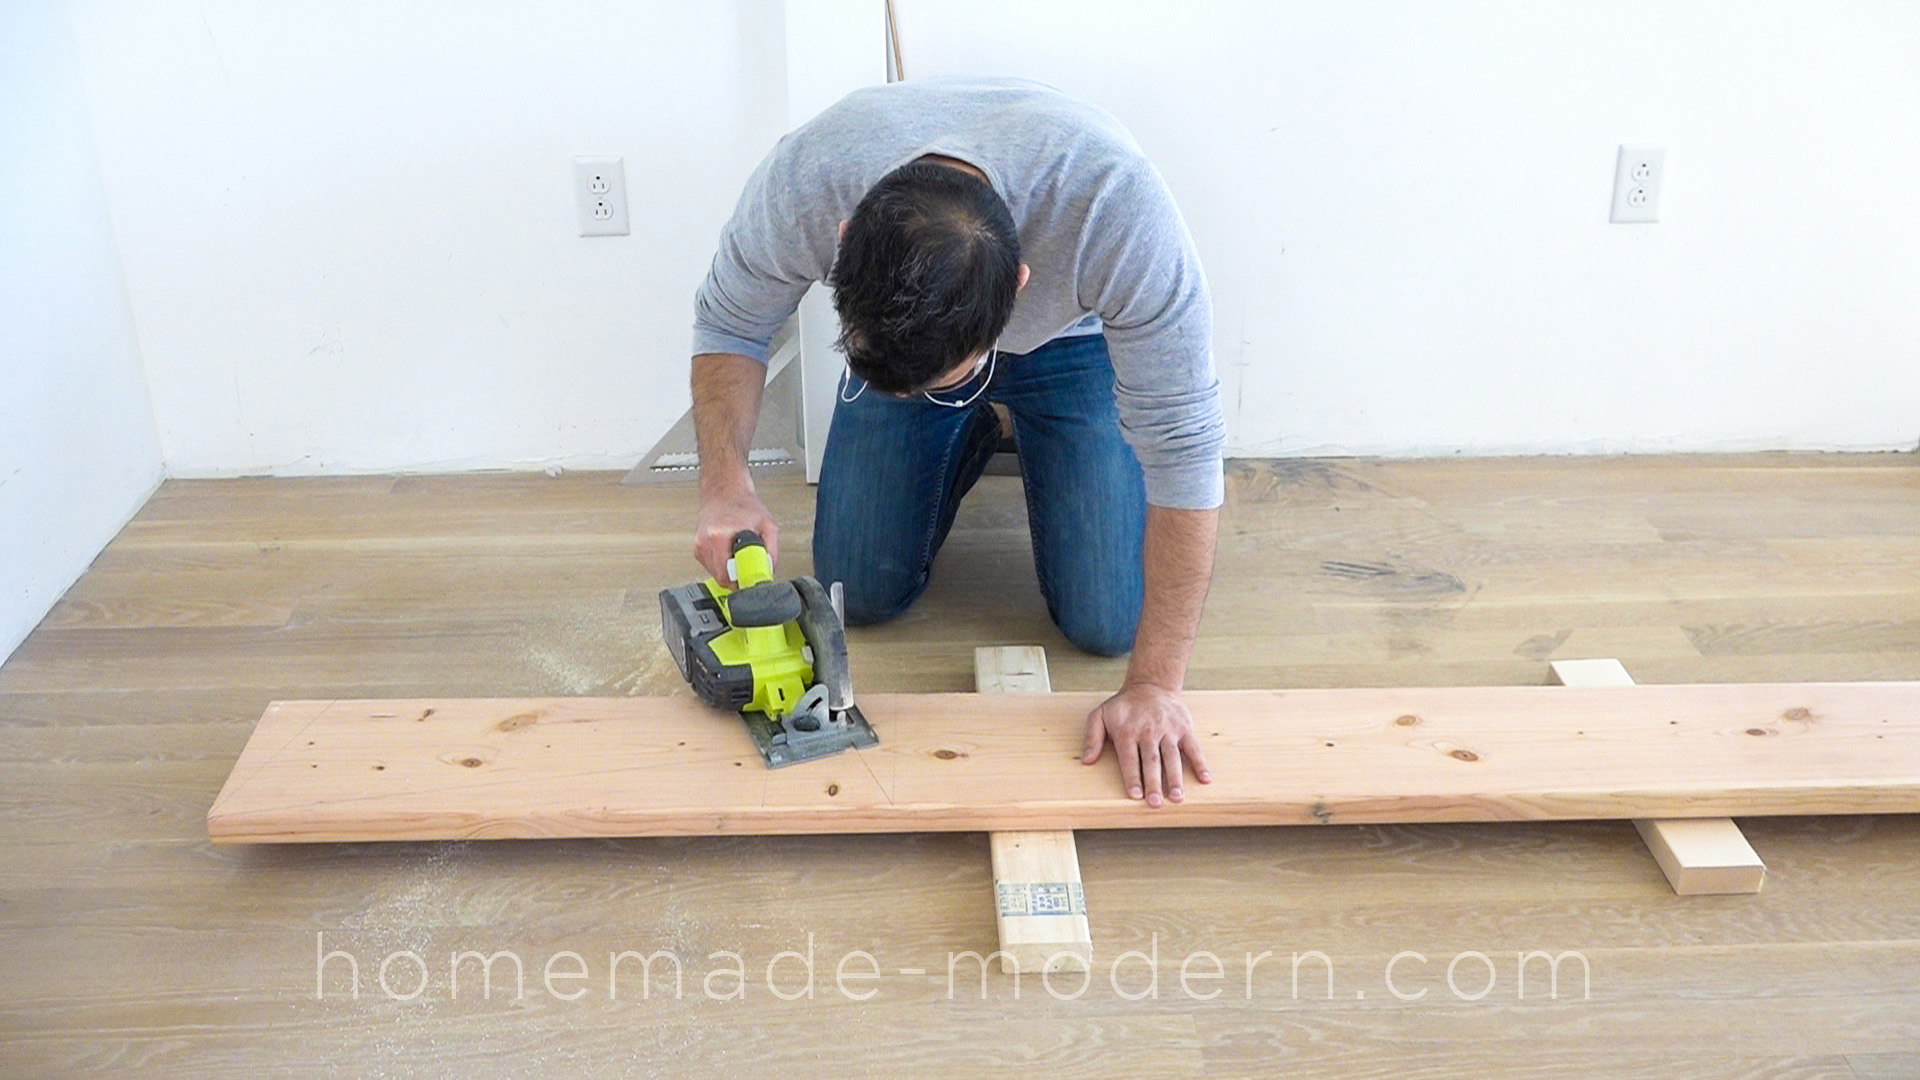
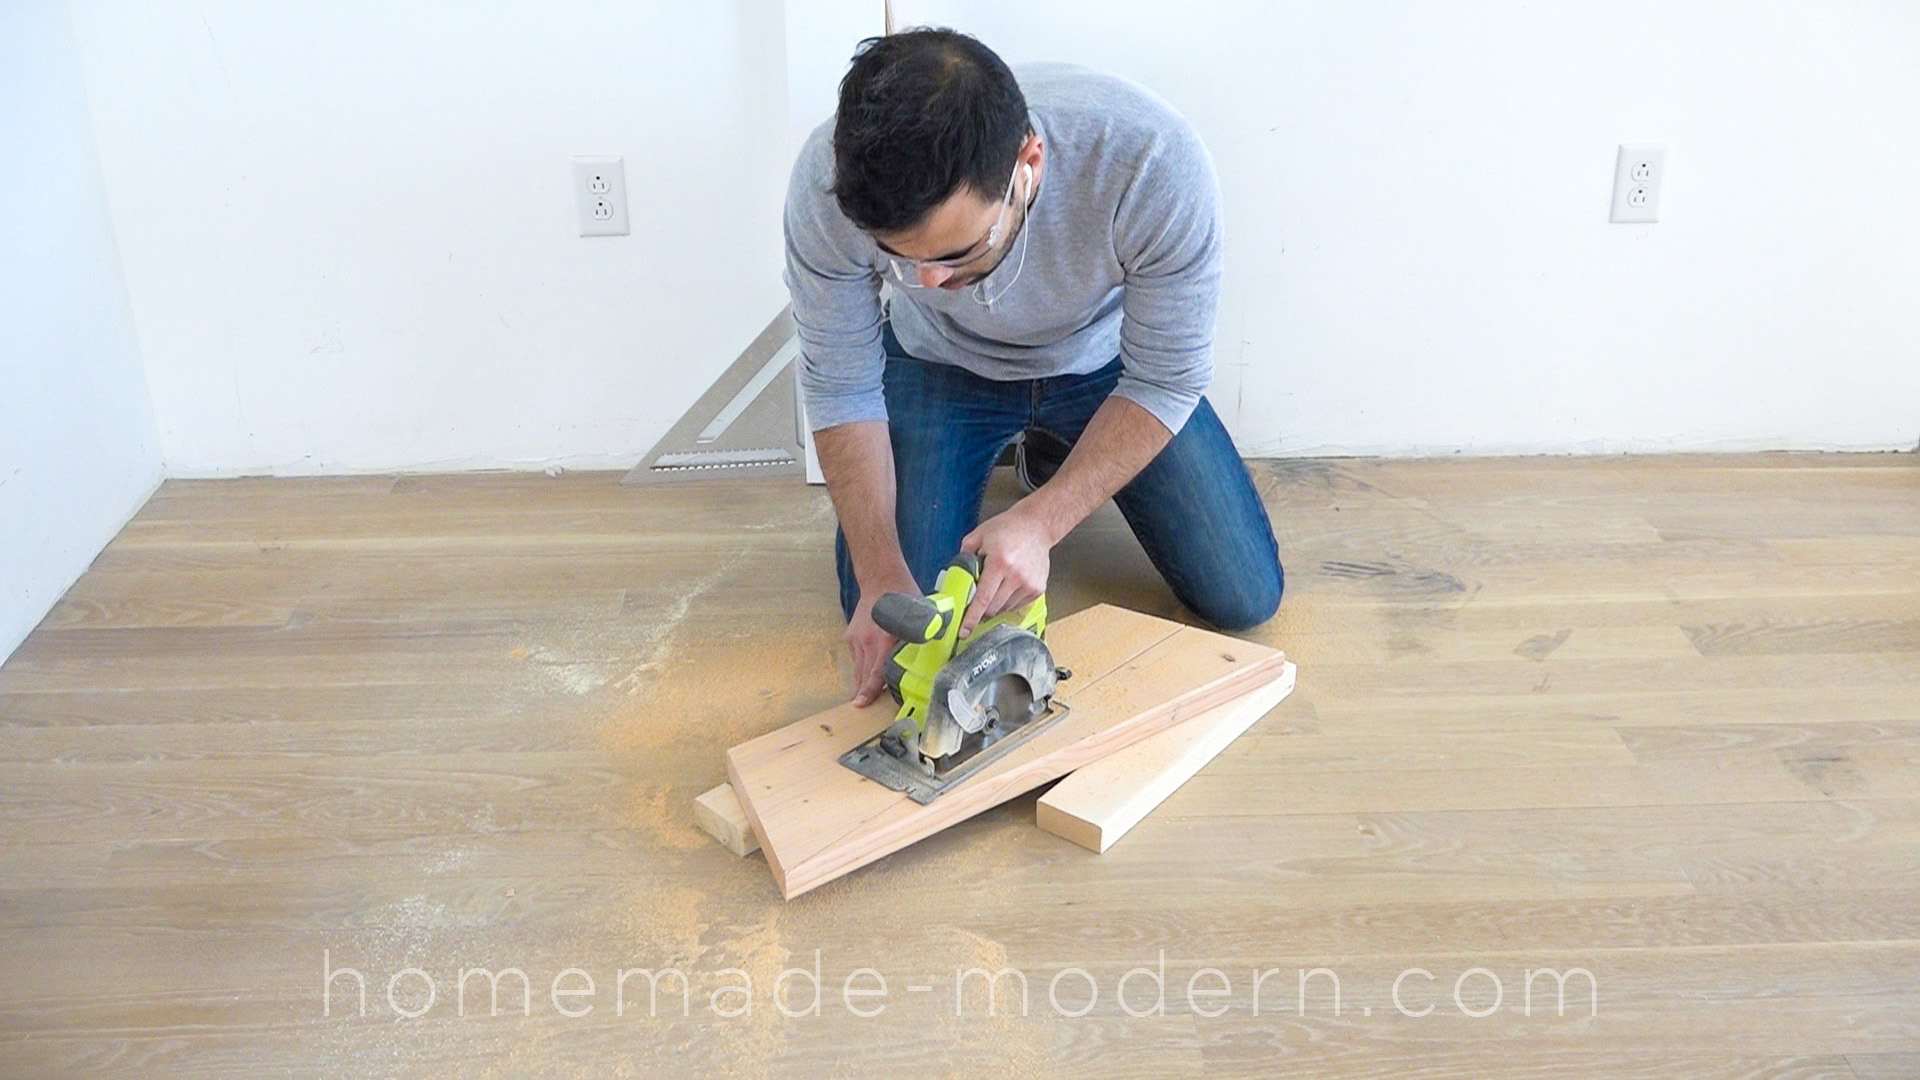
STEP 2: Cut the 2x10s.
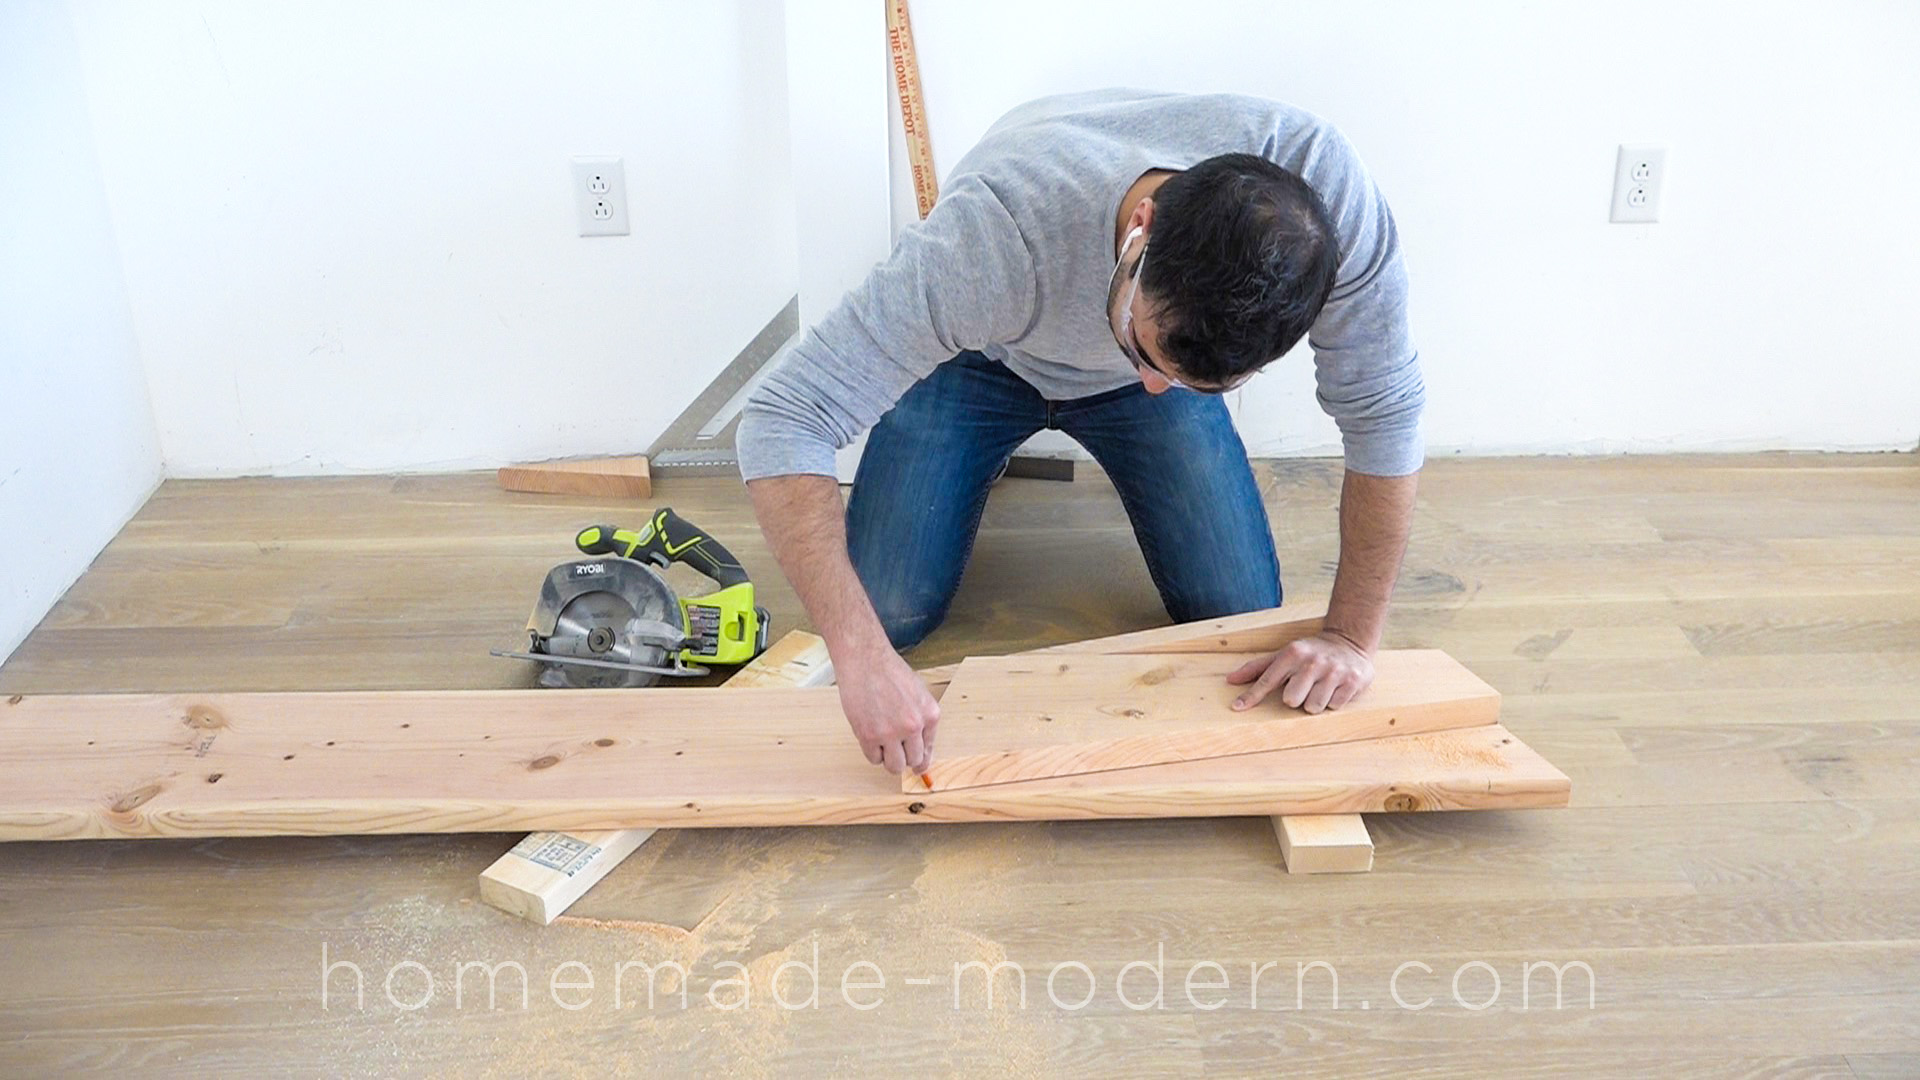
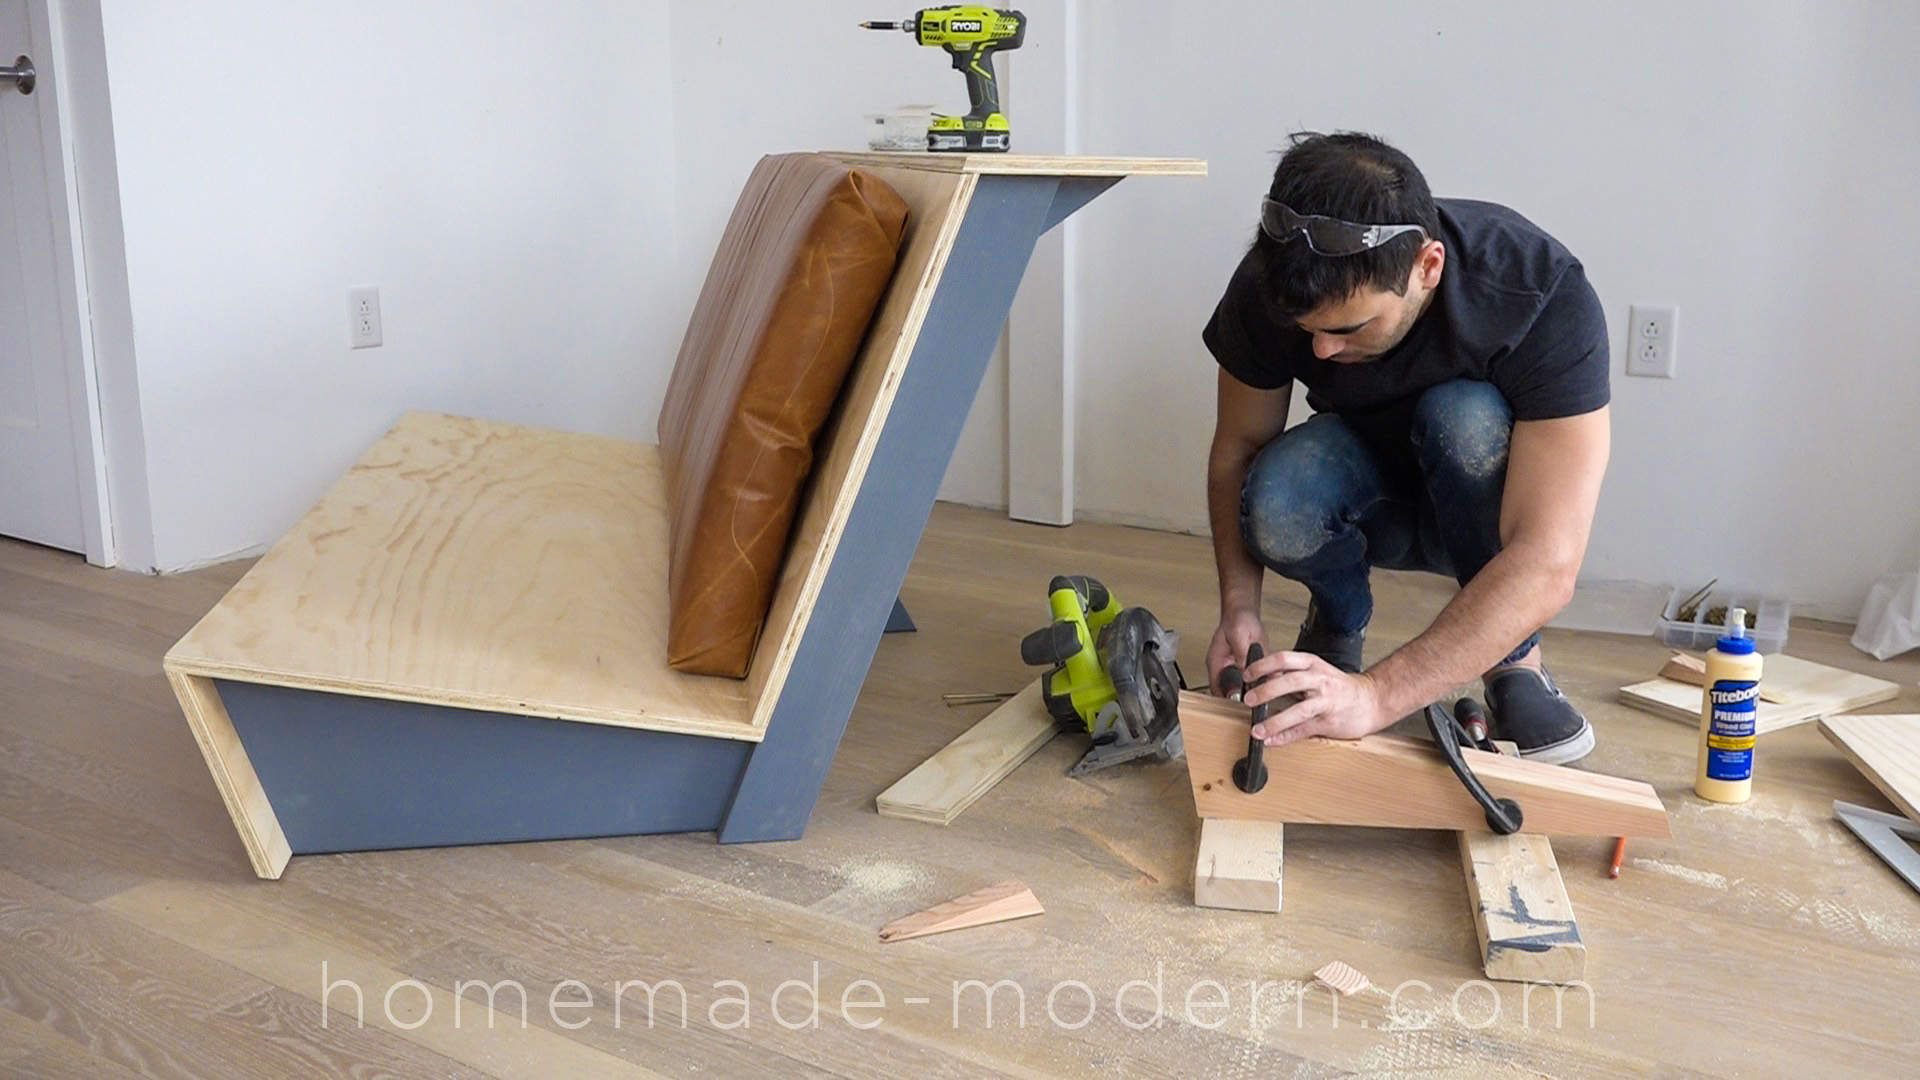
I set my circular saw blade back to vertical and then drew out the design onto the 2x10. I then cut the pieces out with my circular saw. My circular saw is new and quite powerful even though it is battery powered and I am using a fresh sharp blade which helped my cuts come out nice and straight.
This DIY Zig Zag Sofa was designed specifically for lofts and has a built-in counter along the back. For more information go to HomeMade-Modern.com

This DIY Zig Zag Sofa was designed specifically for lofts and has a built-in counter along the back. For more information go to HomeMade-Modern.com

This DIY Zig Zag Sofa was designed specifically for lofts and has a built-in counter along the back. For more information go to HomeMade-Modern.com

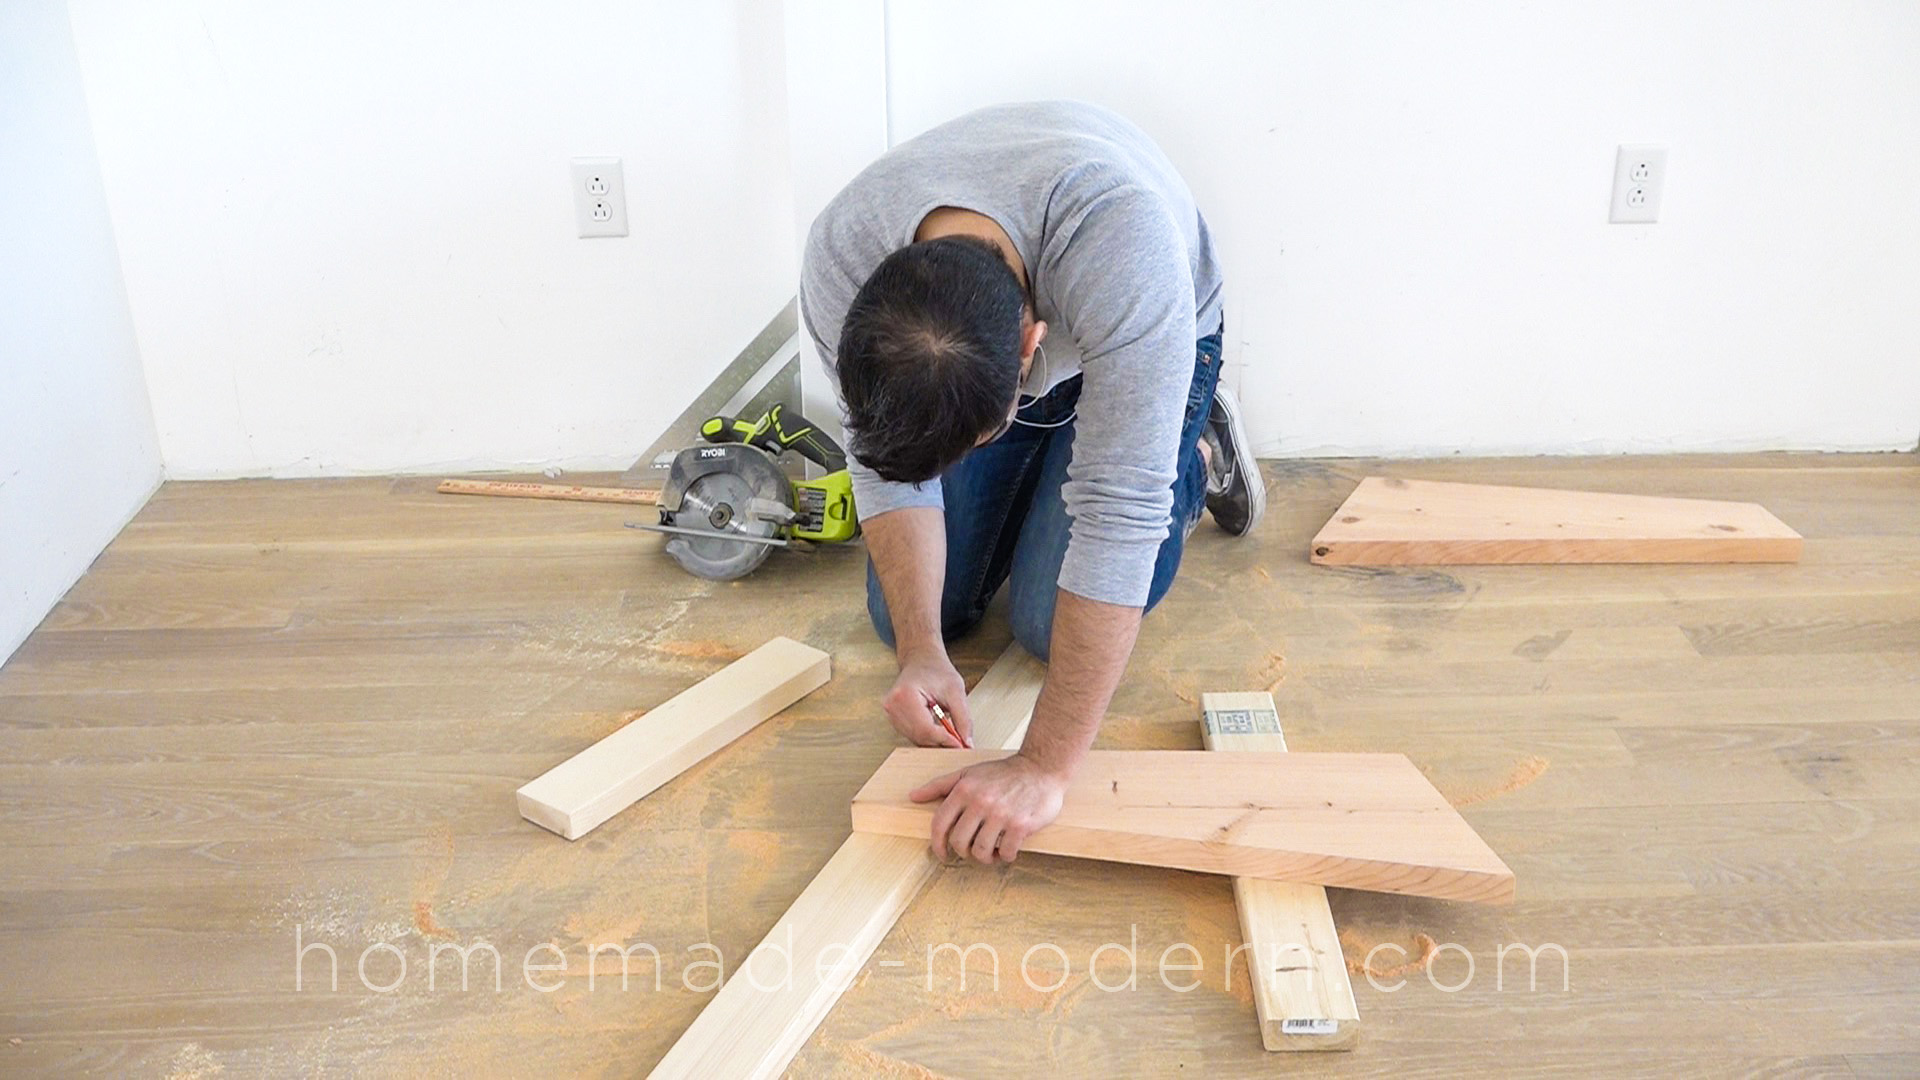
STEP 3: Cut the 2x4s.
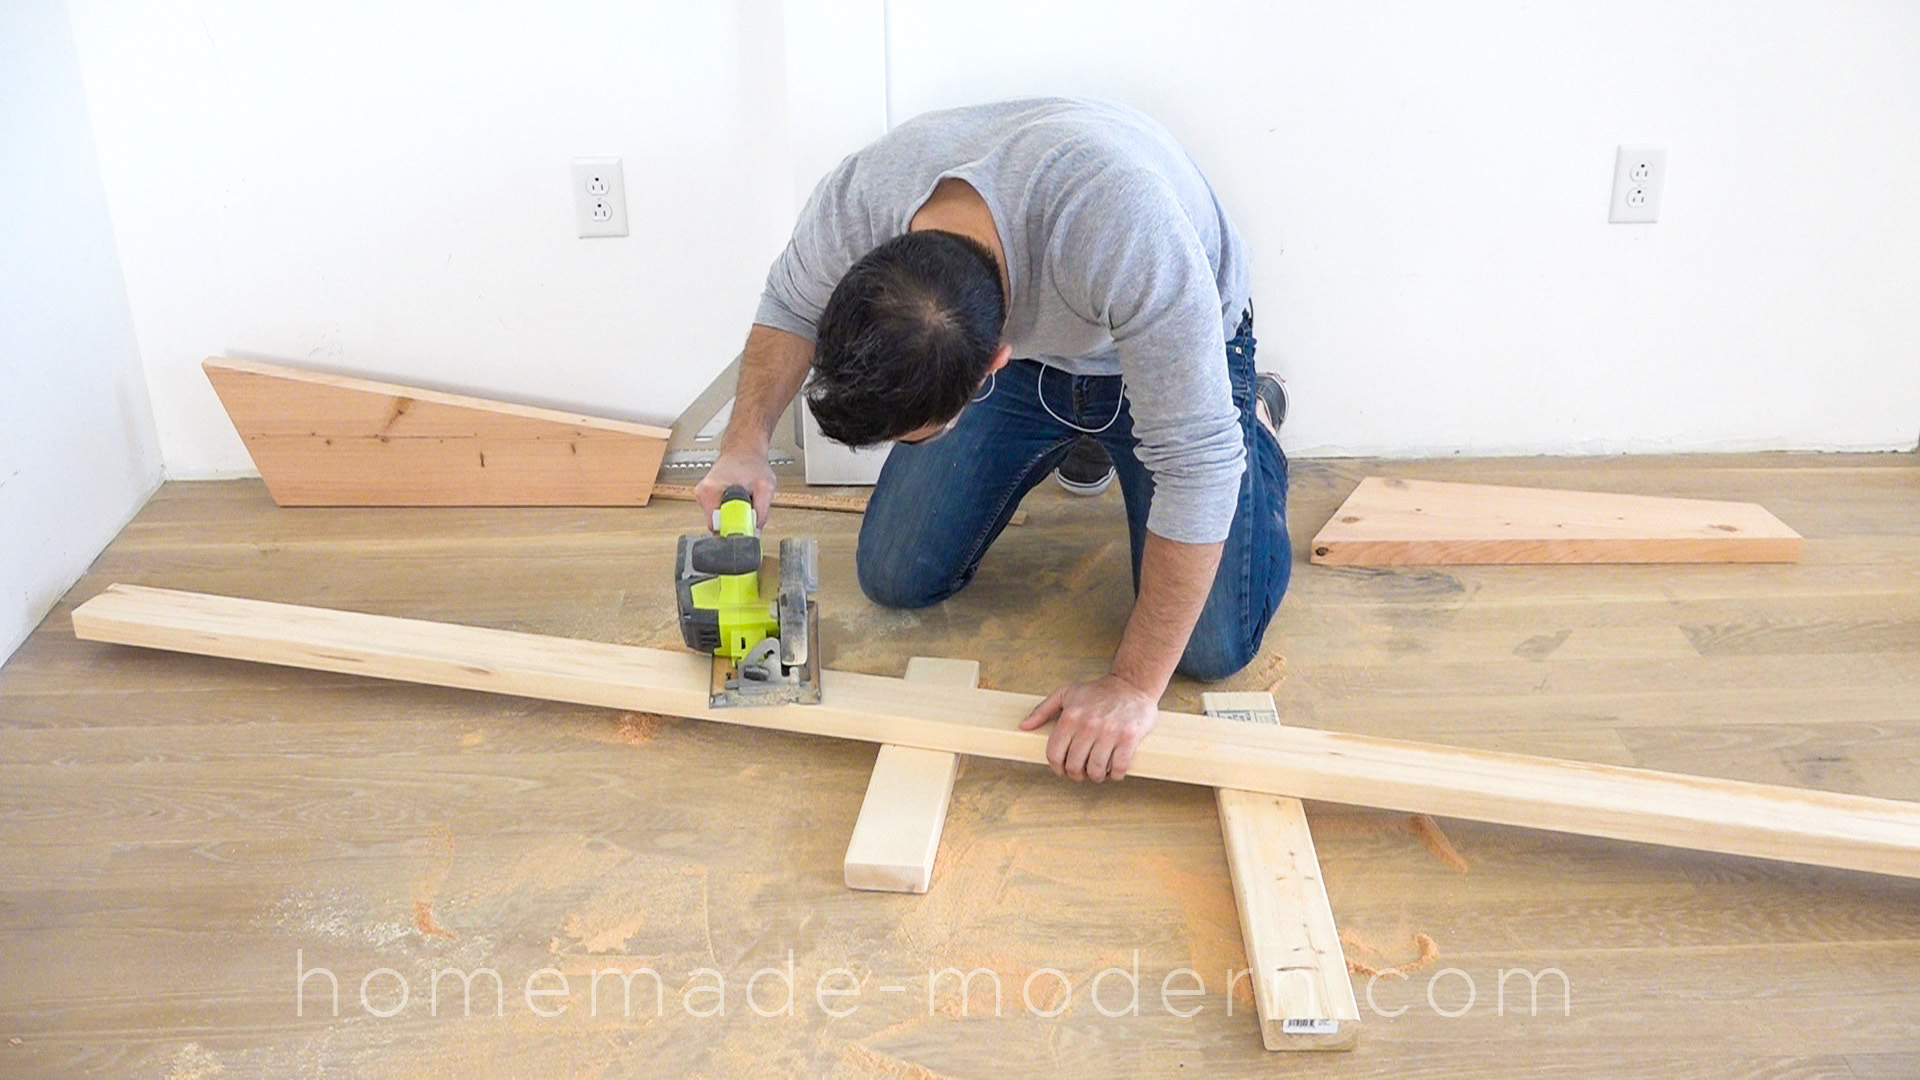
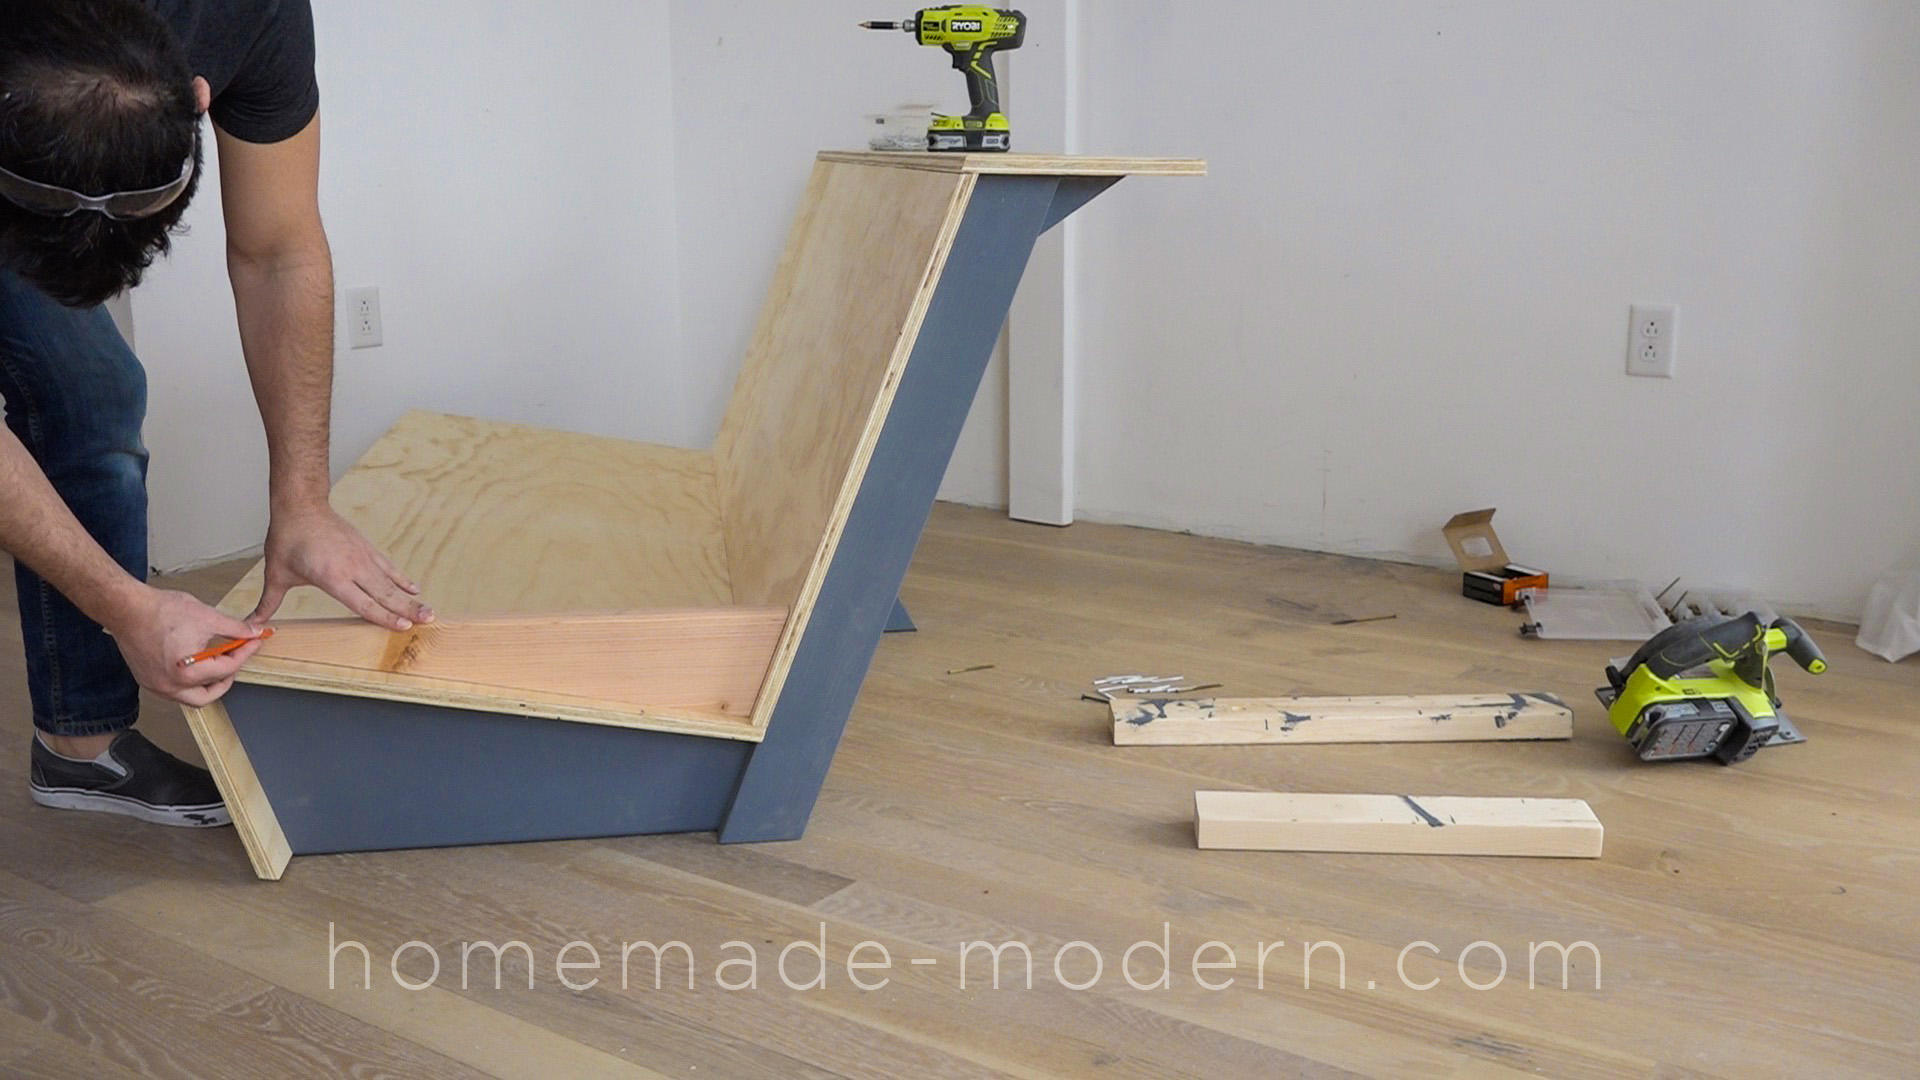
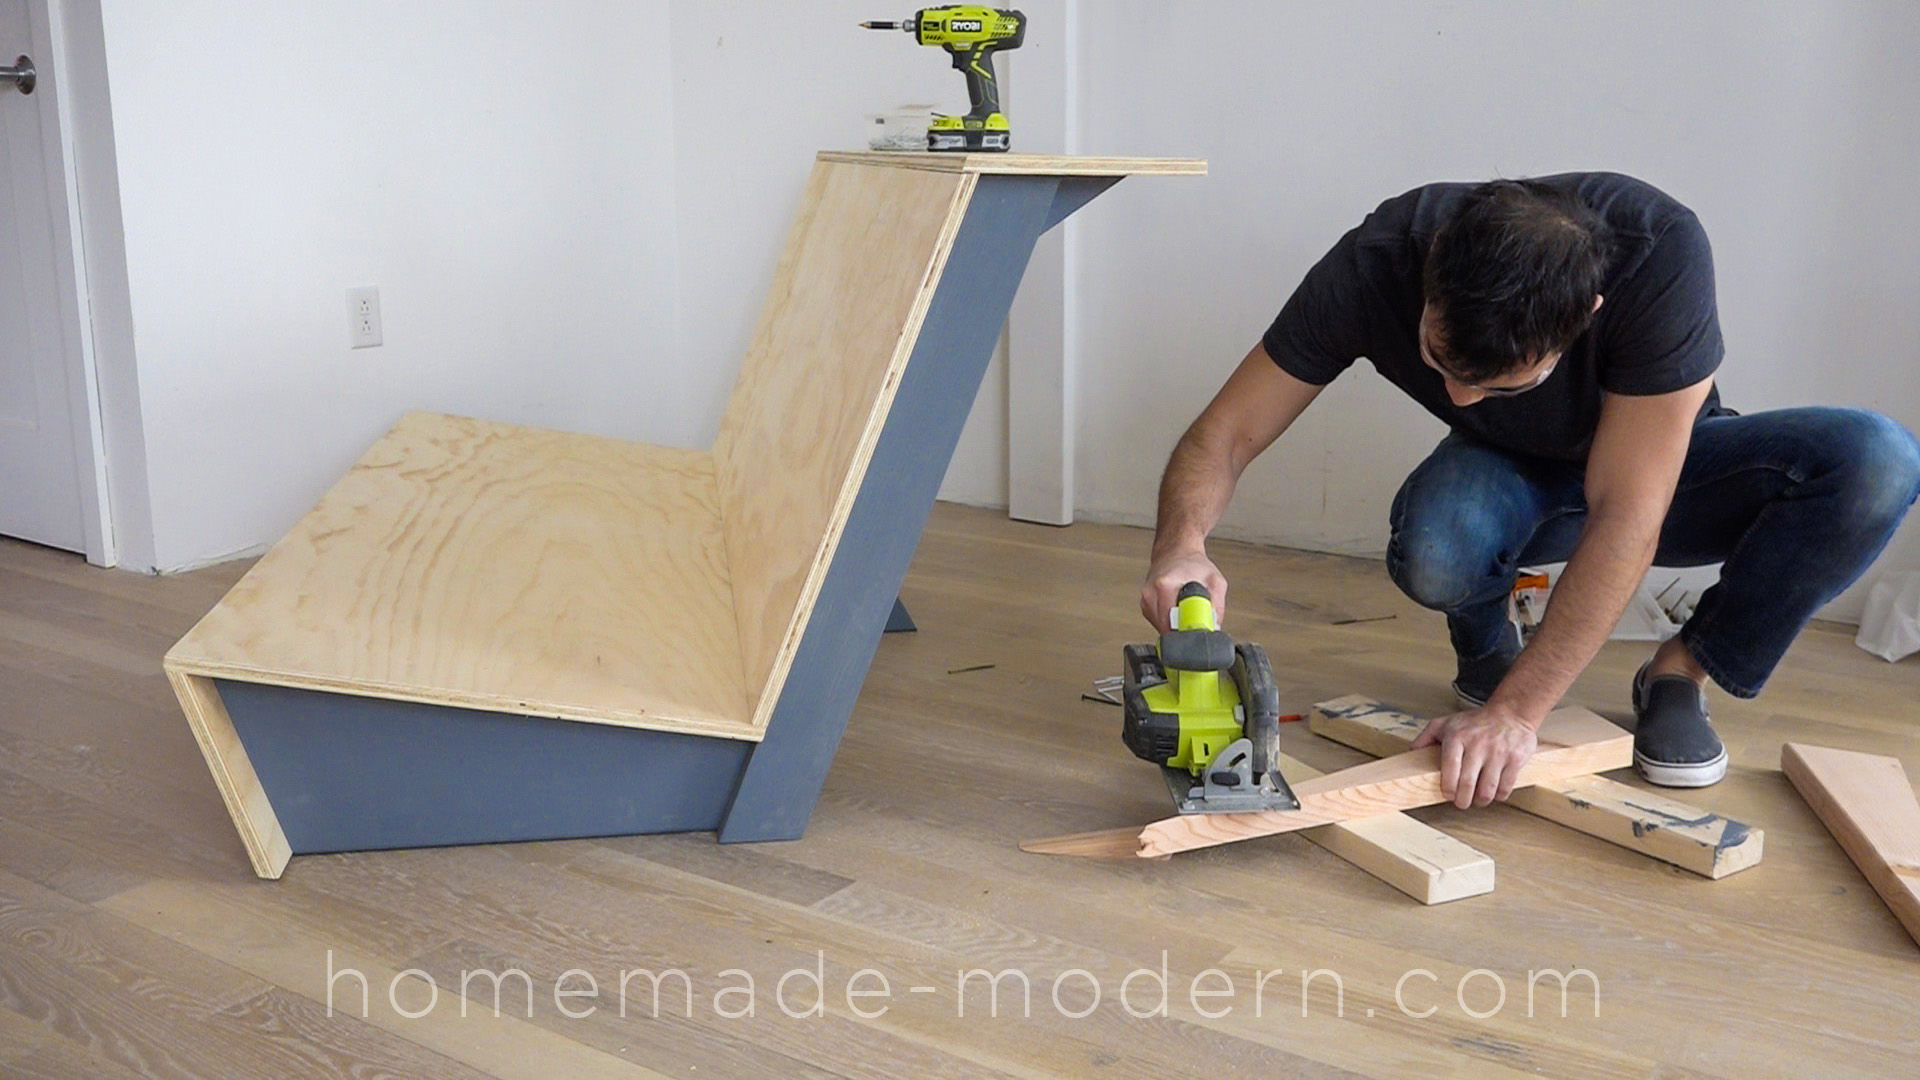
I used the pieces of 2x10 that I cut to mark the angled cut lines on the 2x4s before cutting them with my circular saw. You can also use a miter saw set to 20 degrees if you have one.
This DIY Zig Zag Sofa was designed specifically for lofts and has a built-in counter along the back. For more information go to HomeMade-Modern.com

This DIY Zig Zag Sofa was designed specifically for lofts and has a built-in counter along the back. For more information go to HomeMade-Modern.com

STEP 4: Assemble the frames.
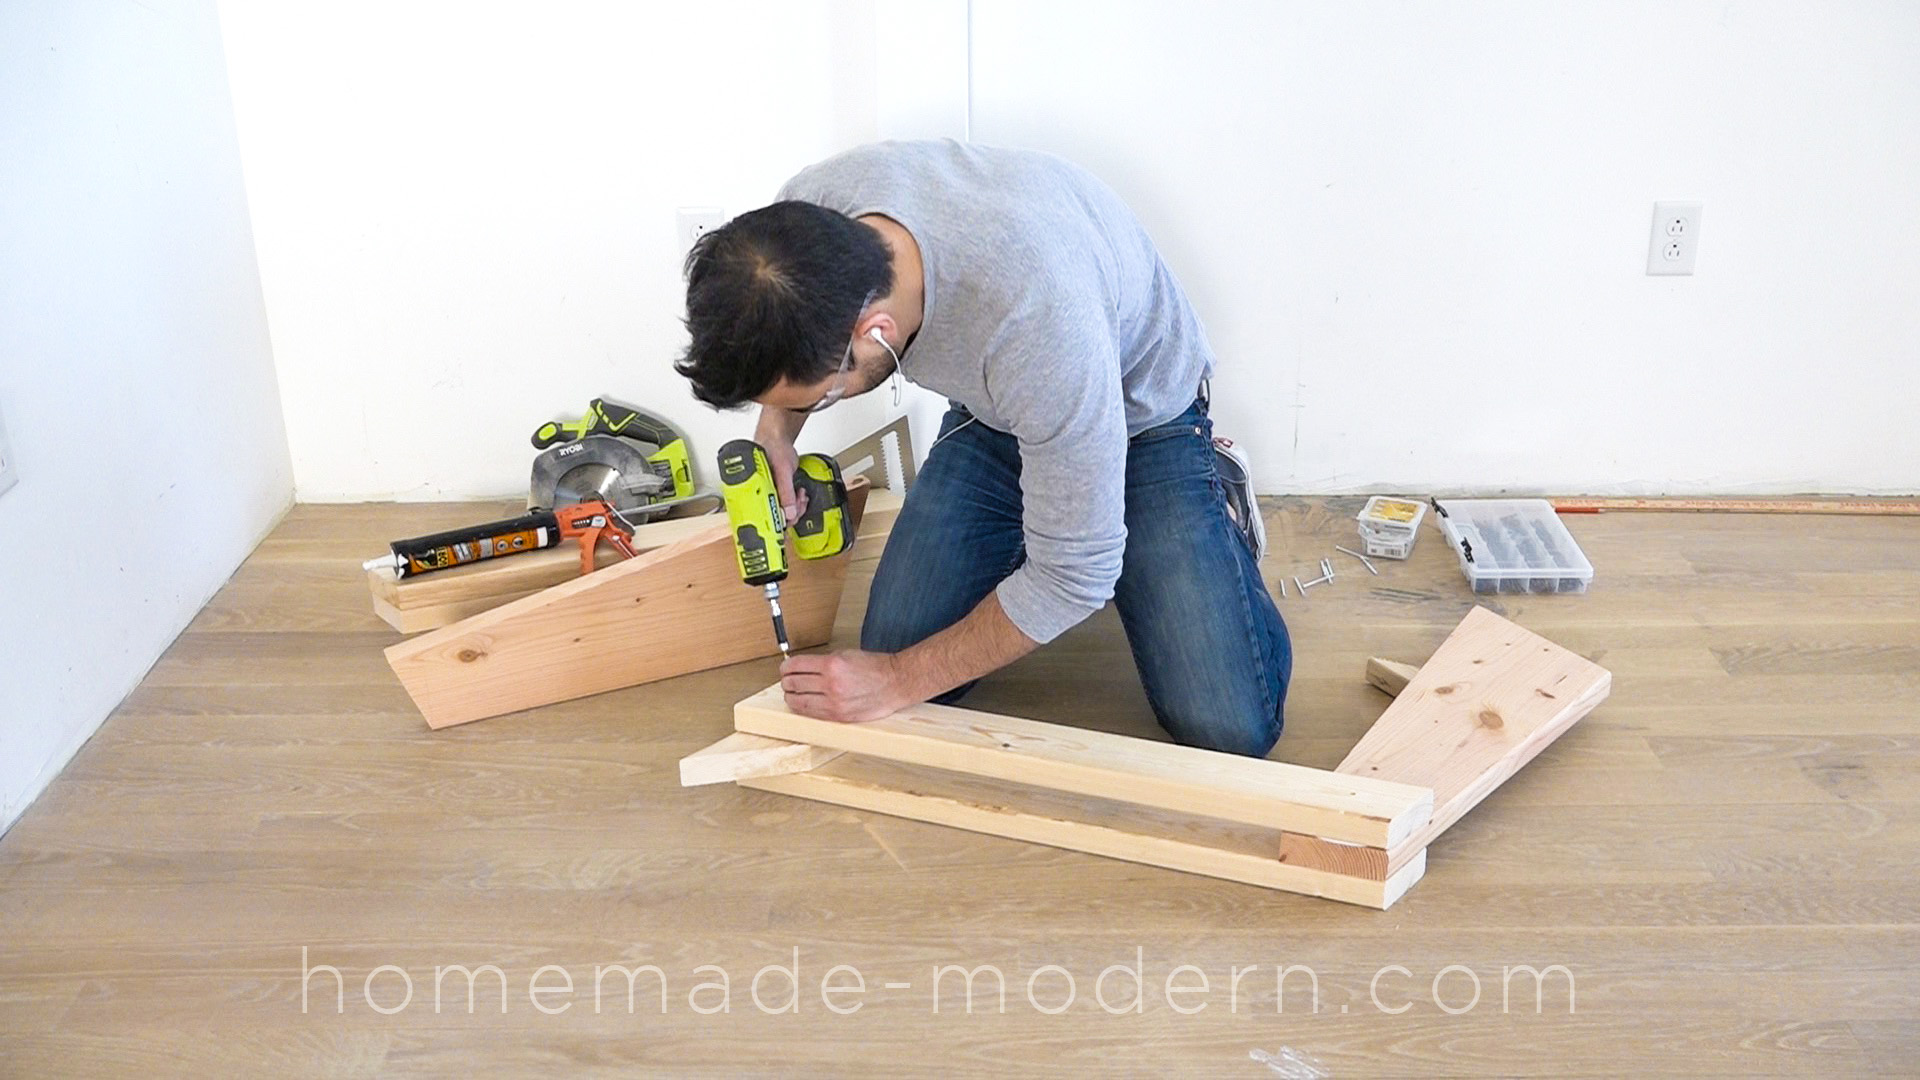
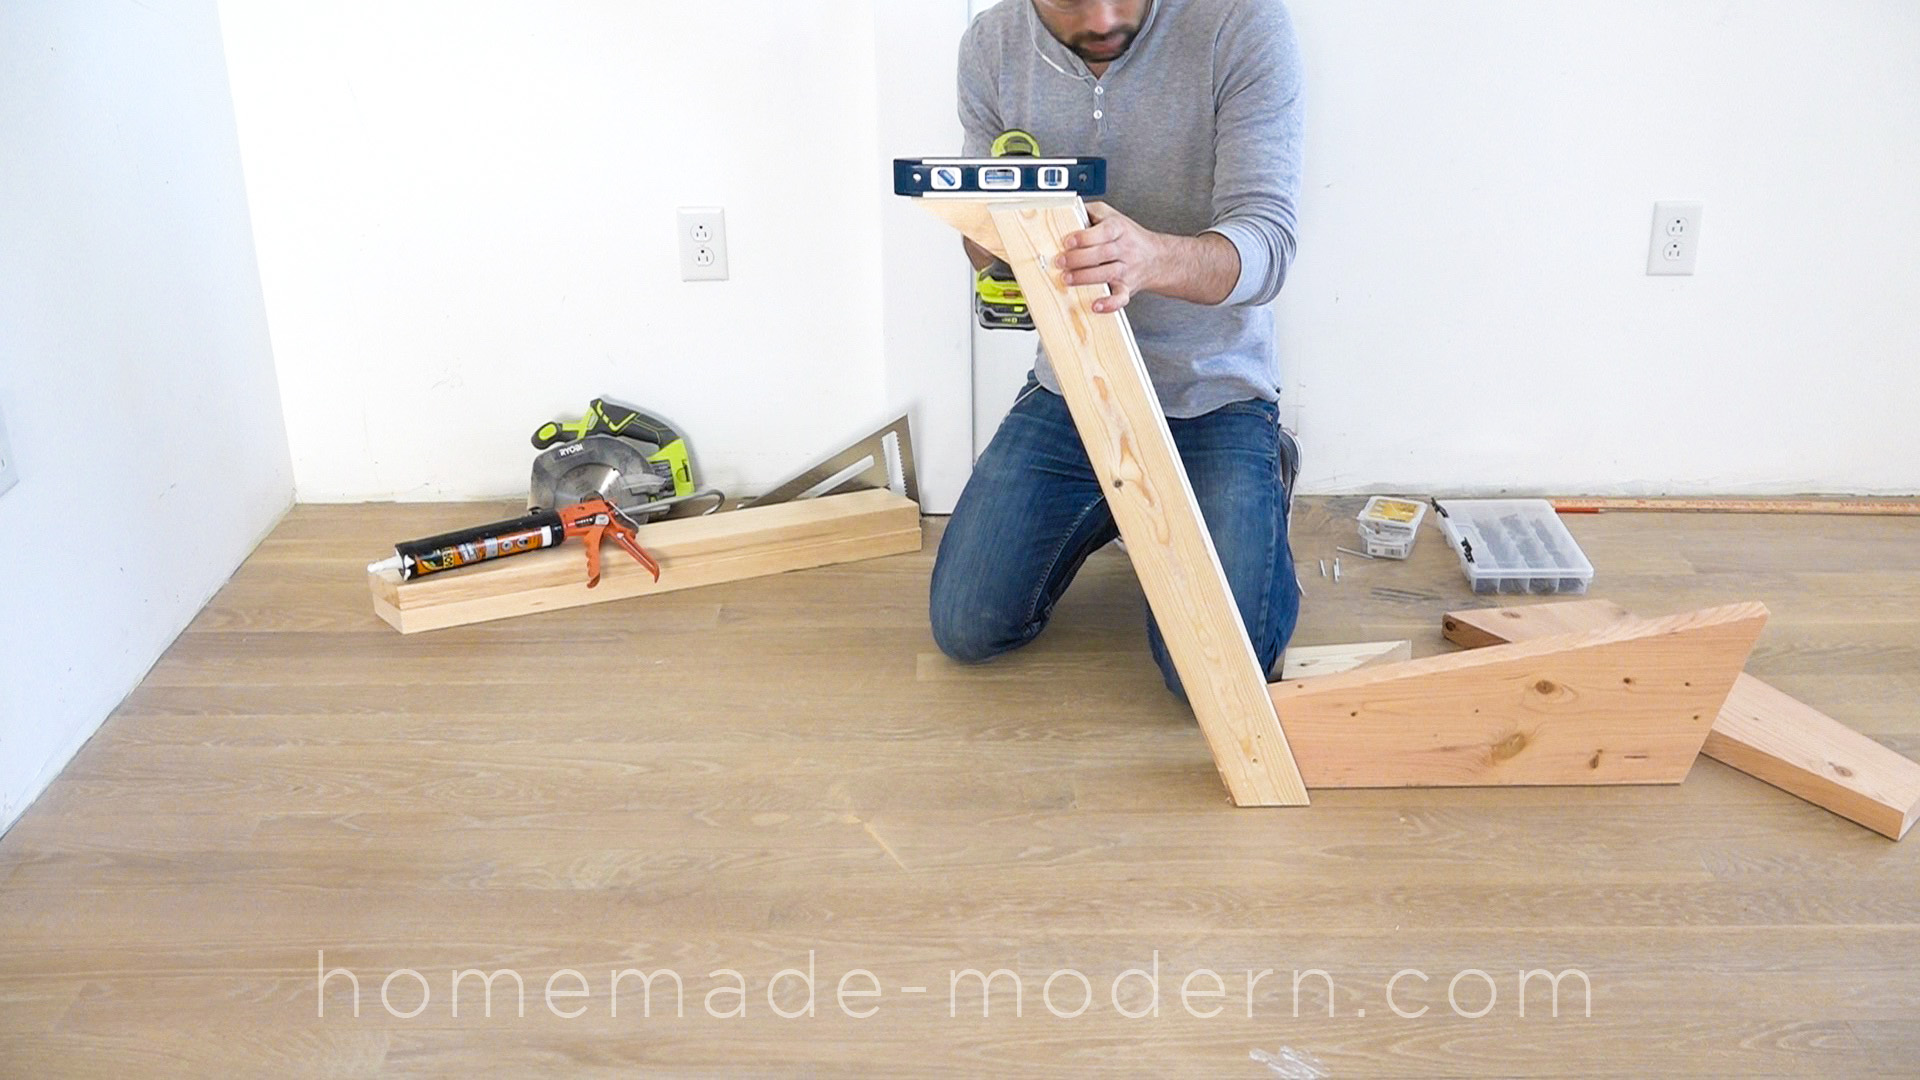
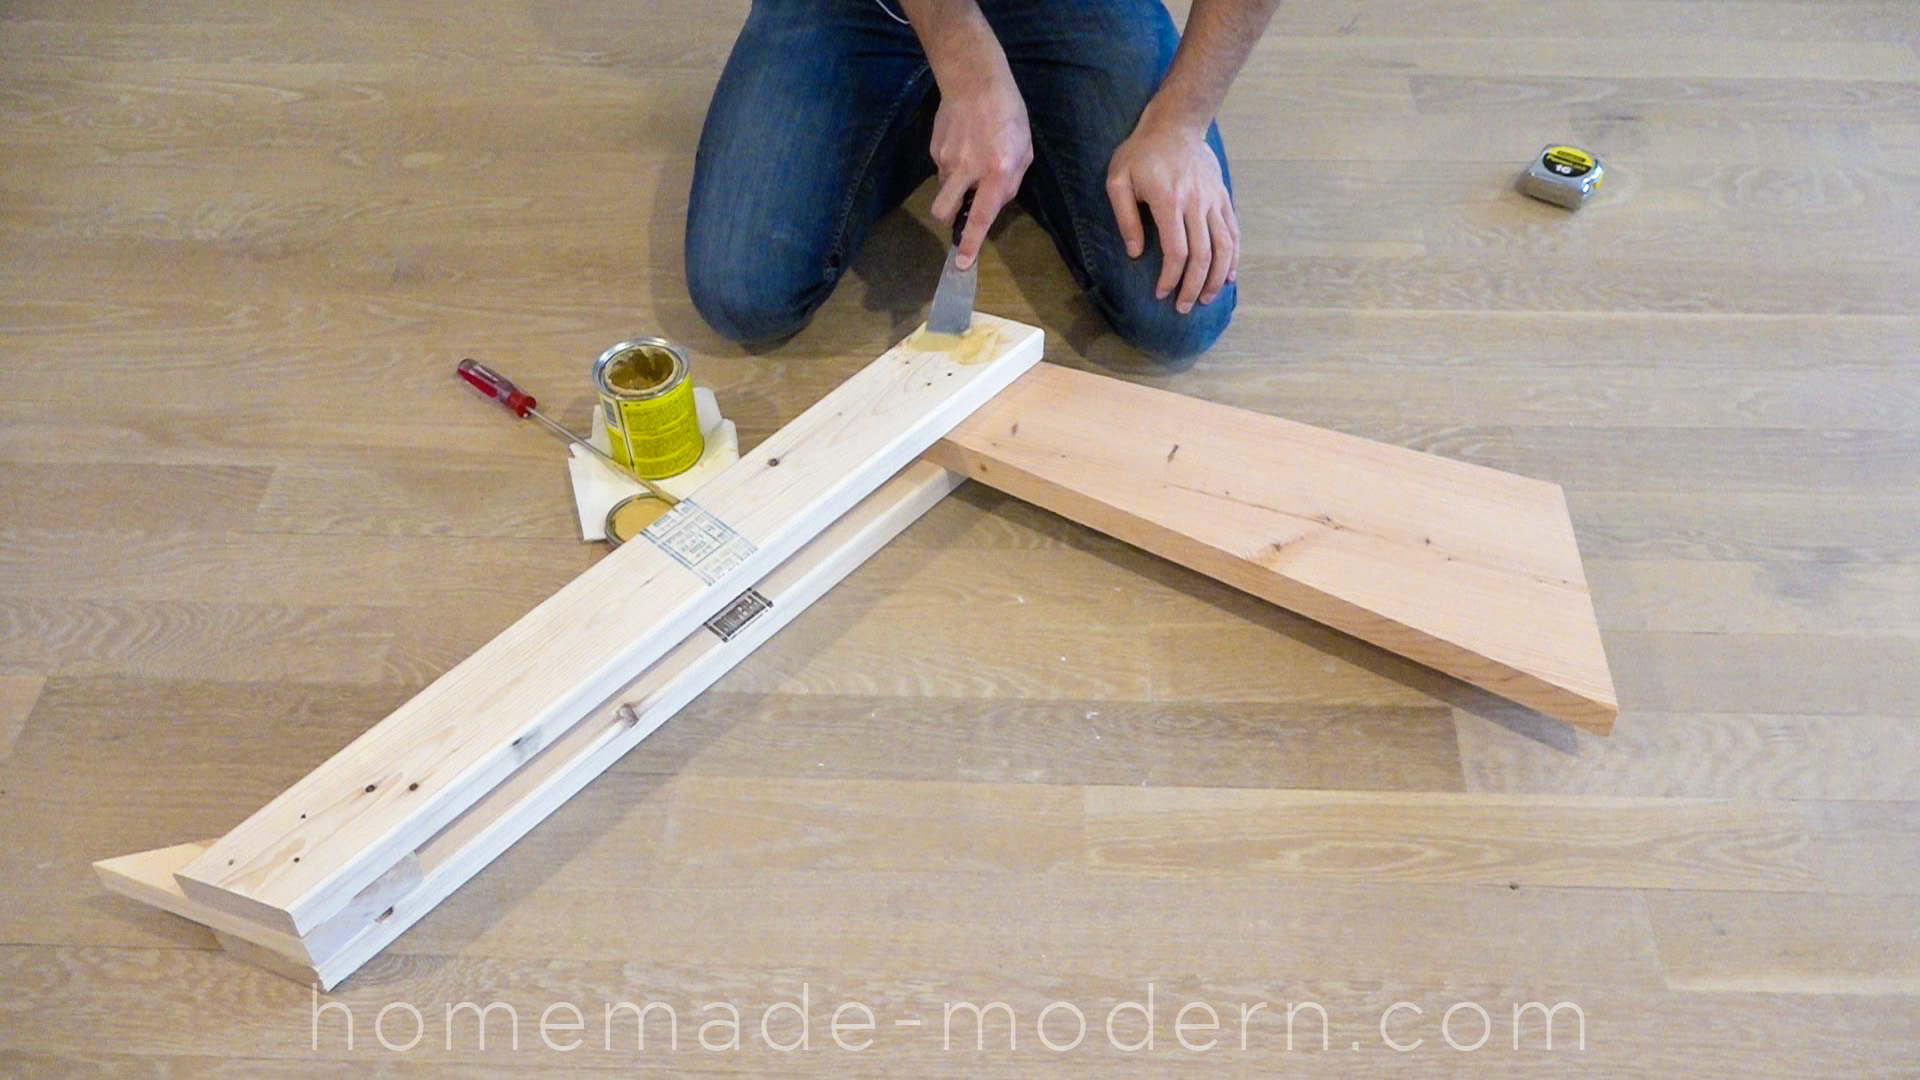
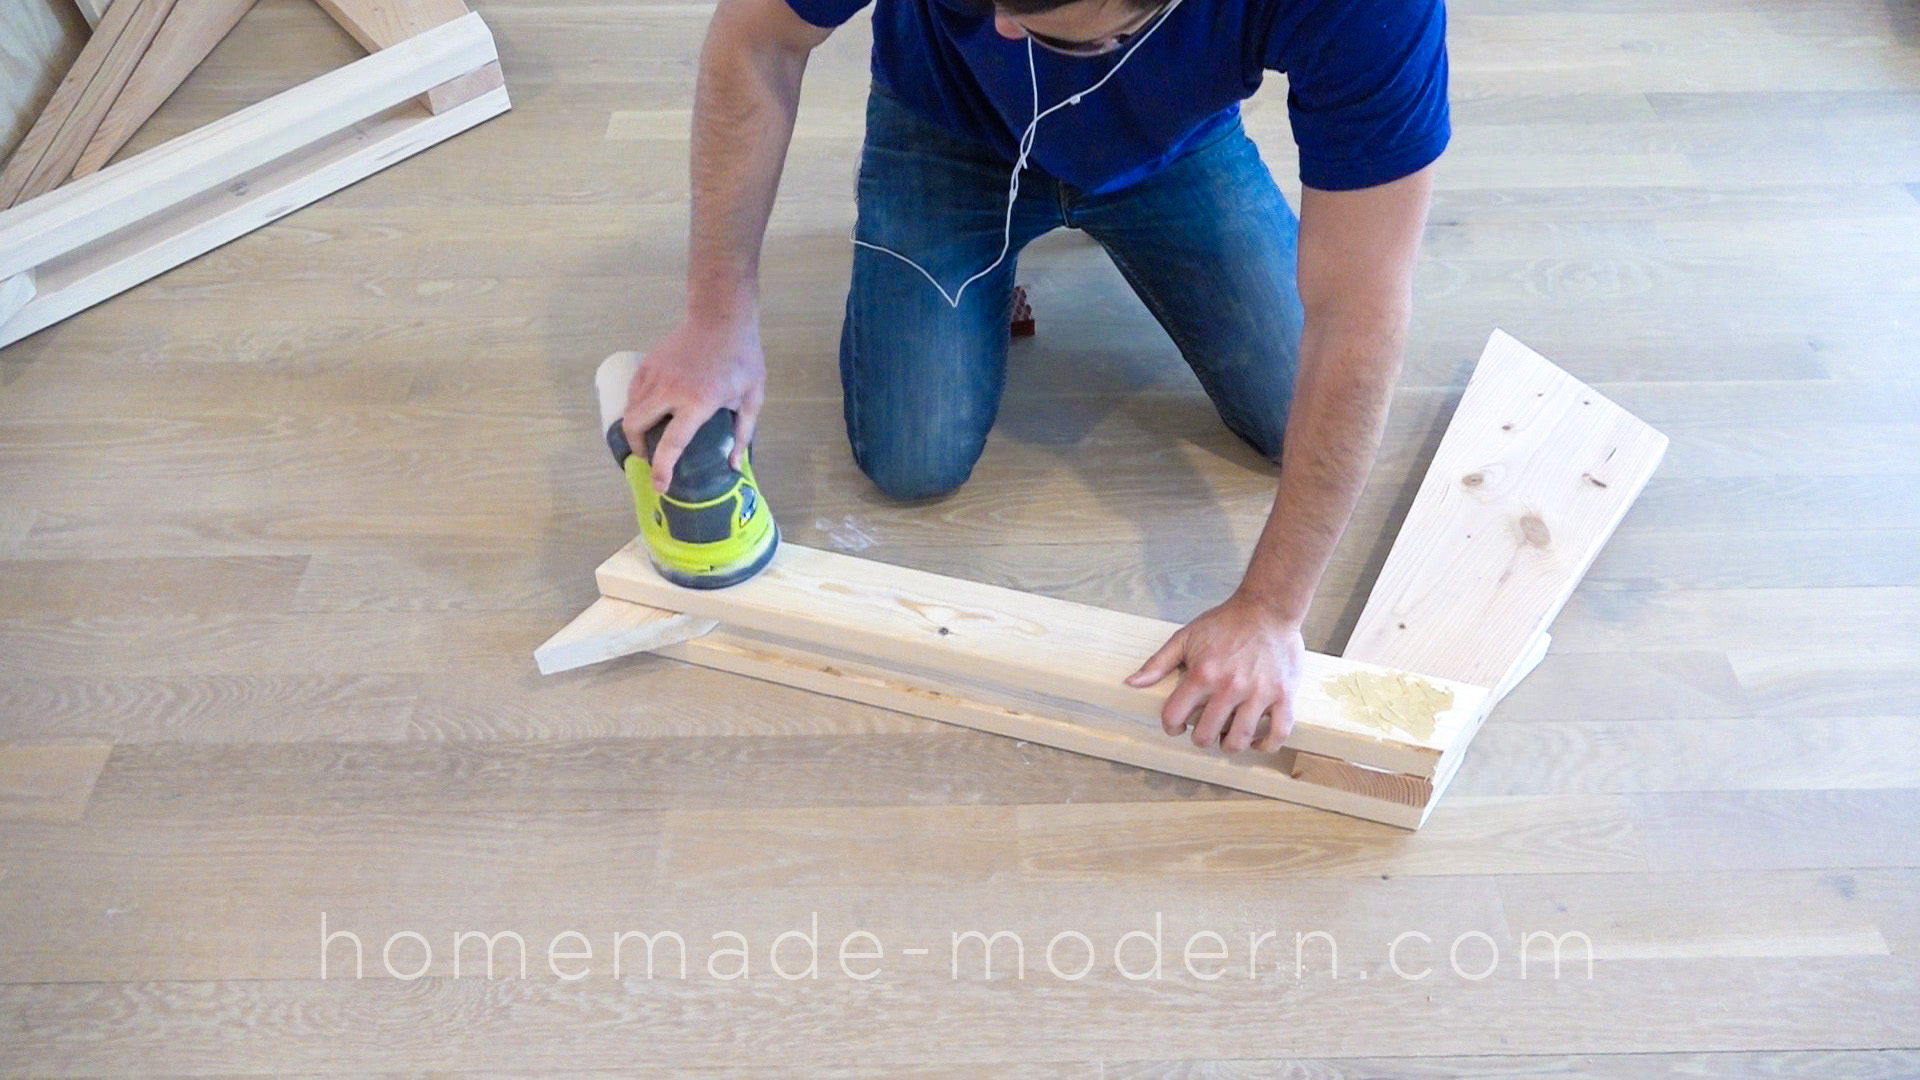
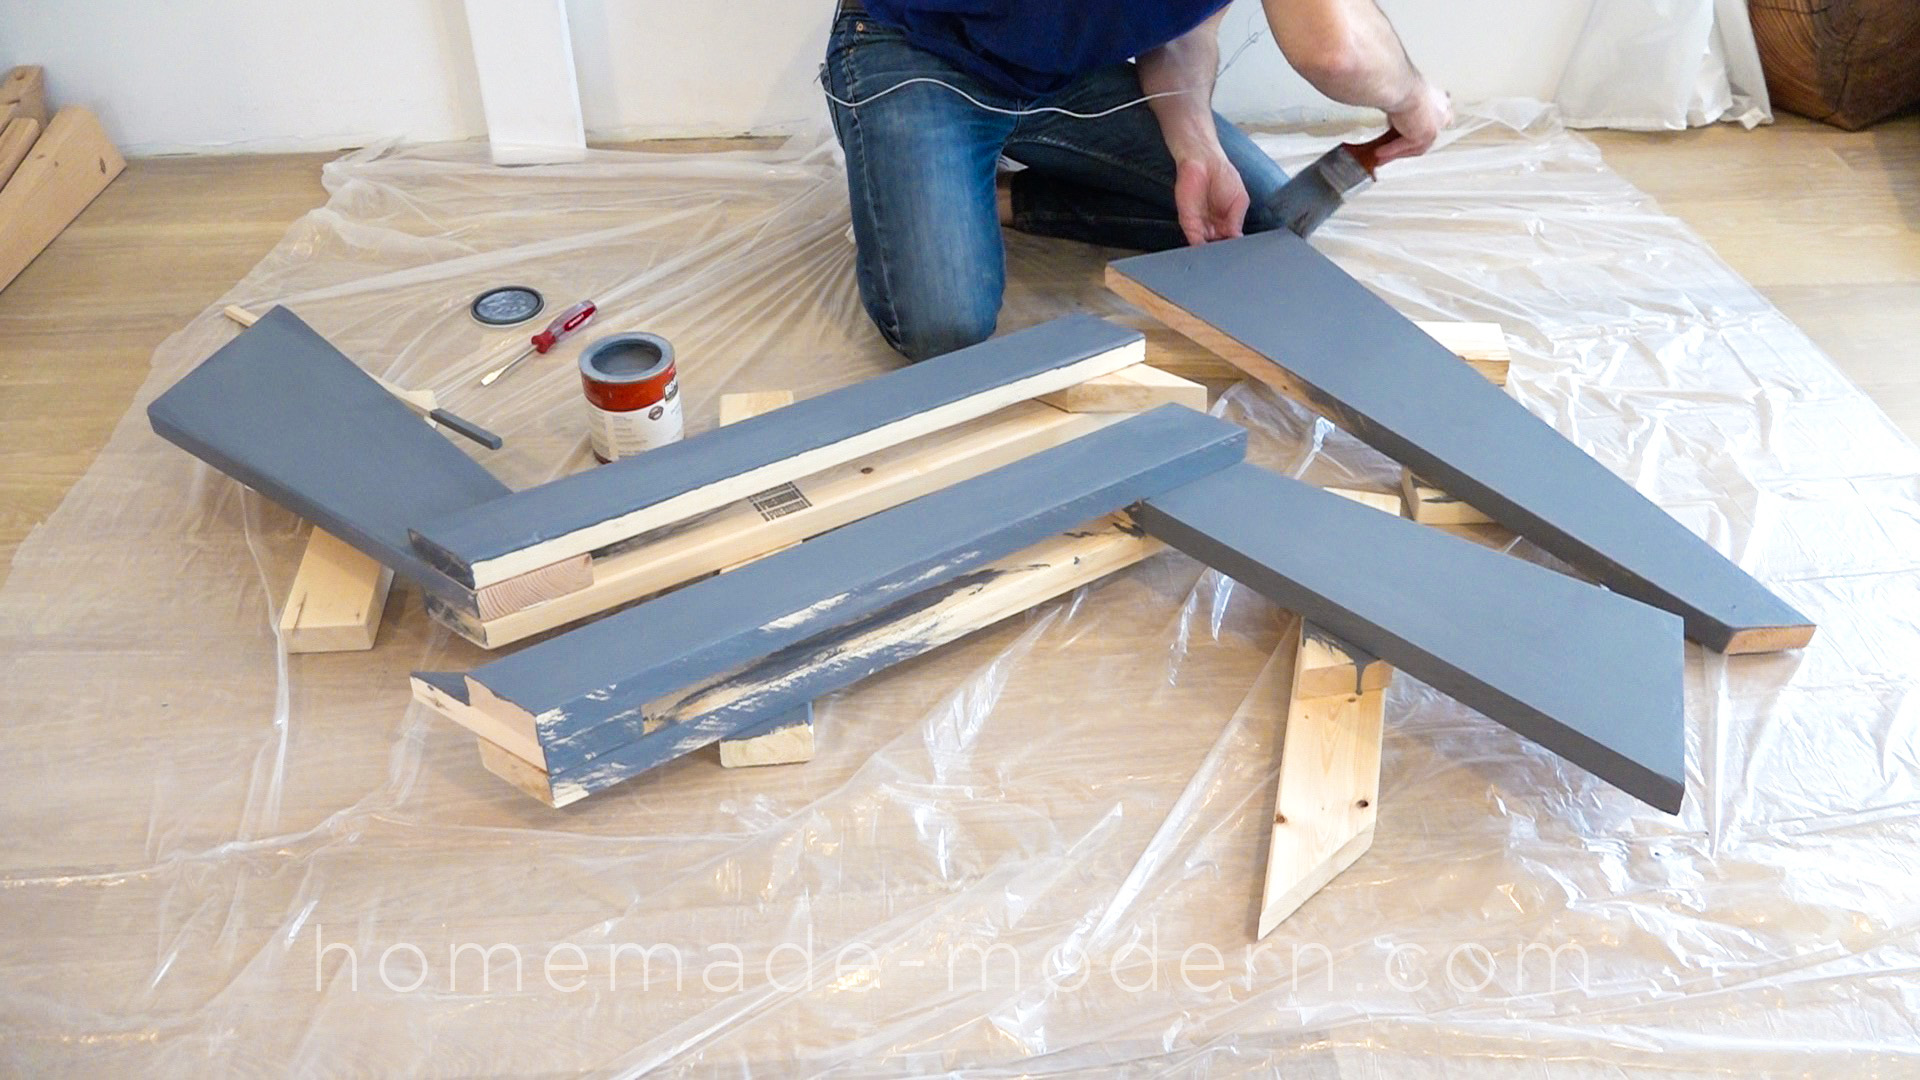
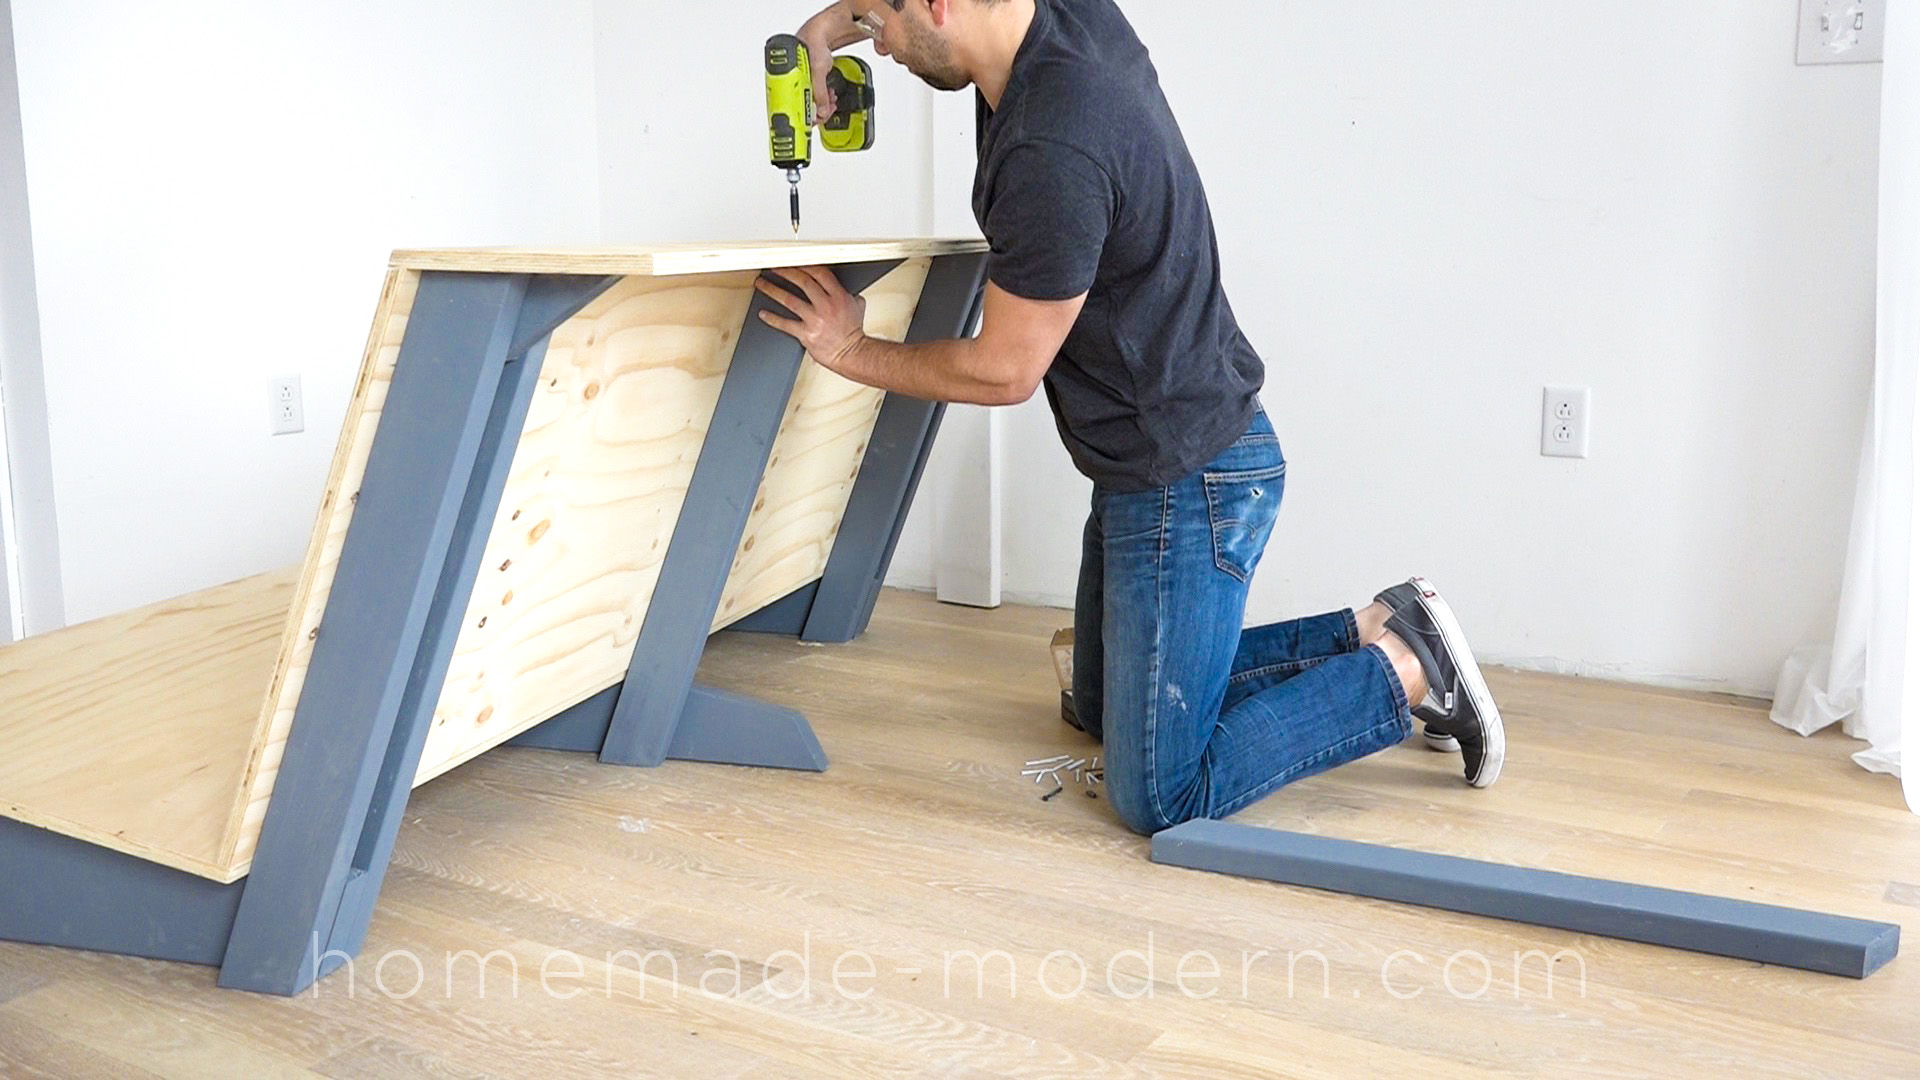
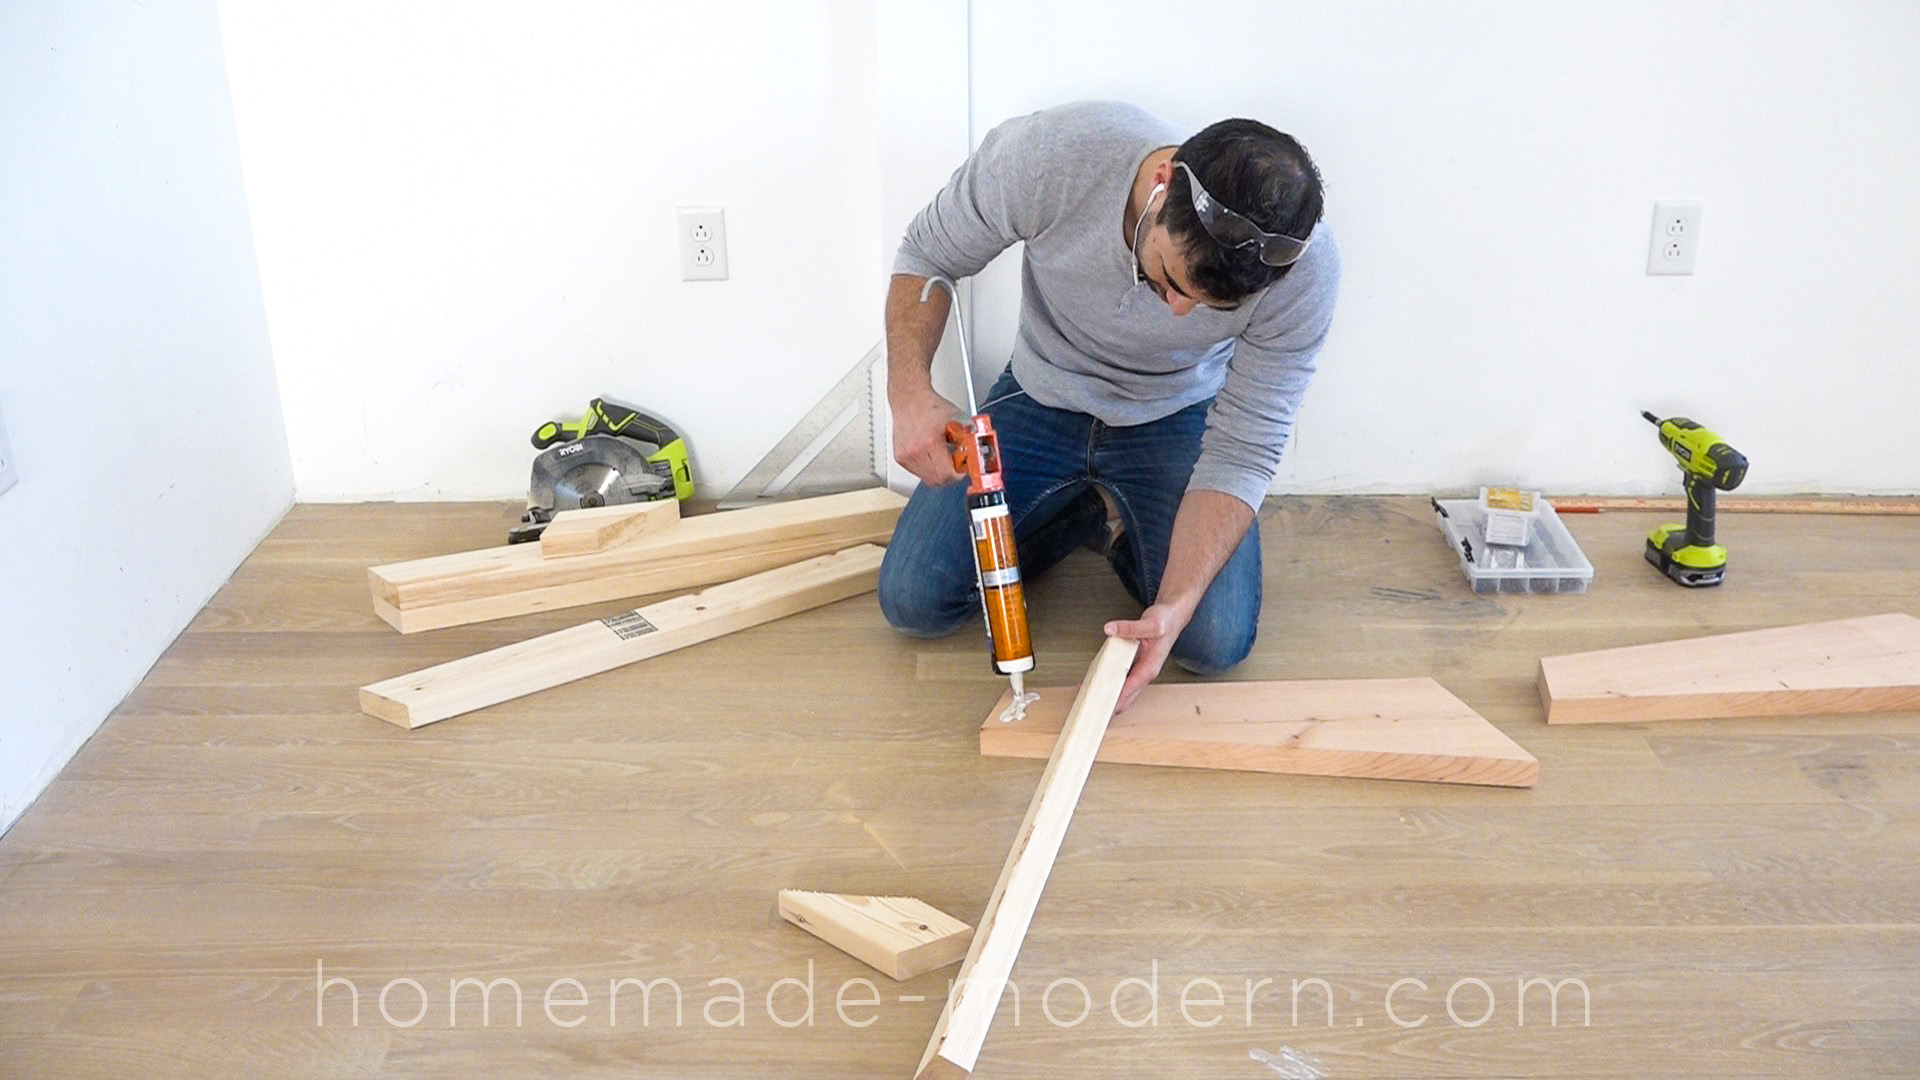
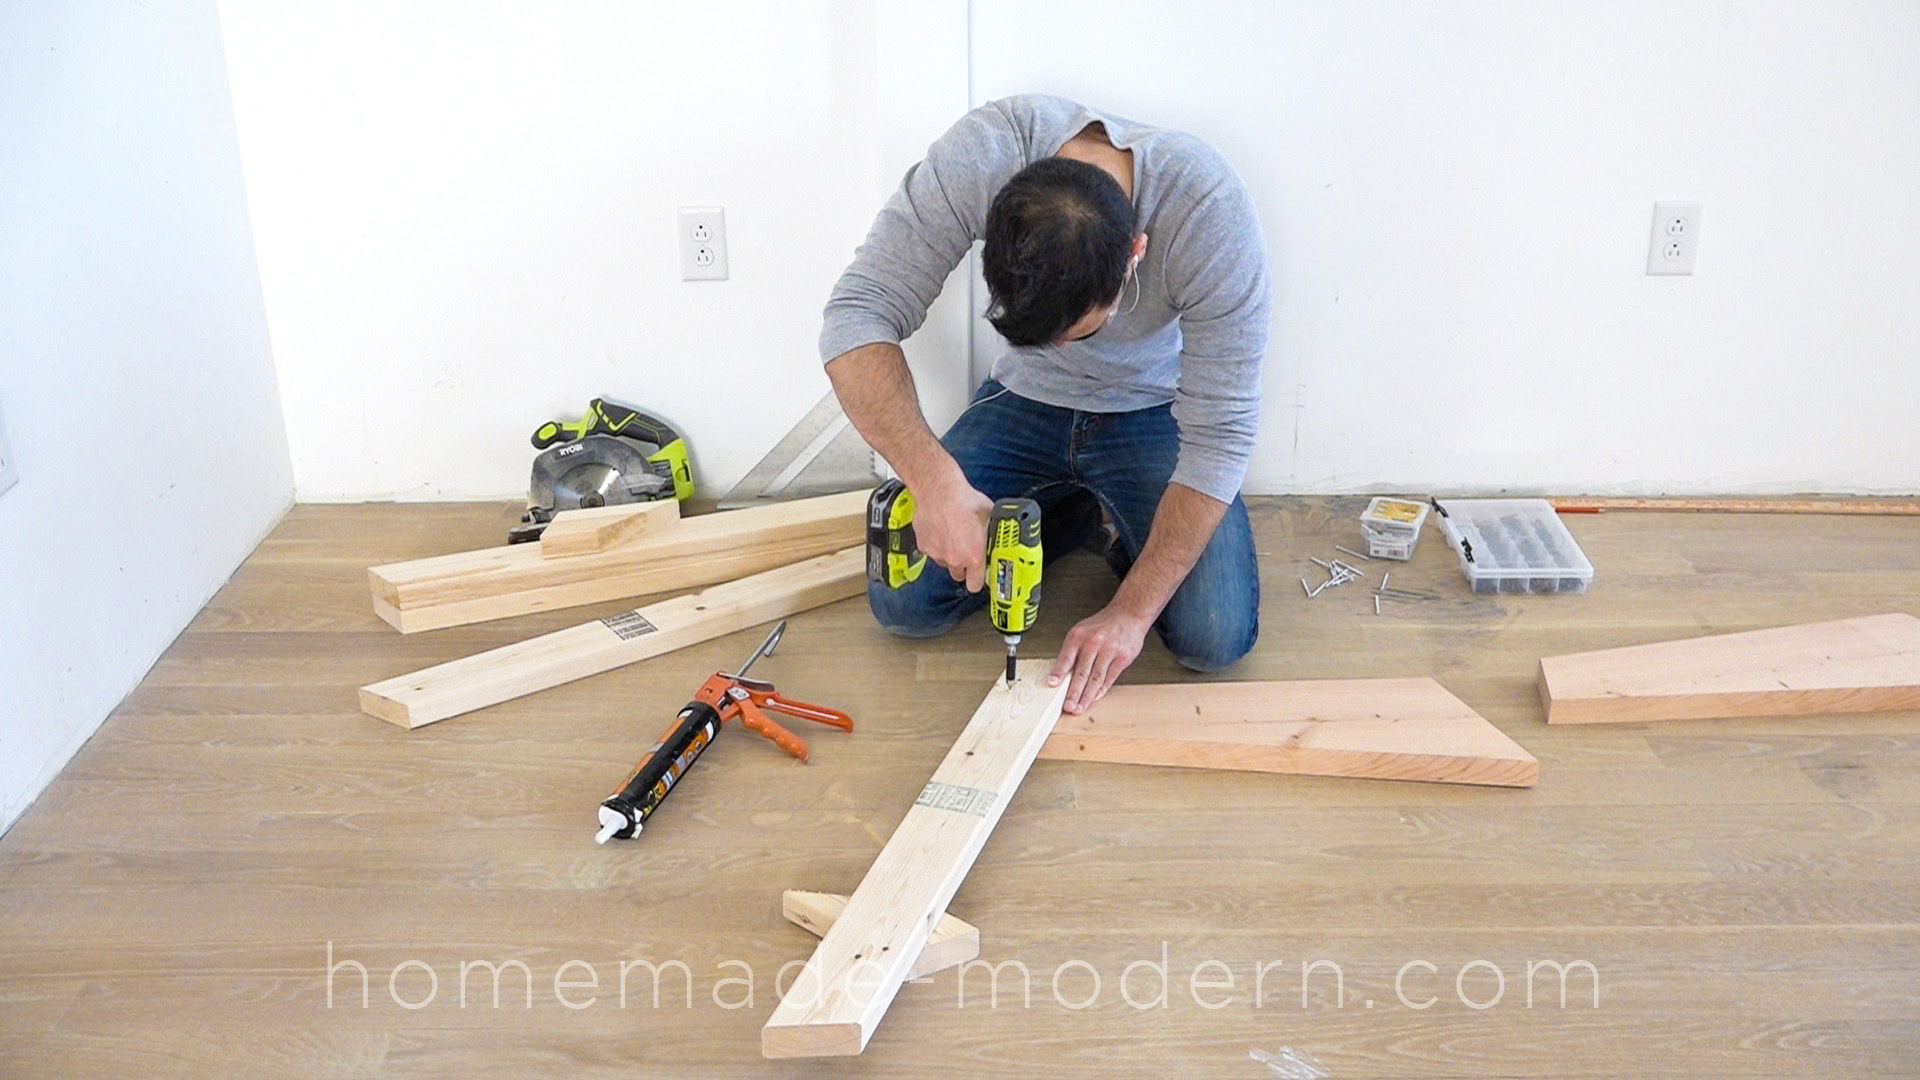
I used construction adhesive, 2 ½” long and 3 ½” long finish screws to assemble the frames. I used a level to make sure that the shelf/counter supports are parallel to the floor. I used the first frame as a guide for constructing the 2nd frame. I was figuring out this design as I want so initial I didn’t think I would need a third/middle frame. Even though I didn’t add it until later it would be best to build along with the two outside frames. I used wood putty to cover up the screws. Once the wood putty was dry I sanded it down flush and painted the frames with BEHR interior flat/matte paint in the color “Silver Hill”.
This DIY Zig Zag Sofa was designed specifically for lofts and has a built-in counter along the back. For more information go to HomeMade-Modern.com

This DIY Zig Zag Sofa was designed specifically for lofts and has a built-in counter along the back. For more information go to HomeMade-Modern.com

This DIY Zig Zag Sofa was designed specifically for lofts and has a built-in counter along the back. For more information go to HomeMade-Modern.com

This DIY Zig Zag Sofa was designed specifically for lofts and has a built-in counter along the back. For more information go to HomeMade-Modern.com

This DIY Zig Zag Sofa was designed specifically for lofts and has a built-in counter along the back. For more information go to HomeMade-Modern.com

This DIY Zig Zag Sofa was designed specifically for lofts and has a built-in counter along the back. For more information go to HomeMade-Modern.com

This DIY Zig Zag Sofa was designed specifically for lofts and has a built-in counter along the back. For more information go to HomeMade-Modern.com

This DIY Zig Zag Sofa was designed specifically for lofts and has a built-in counter along the back. For more information go to HomeMade-Modern.com

This DIY Zig Zag Sofa was designed specifically for lofts and has a built-in counter along the back. For more information go to HomeMade-Modern.com

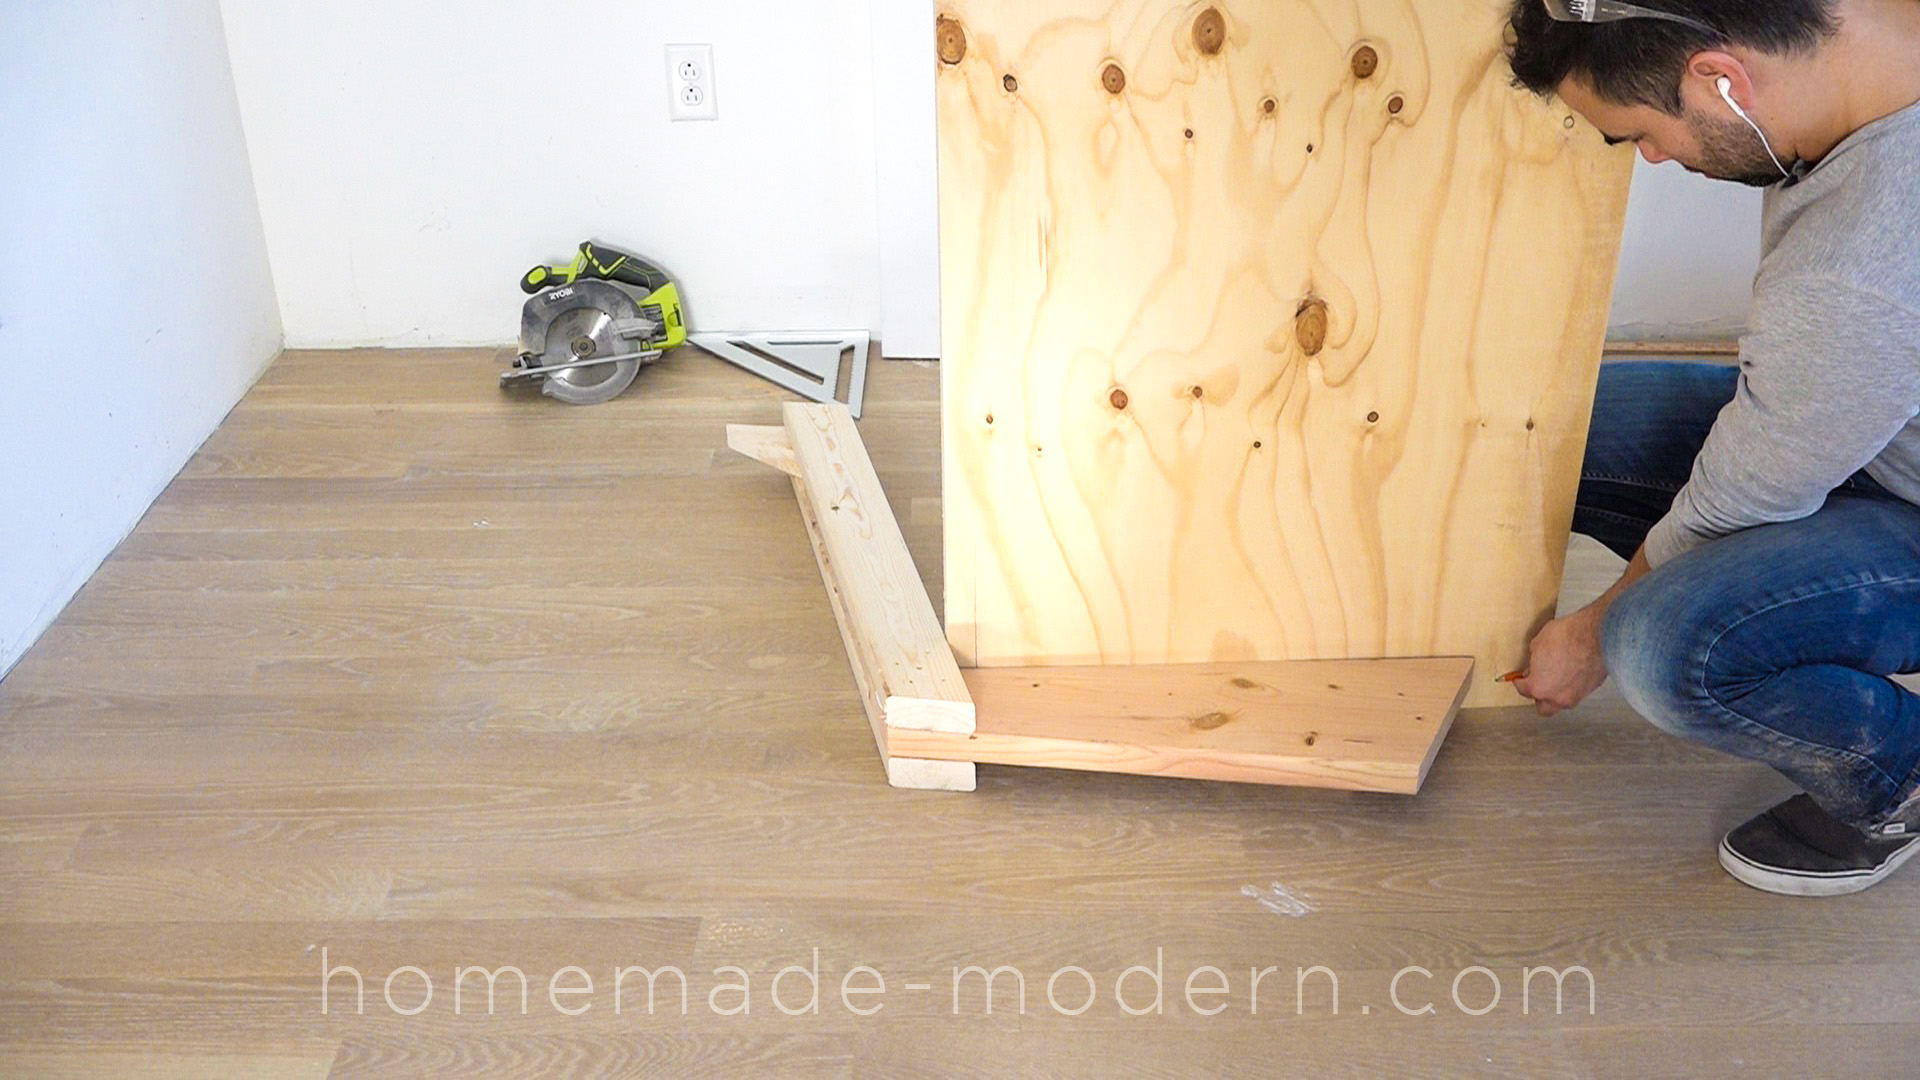
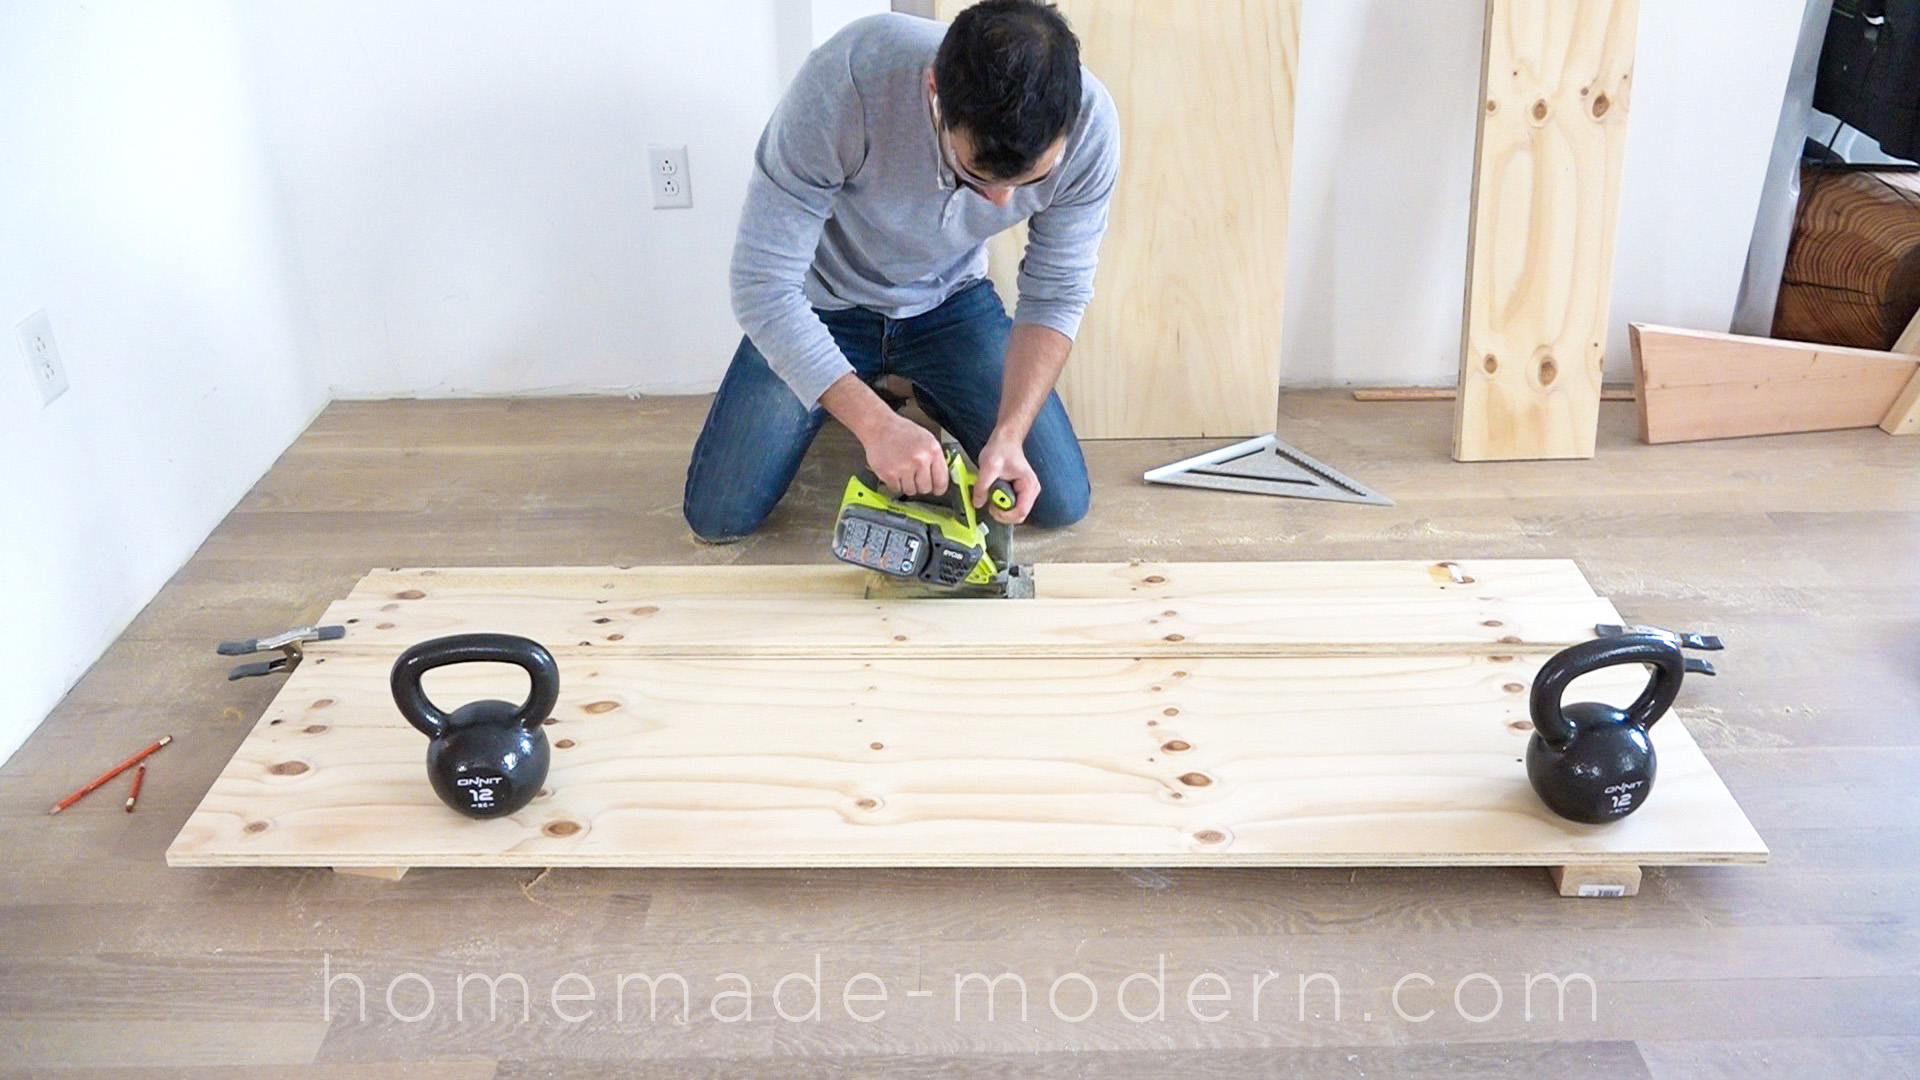
STEP 5: Field measure then cut the plywood.
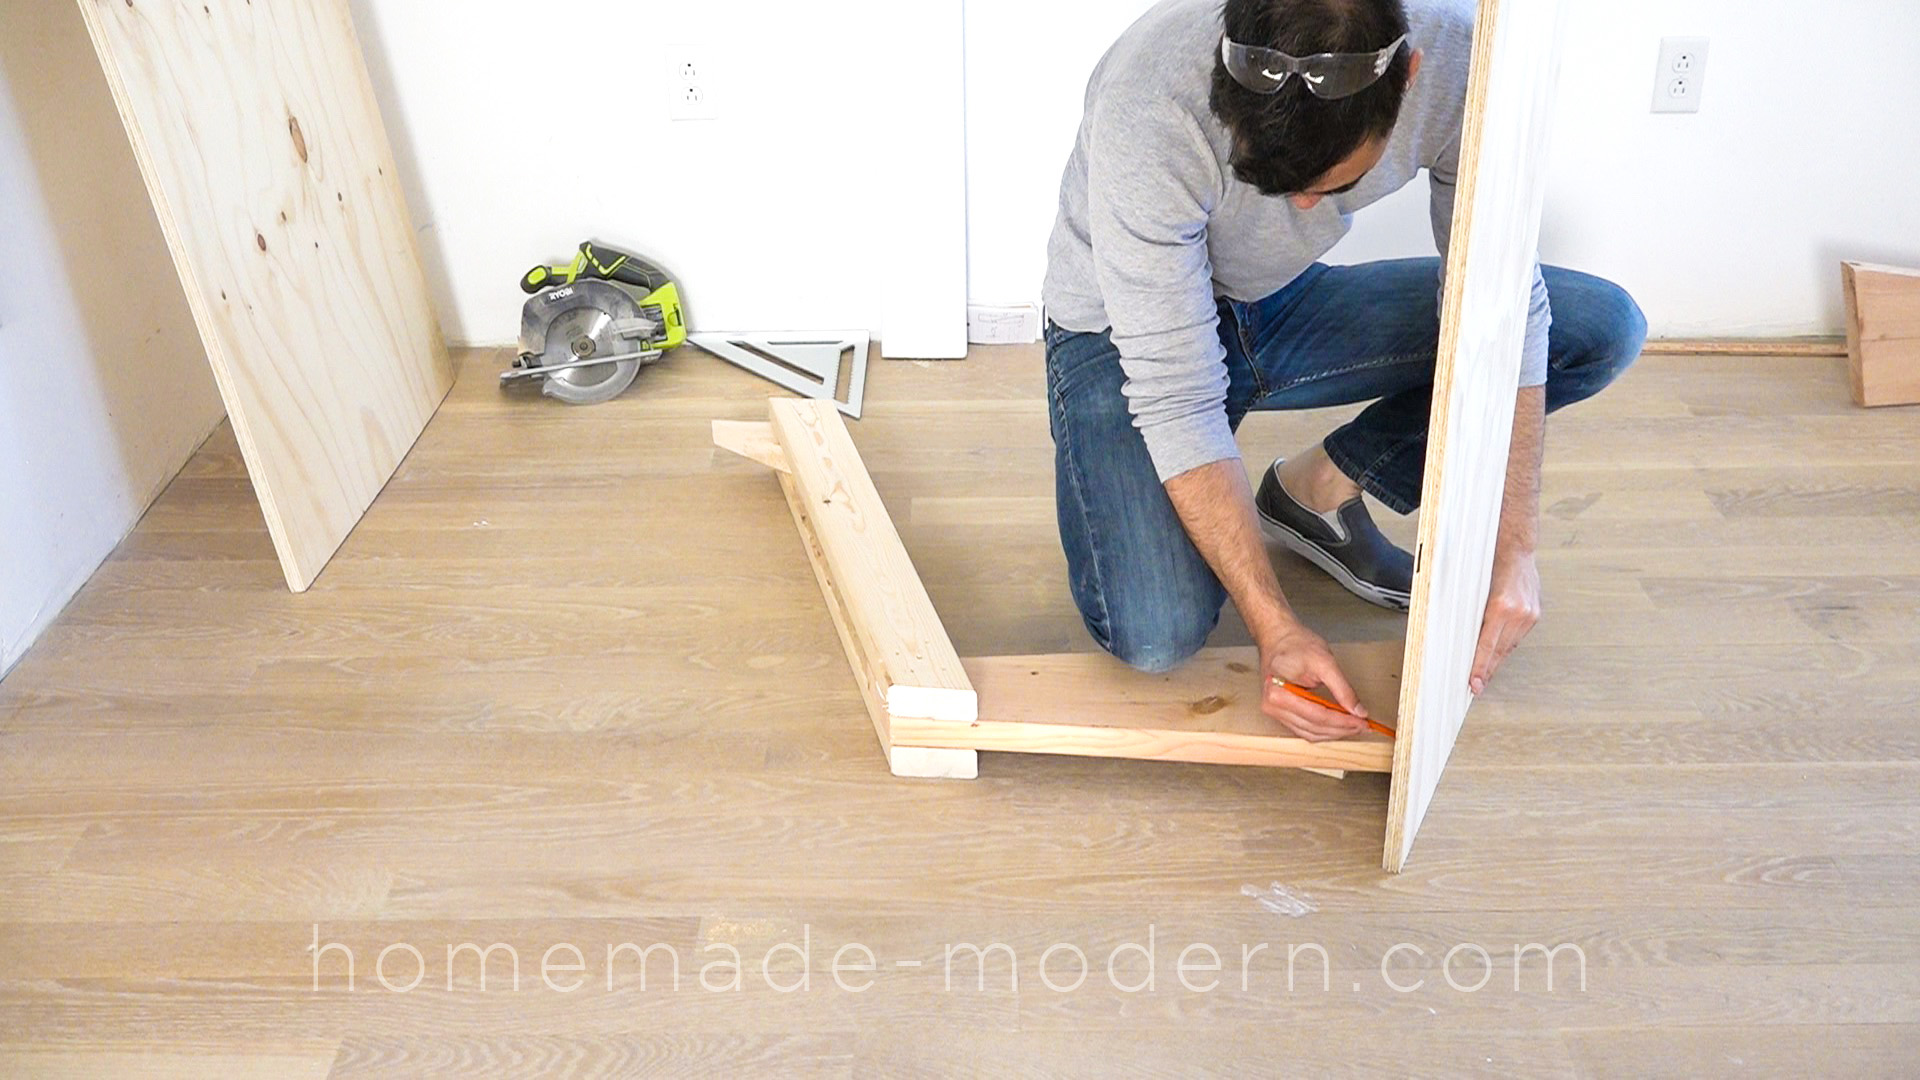
I held the plywood pieces up to the frame for field measurements and then marked the locations for the final angled cuts. I clamped down a straight edge and used some weights to hold the plywood still while I used both hands on the circular saw.
This DIY Zig Zag Sofa was designed specifically for lofts and has a built-in counter along the back. For more information go to HomeMade-Modern.com

This DIY Zig Zag Sofa was designed specifically for lofts and has a built-in counter along the back. For more information go to HomeMade-Modern.com

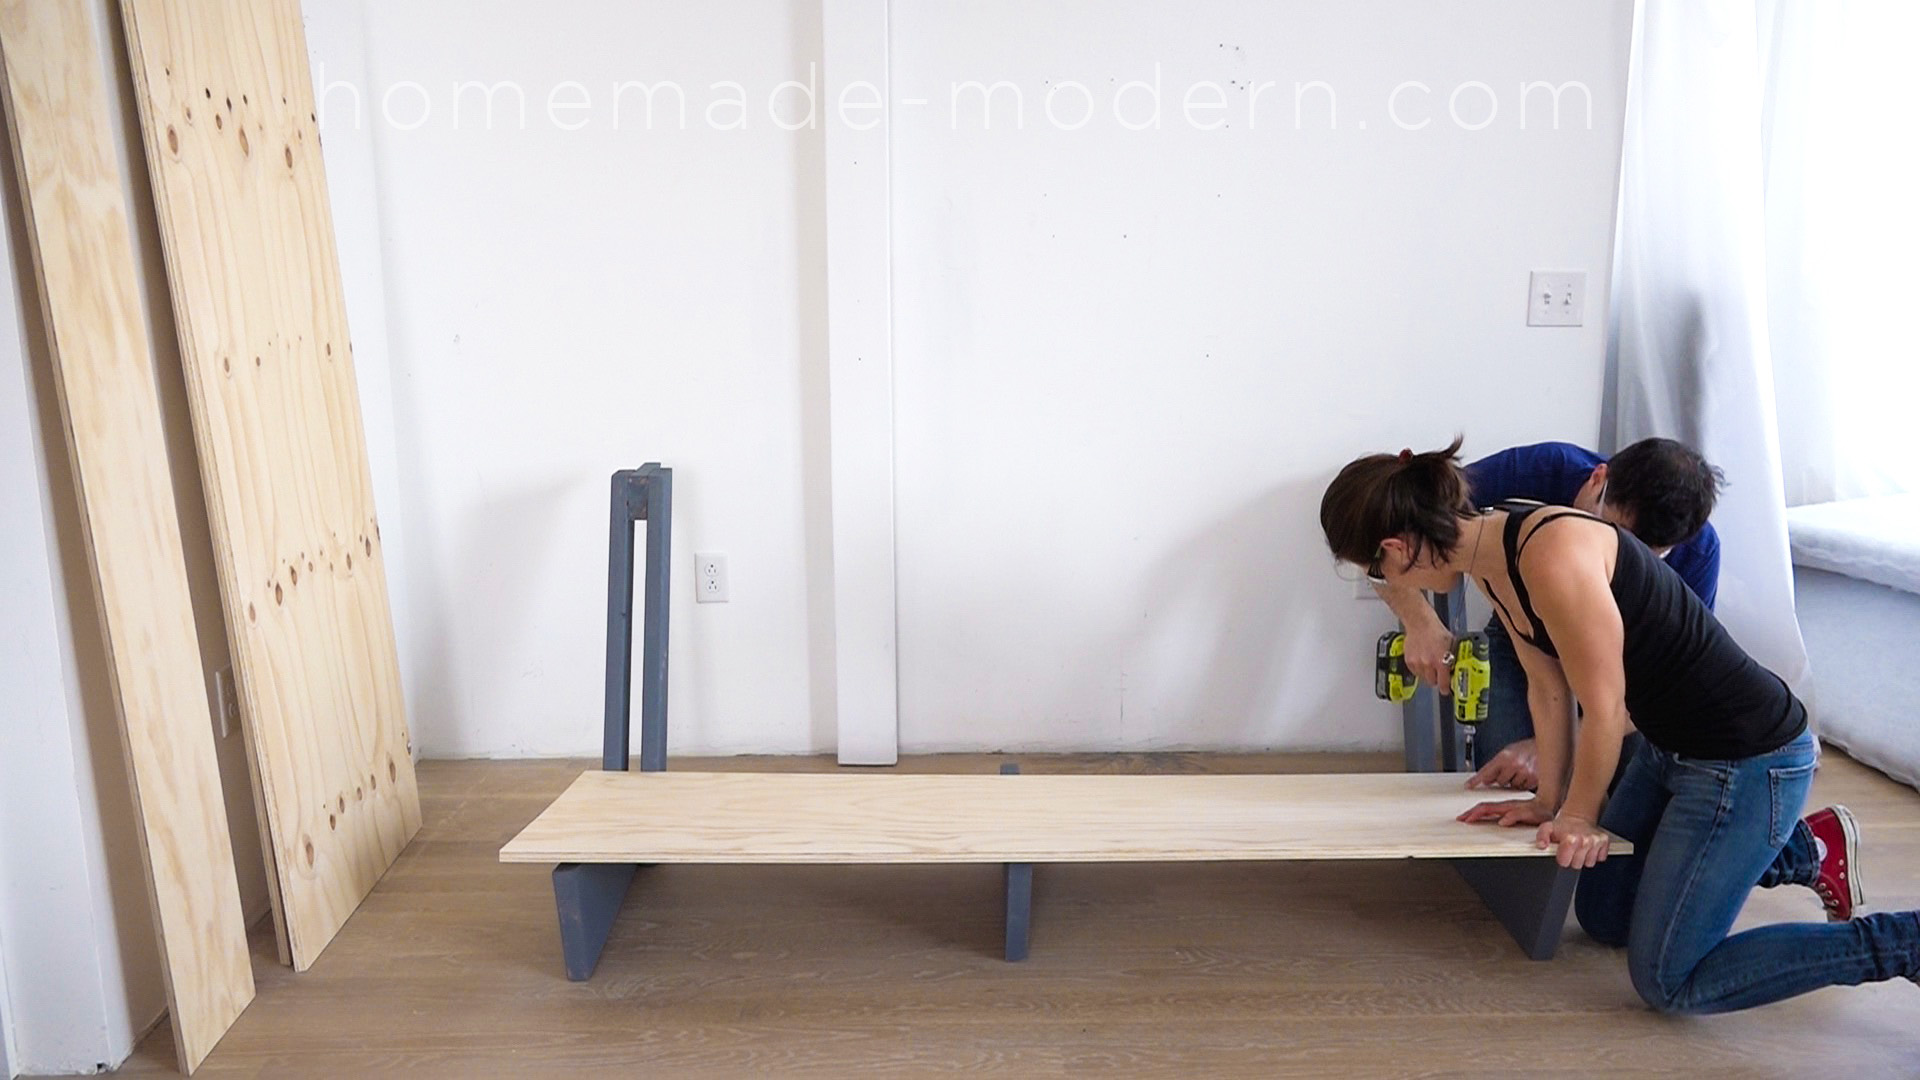
STEP 6: Assemble the sofa.
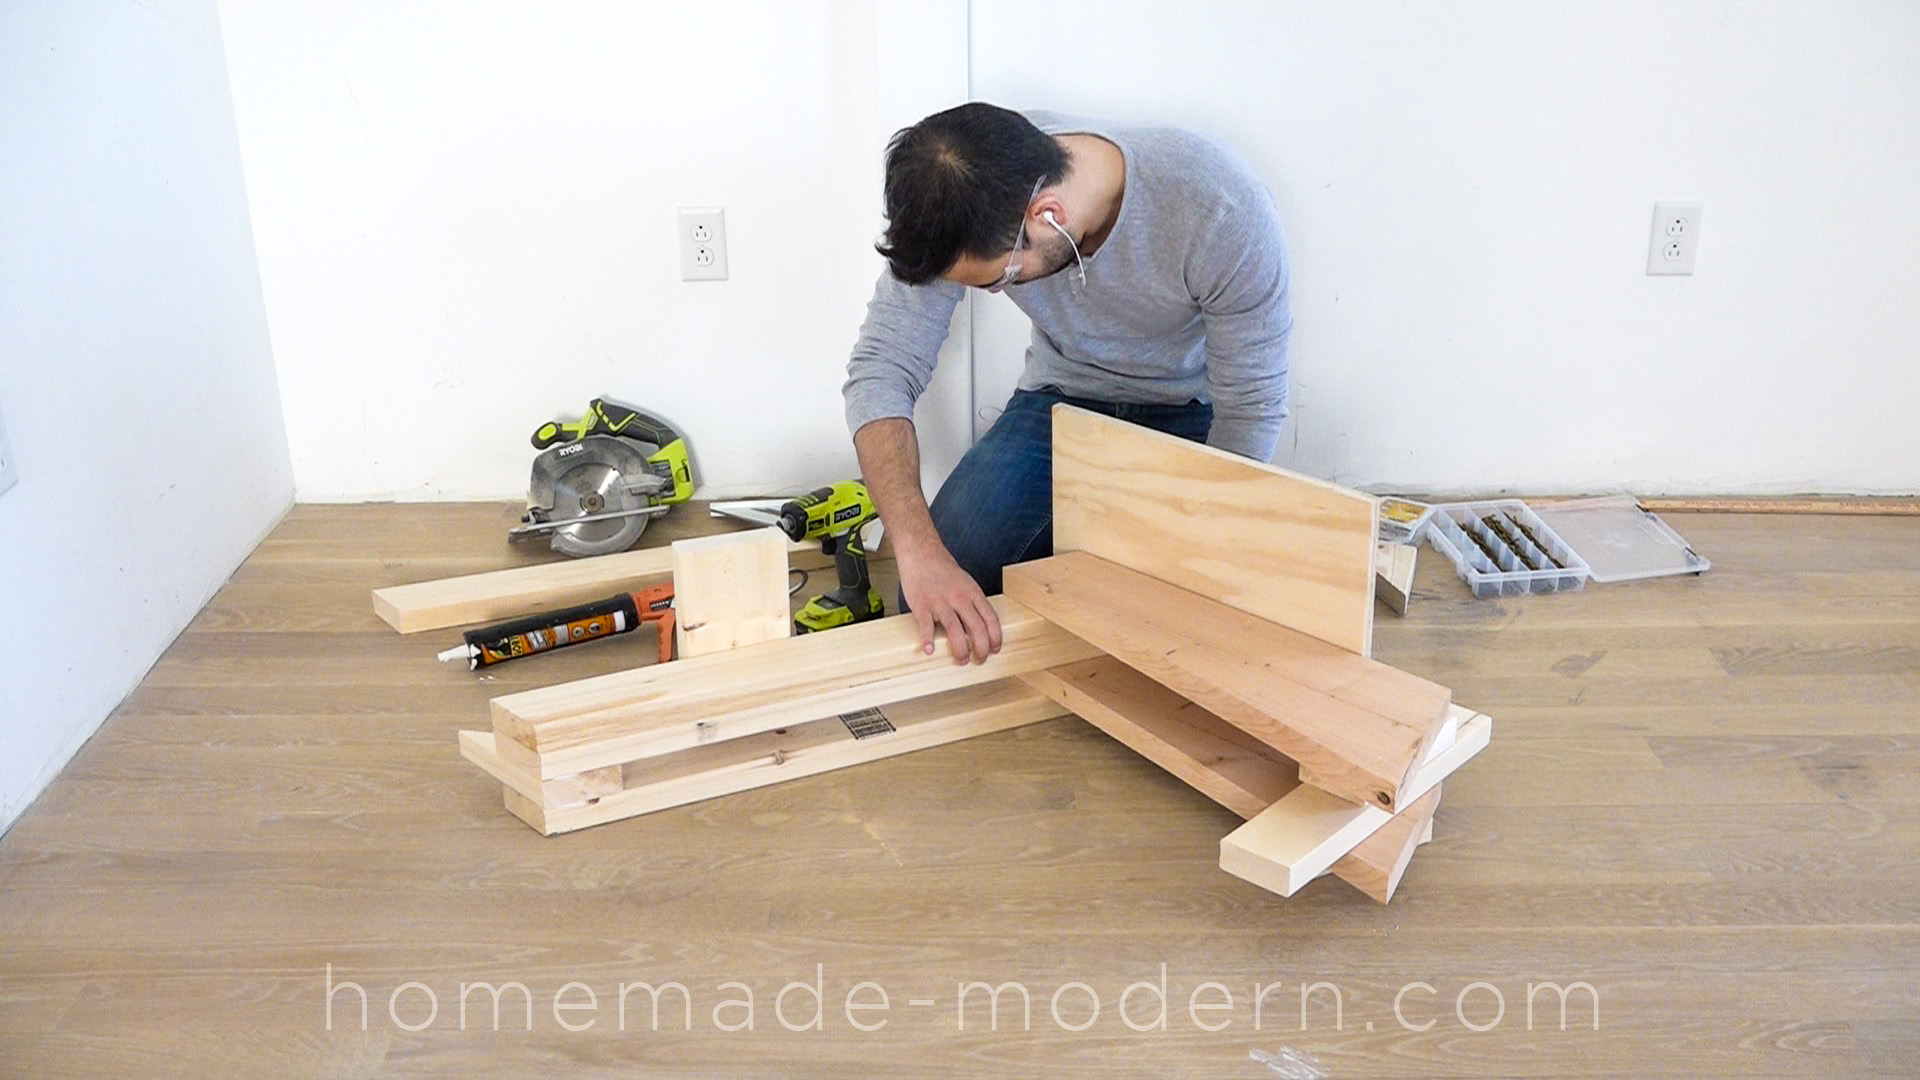
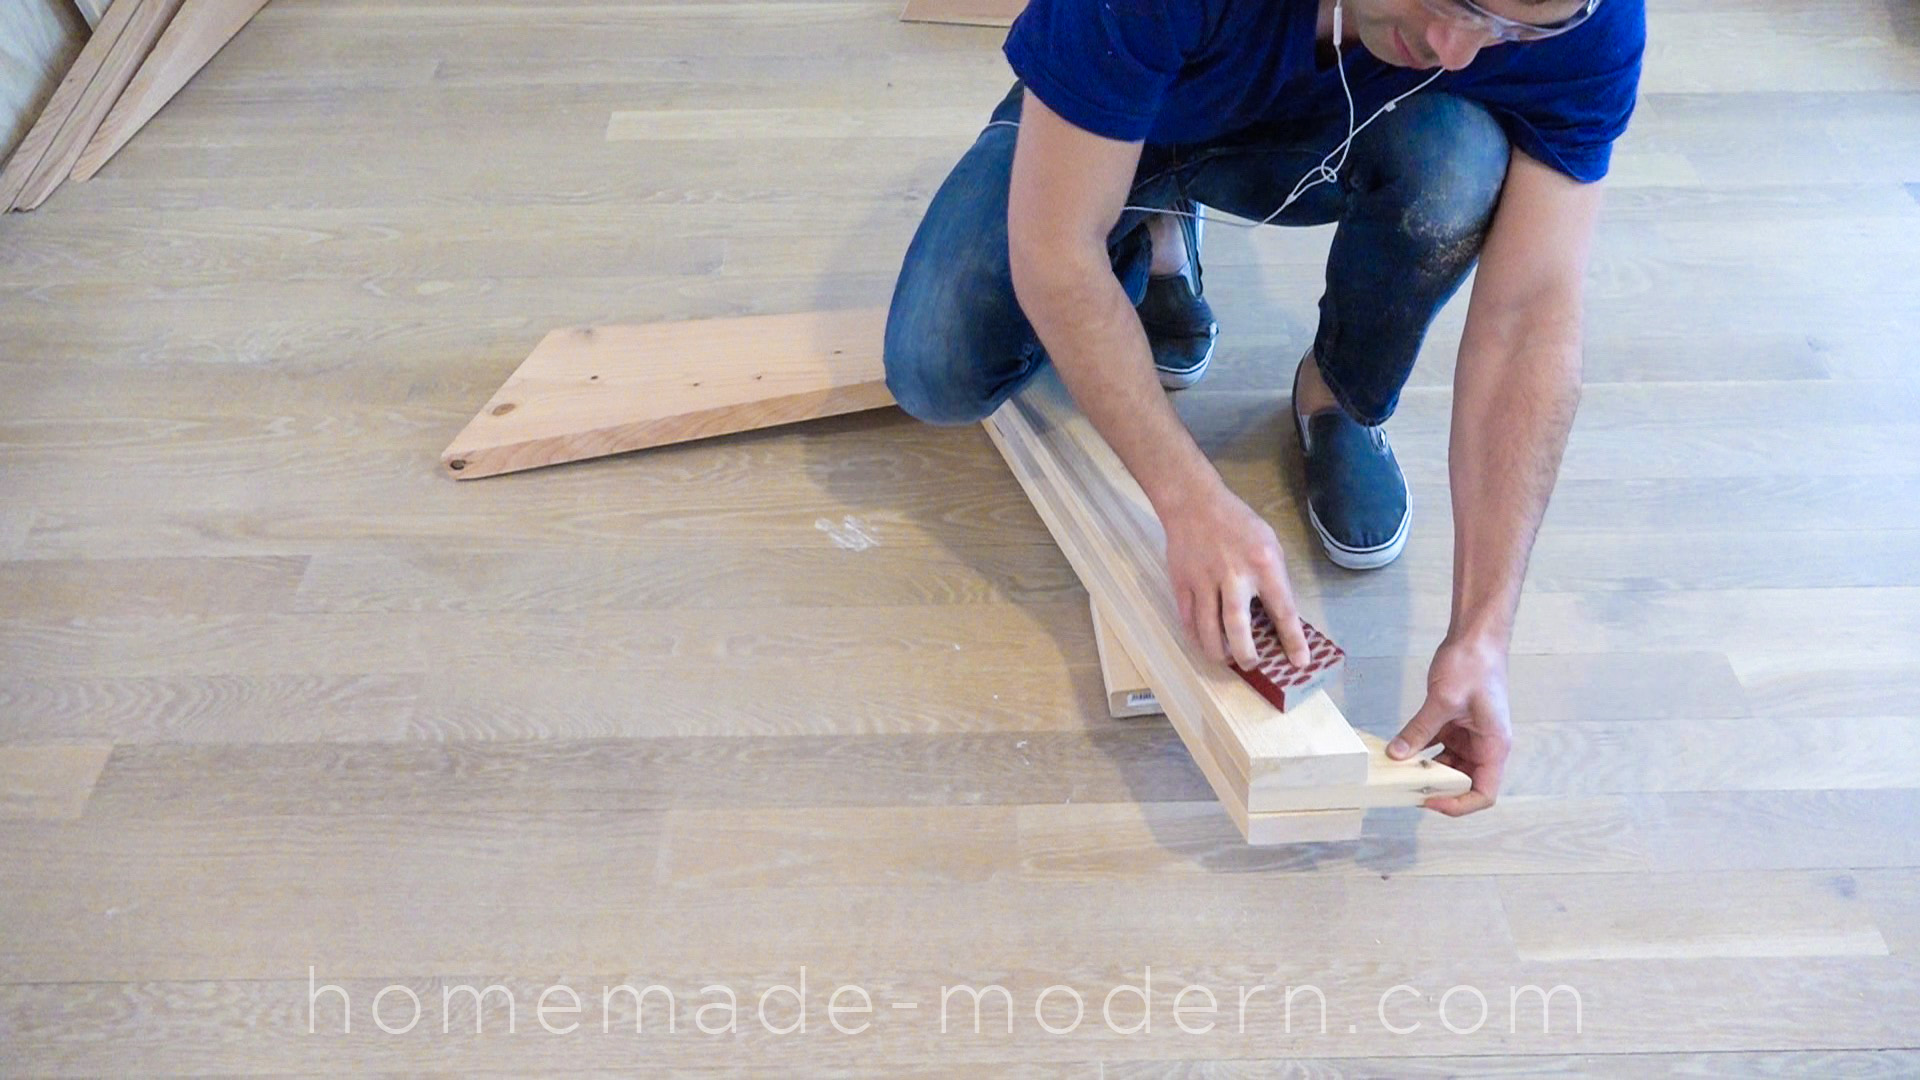
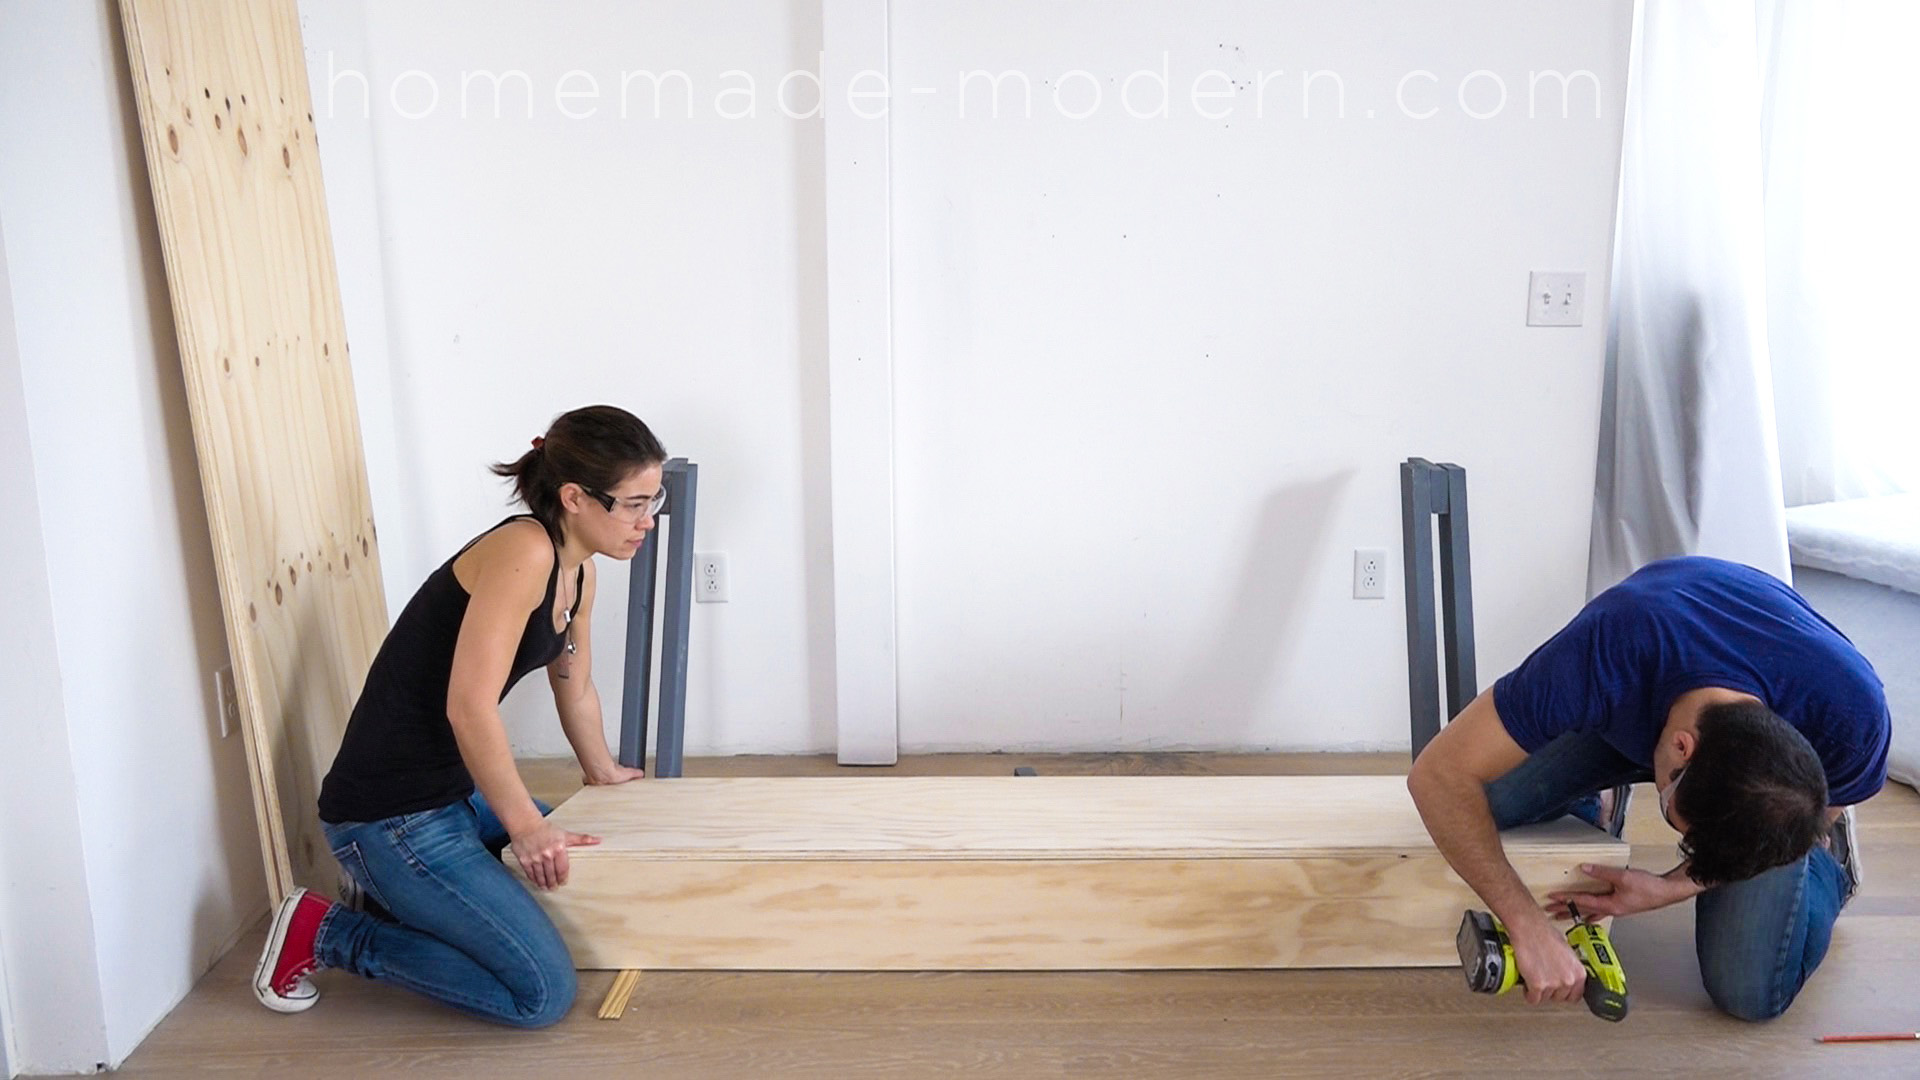
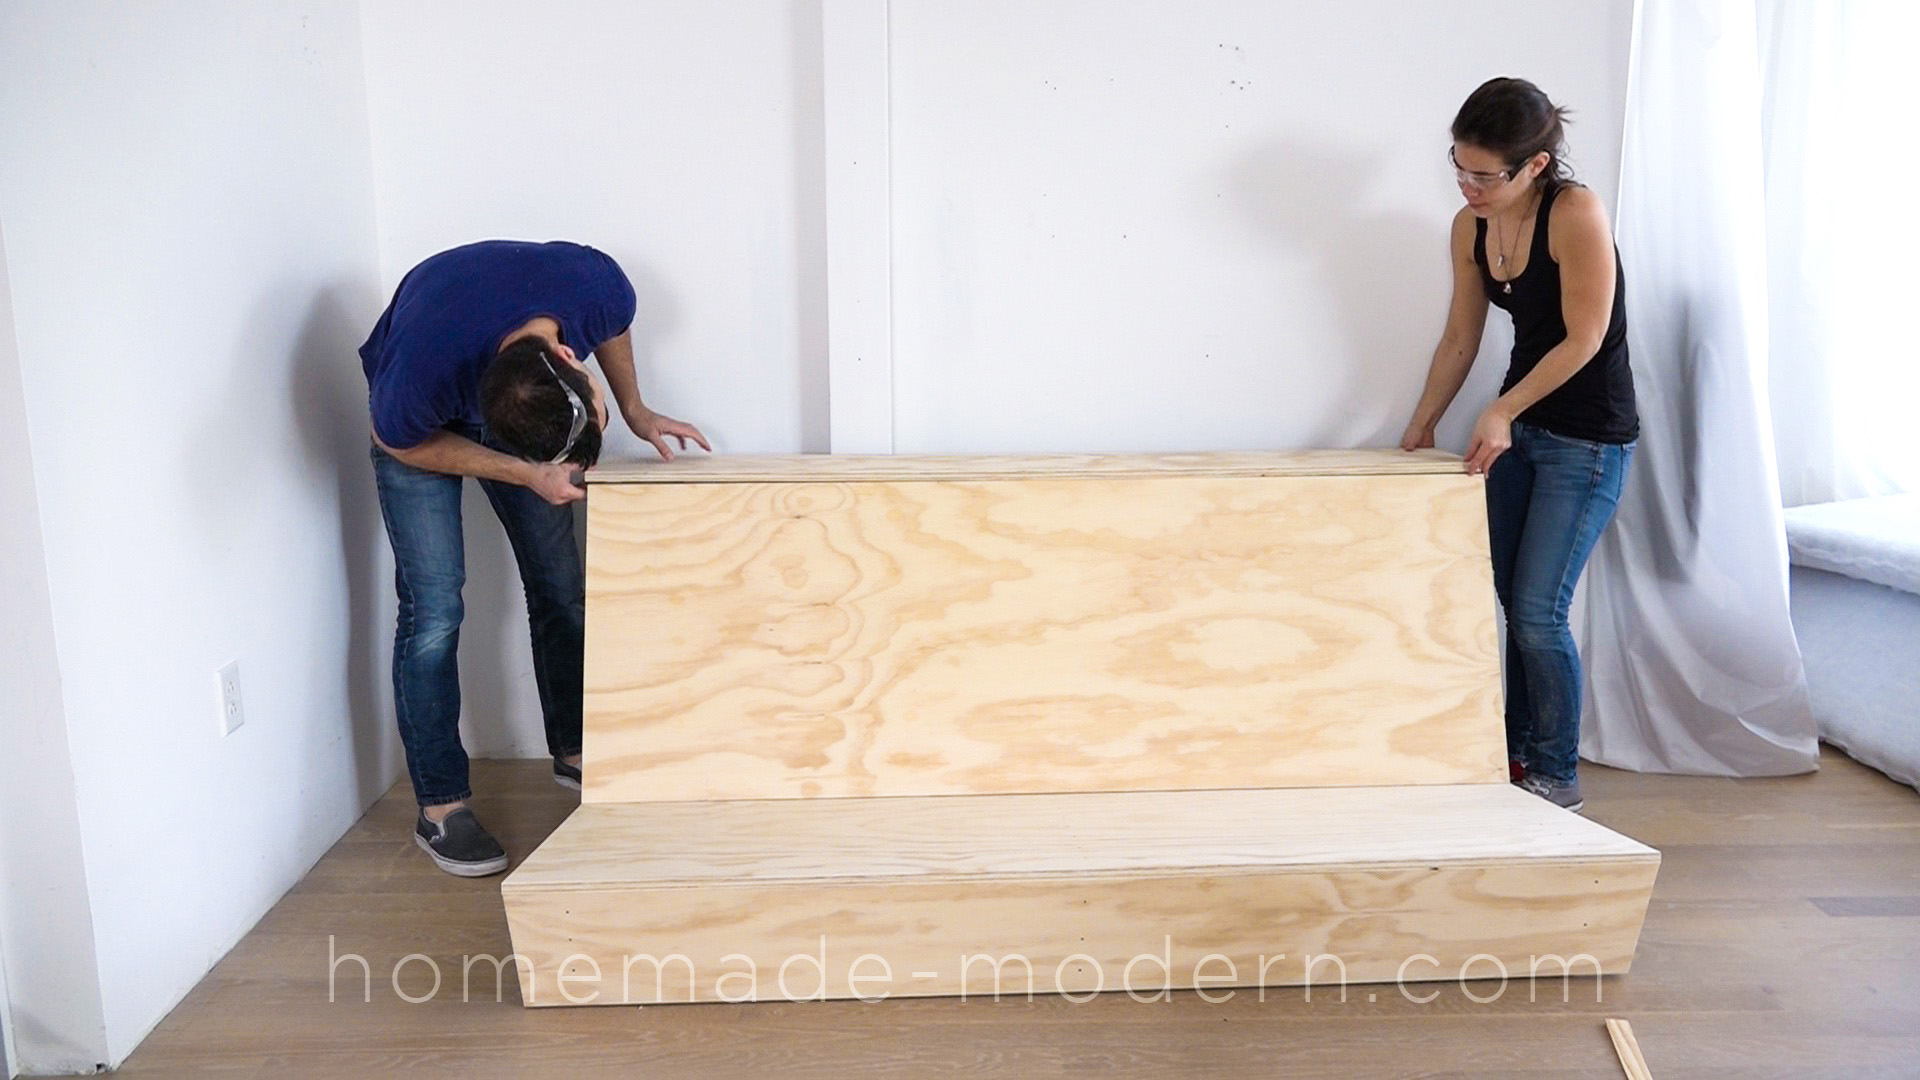
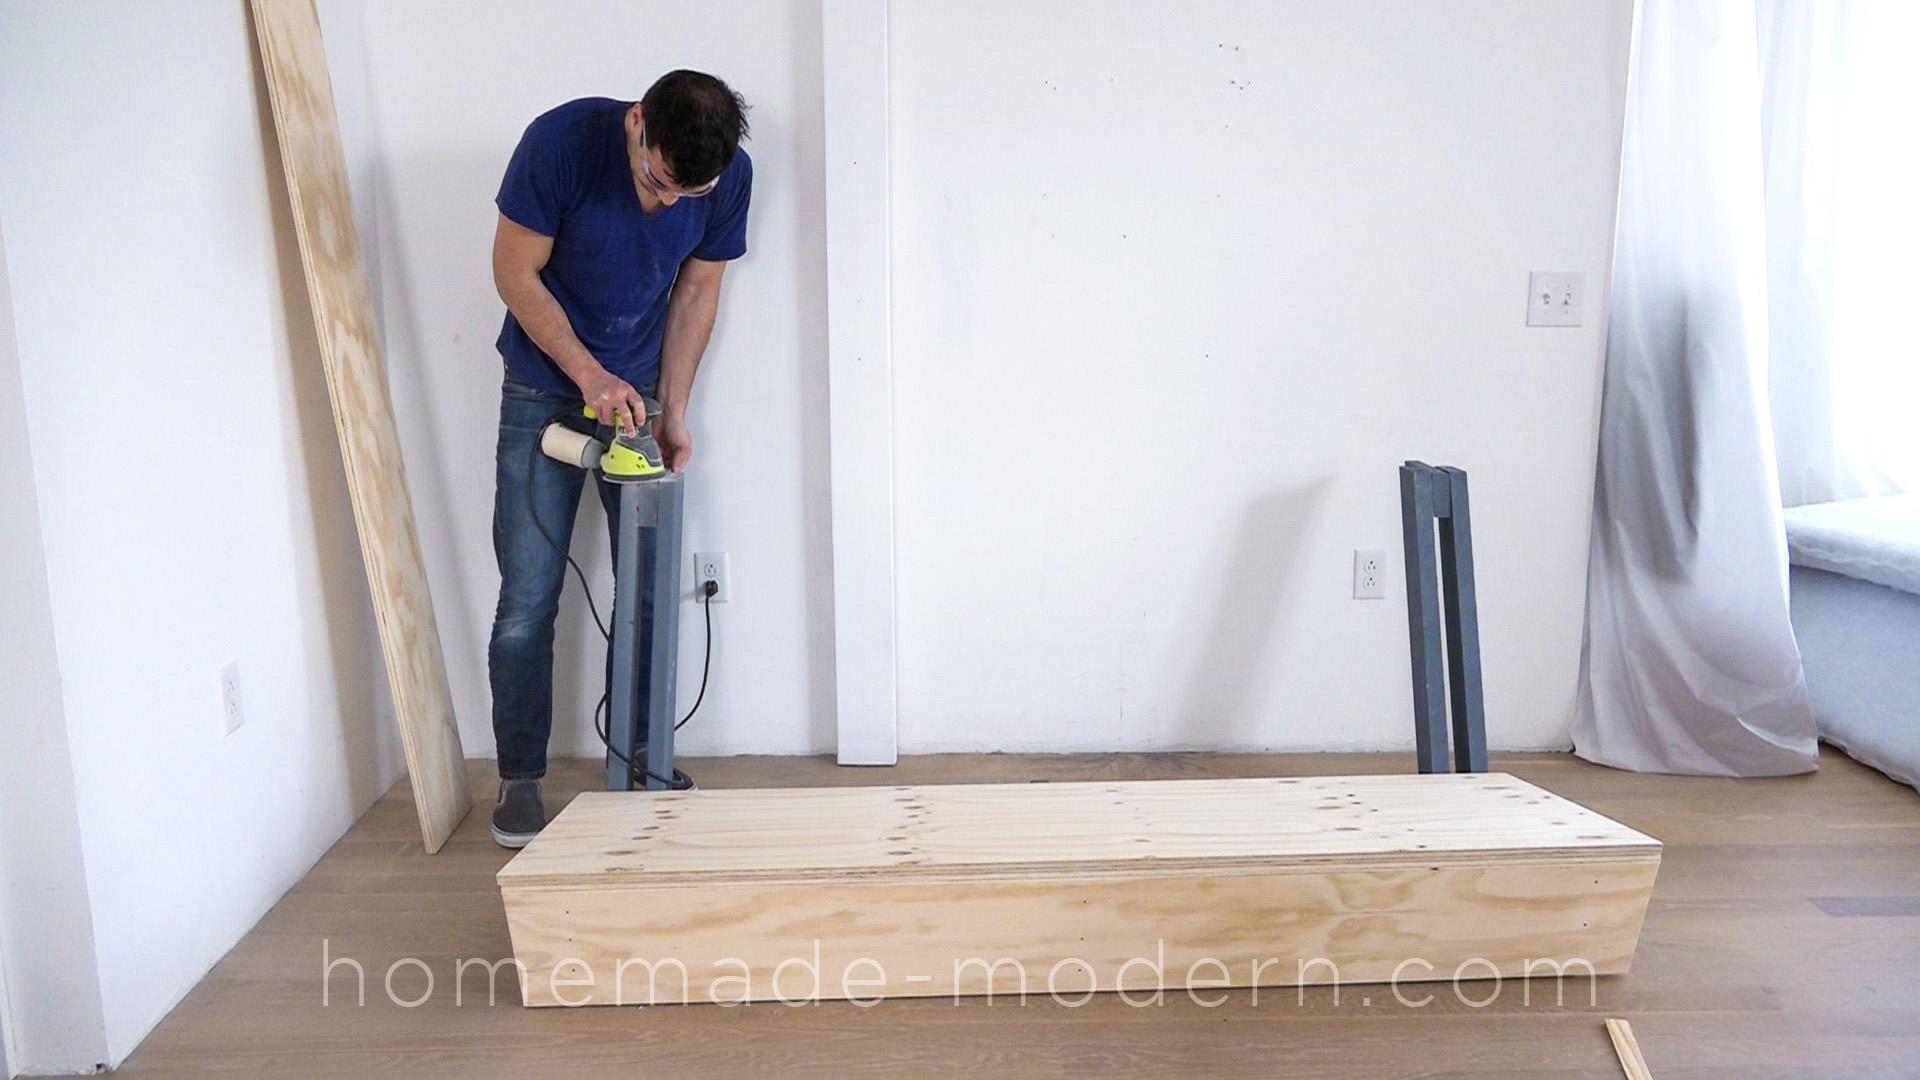
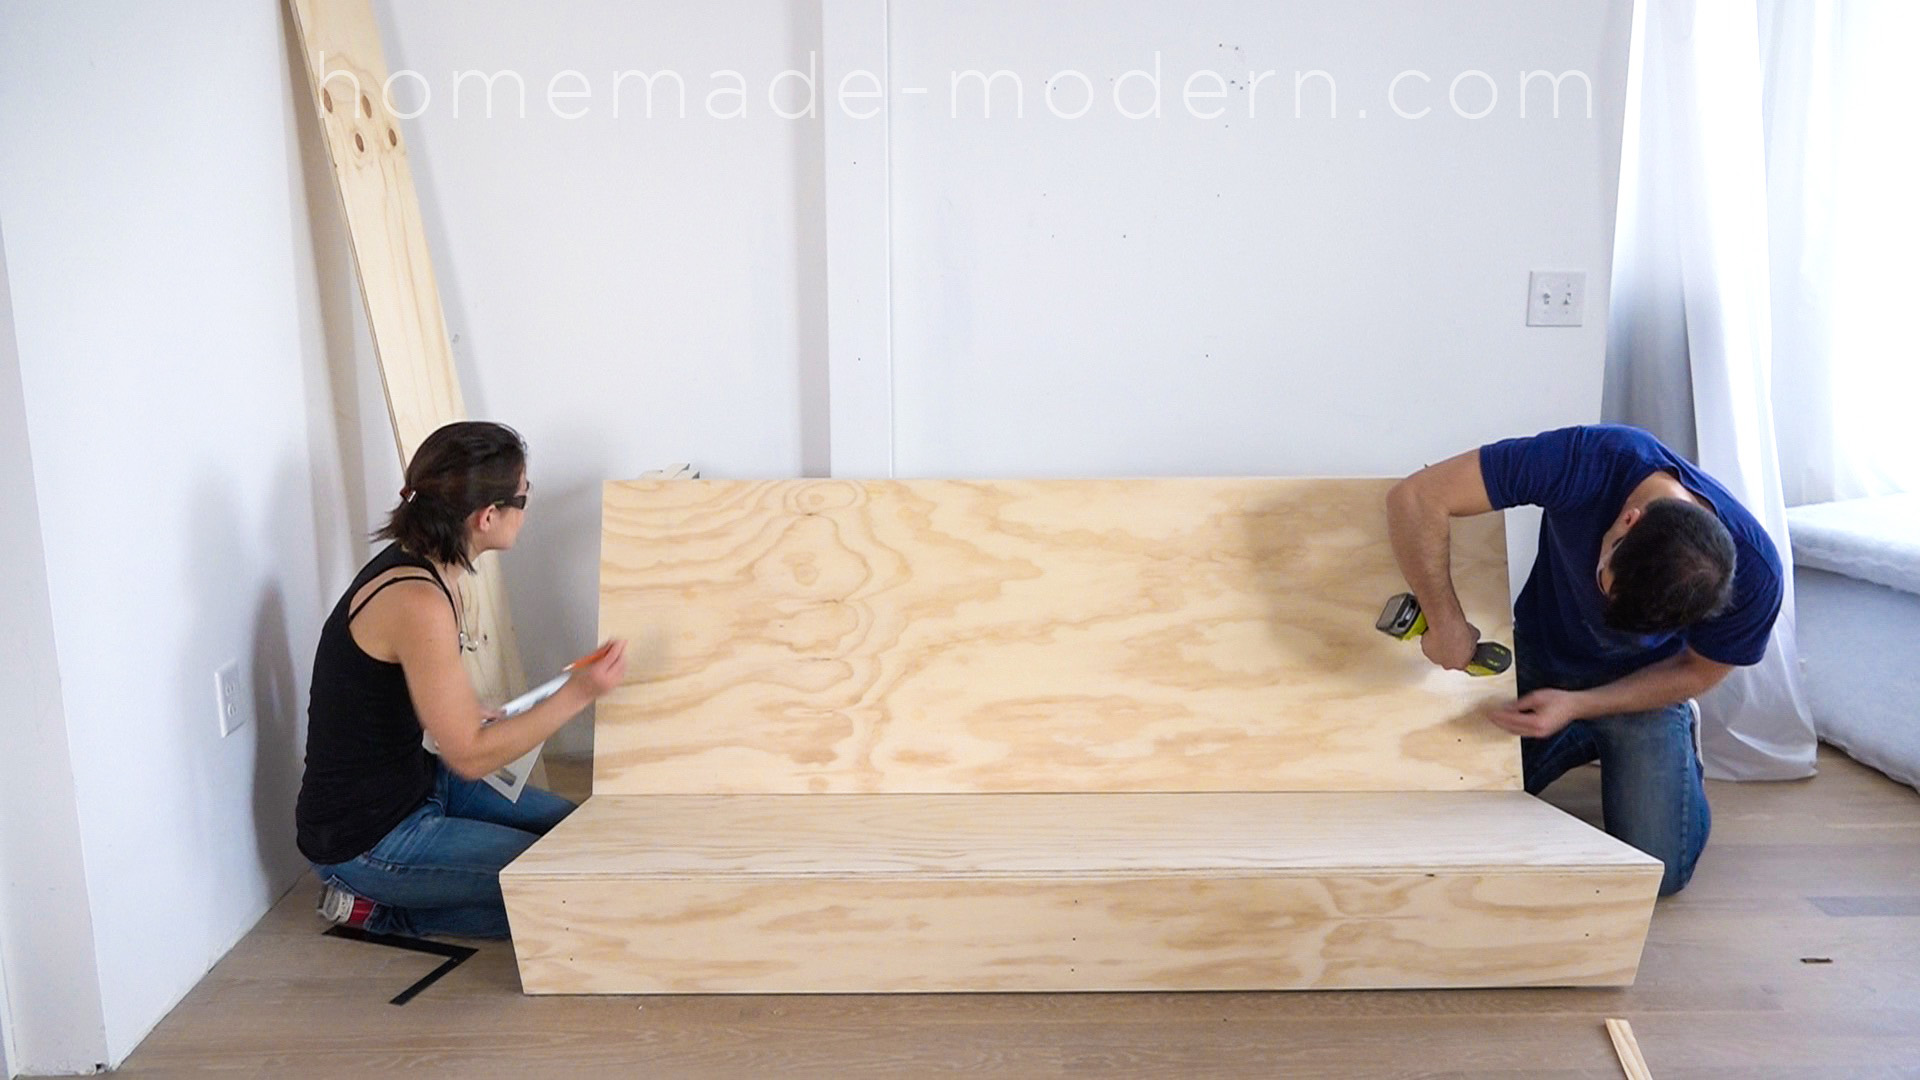
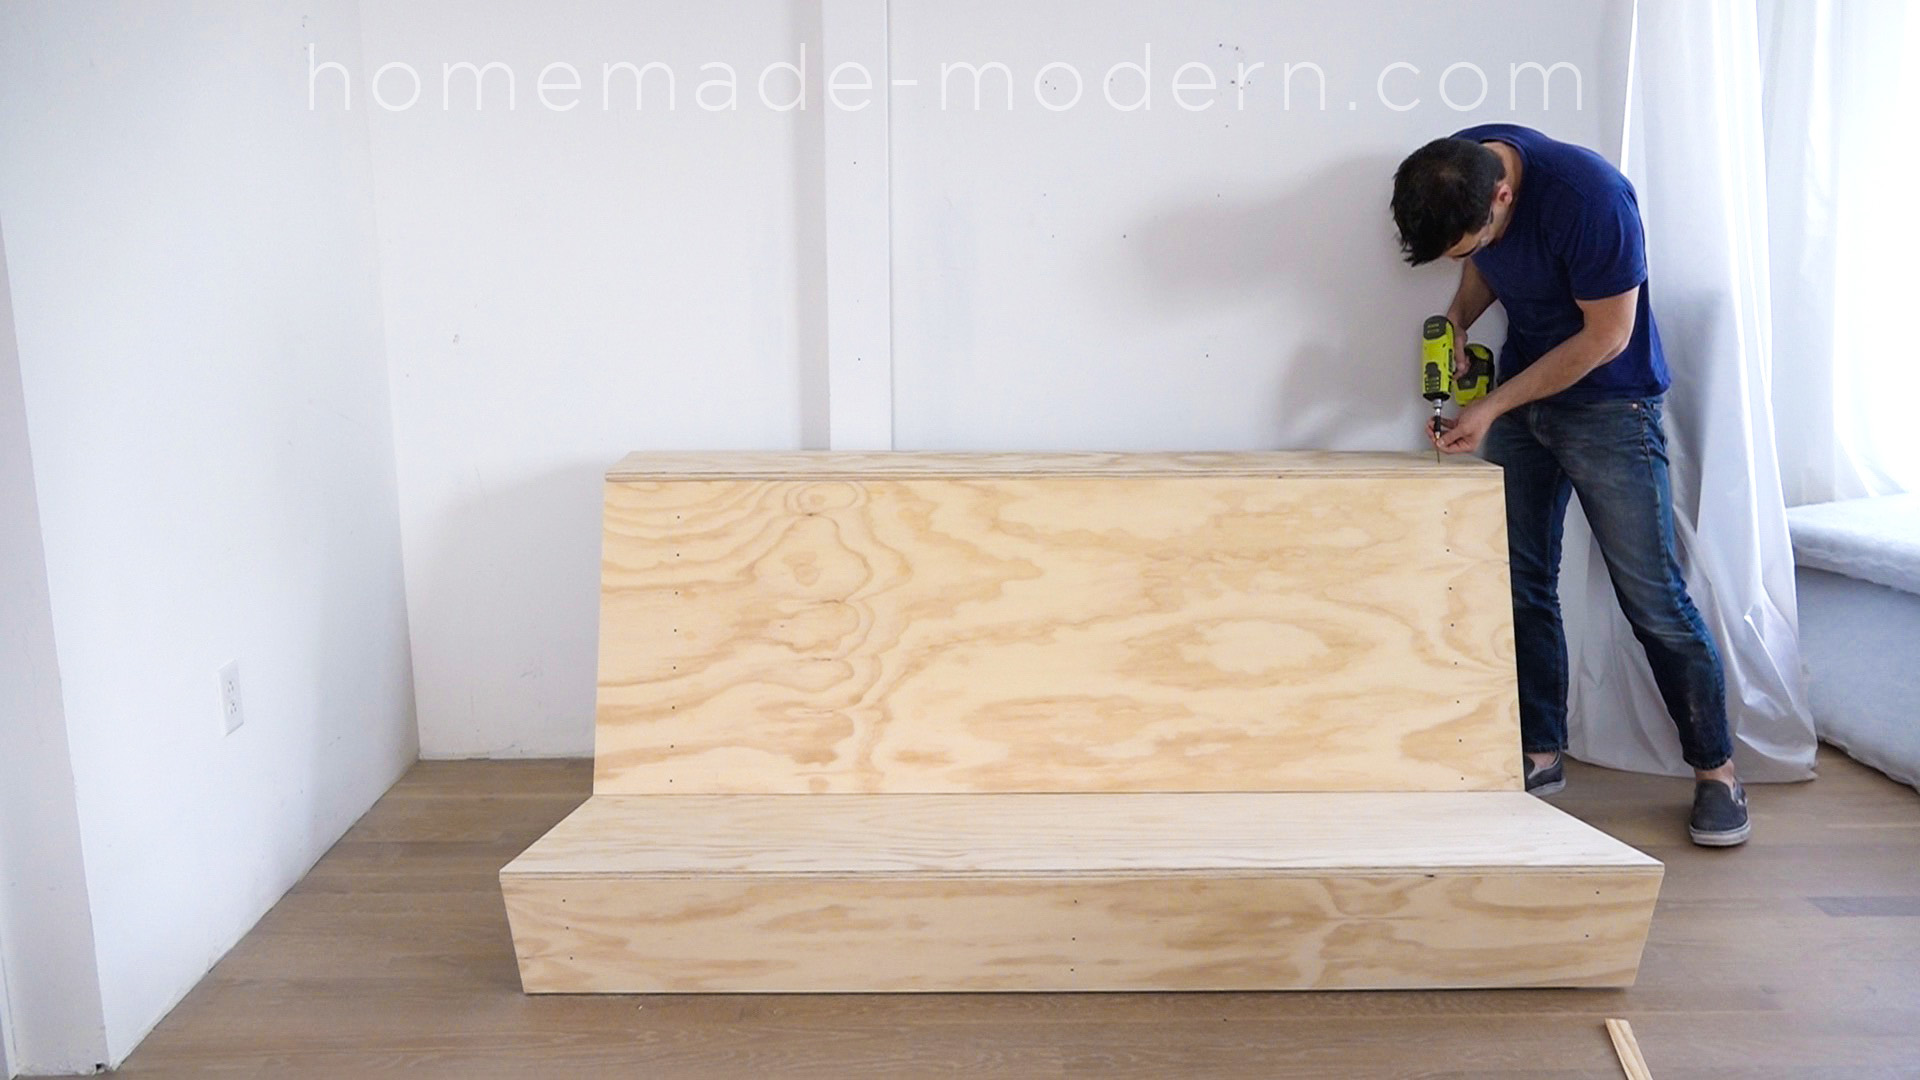
We placed the seat piece of plywood on the frames first and marked the location of where we wanted to drive the screws. We used 2” long finish screws to fasten the plywood to the frames. We screwed on the lower front piece next. We tested out the fit for the back piece and the counter piece and realized that we needed to sand down one of the frames a little bit. I used my orbital sander with an 60 grit sanding pad to grind away just enough so that the counter would meet the back piece of plywood perfectly.
This DIY Zig Zag Sofa was designed specifically for lofts and has a built-in counter along the back. For more information go to HomeMade-Modern.com

This DIY Zig Zag Sofa was designed specifically for lofts and has a built-in counter along the back. For more information go to HomeMade-Modern.com

This DIY Zig Zag Sofa was designed specifically for lofts and has a built-in counter along the back. For more information go to HomeMade-Modern.com

This DIY Zig Zag Sofa was designed specifically for lofts and has a built-in counter along the back. For more information go to HomeMade-Modern.com

This DIY Zig Zag Sofa was designed specifically for lofts and has a built-in counter along the back. For more information go to HomeMade-Modern.com

This DIY Zig Zag Sofa was designed specifically for lofts and has a built-in counter along the back. For more information go to HomeMade-Modern.com

This DIY Zig Zag Sofa was designed specifically for lofts and has a built-in counter along the back. For more information go to HomeMade-Modern.com

This DIY Zig Zag Sofa was designed specifically for lofts and has a built-in counter along the back. For more information go to HomeMade-Modern.com

This DIY Zig Zag Sofa was designed specifically for lofts and has a built-in counter along the back. For more information go to HomeMade-Modern.com

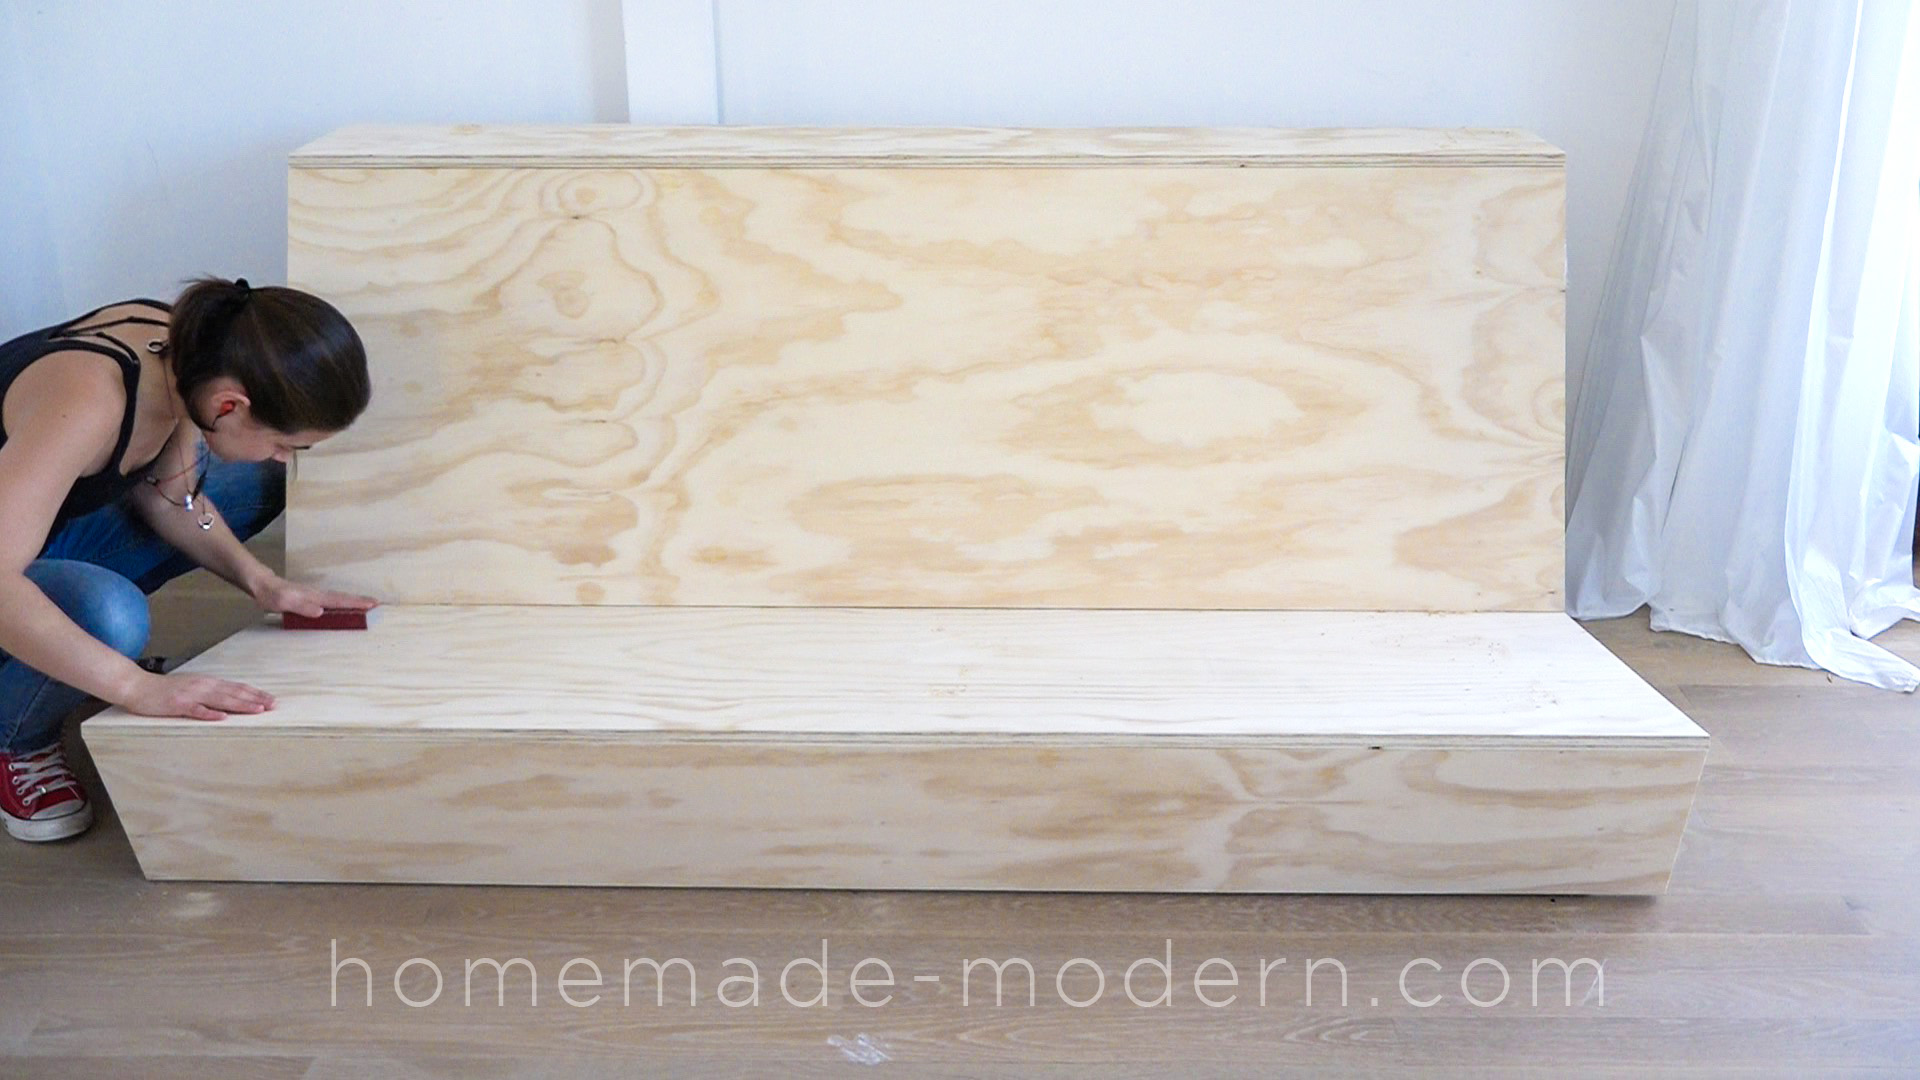
STEP 7: Putty the screw holes and sand the plywood.
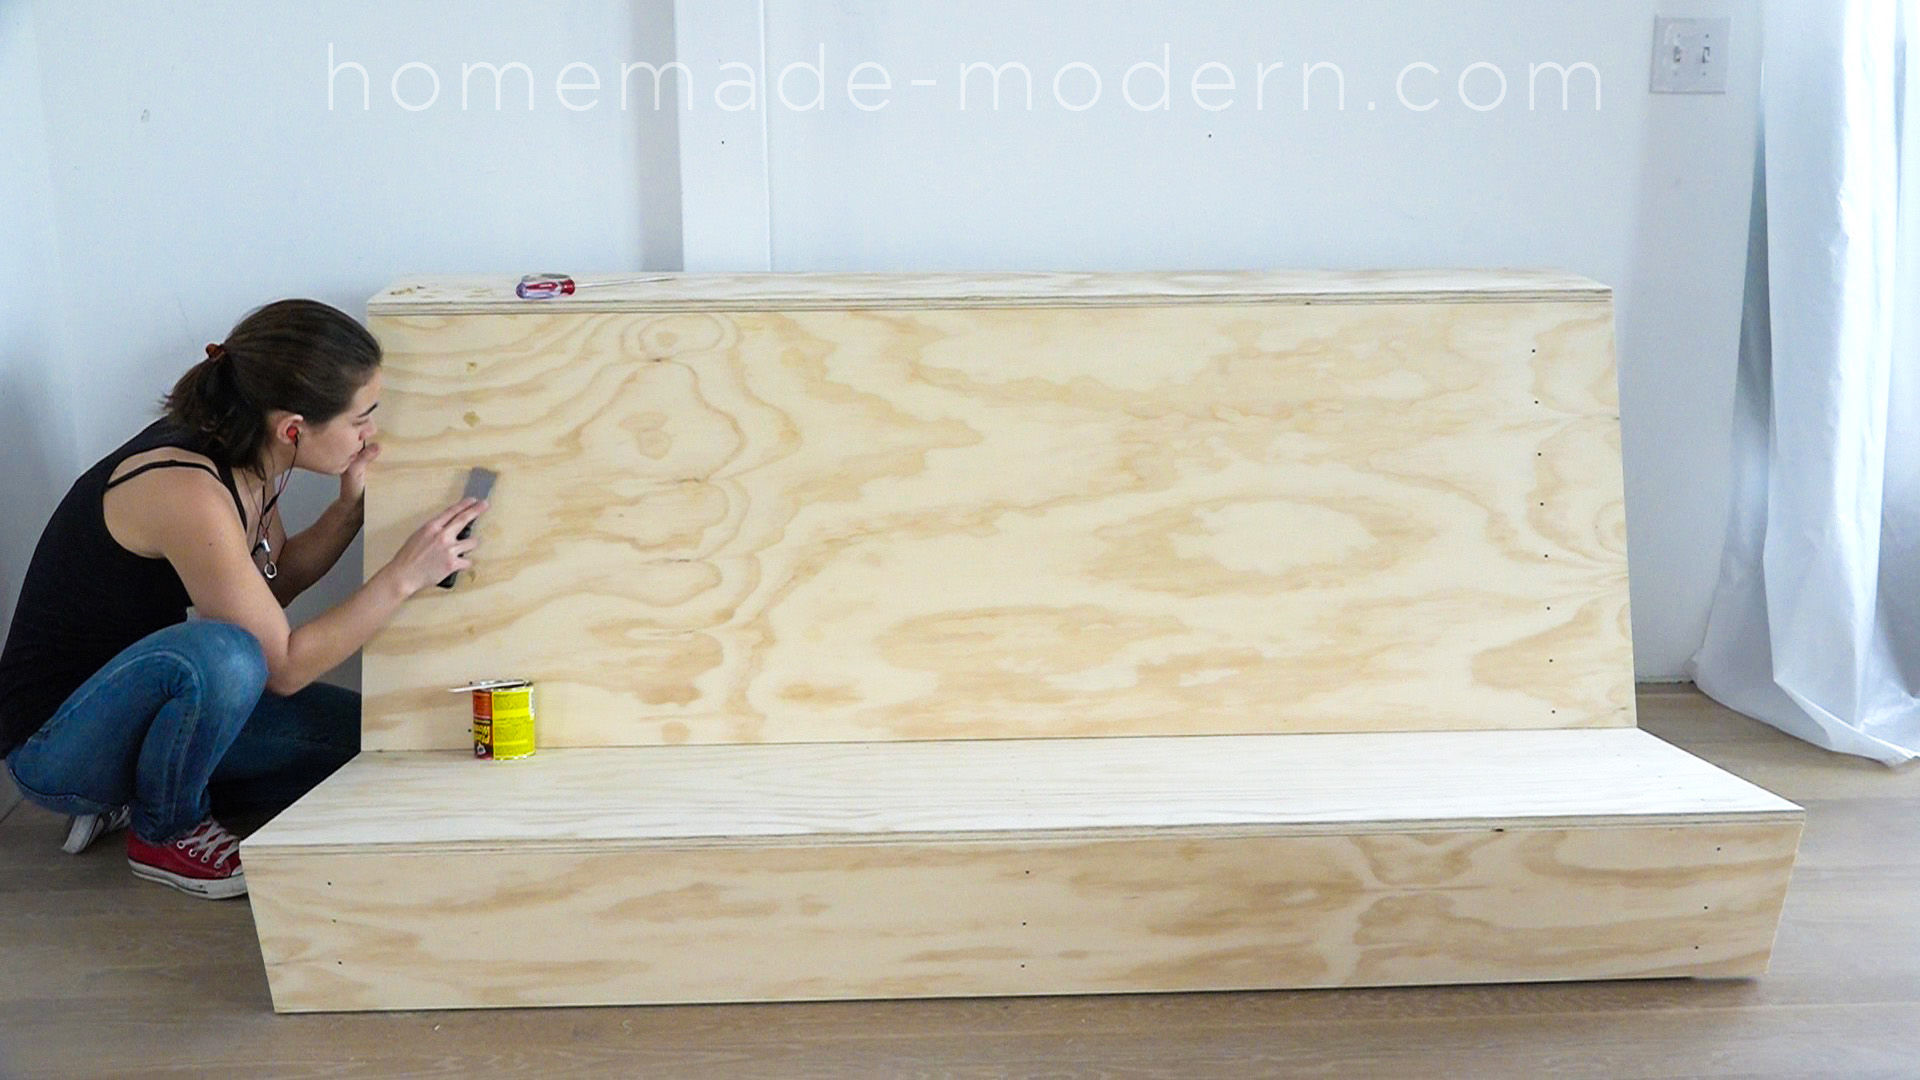
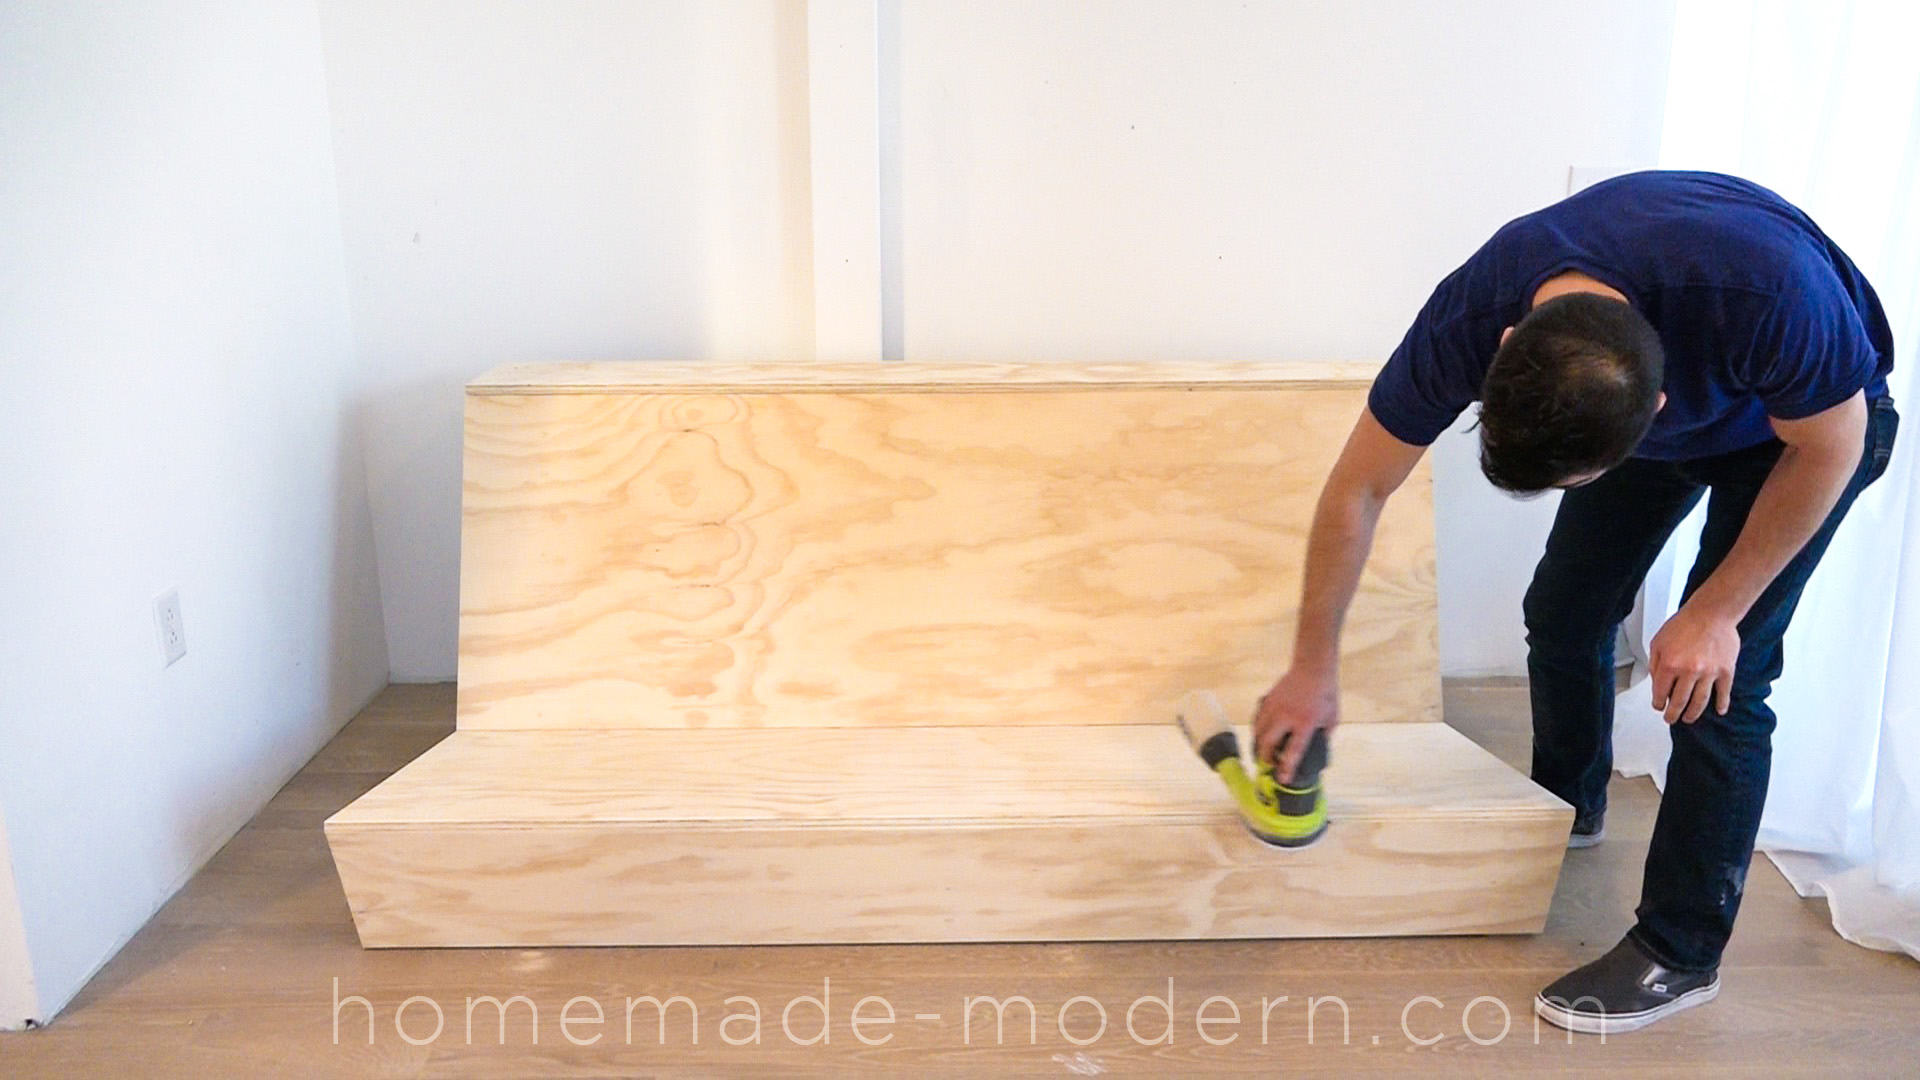
We used wood putty to fill the up the holes left by the screws. Once the putty had dried we sanded it flush to the plywood. I used my orbital sander to smooth down the edges of the plywood and to round over the edges just a little bit.
This DIY Zig Zag Sofa was designed specifically for lofts and has a built-in counter along the back. For more information go to HomeMade-Modern.com

This DIY Zig Zag Sofa was designed specifically for lofts and has a built-in counter along the back. For more information go to HomeMade-Modern.com

STEP 8: Seal the plywood.
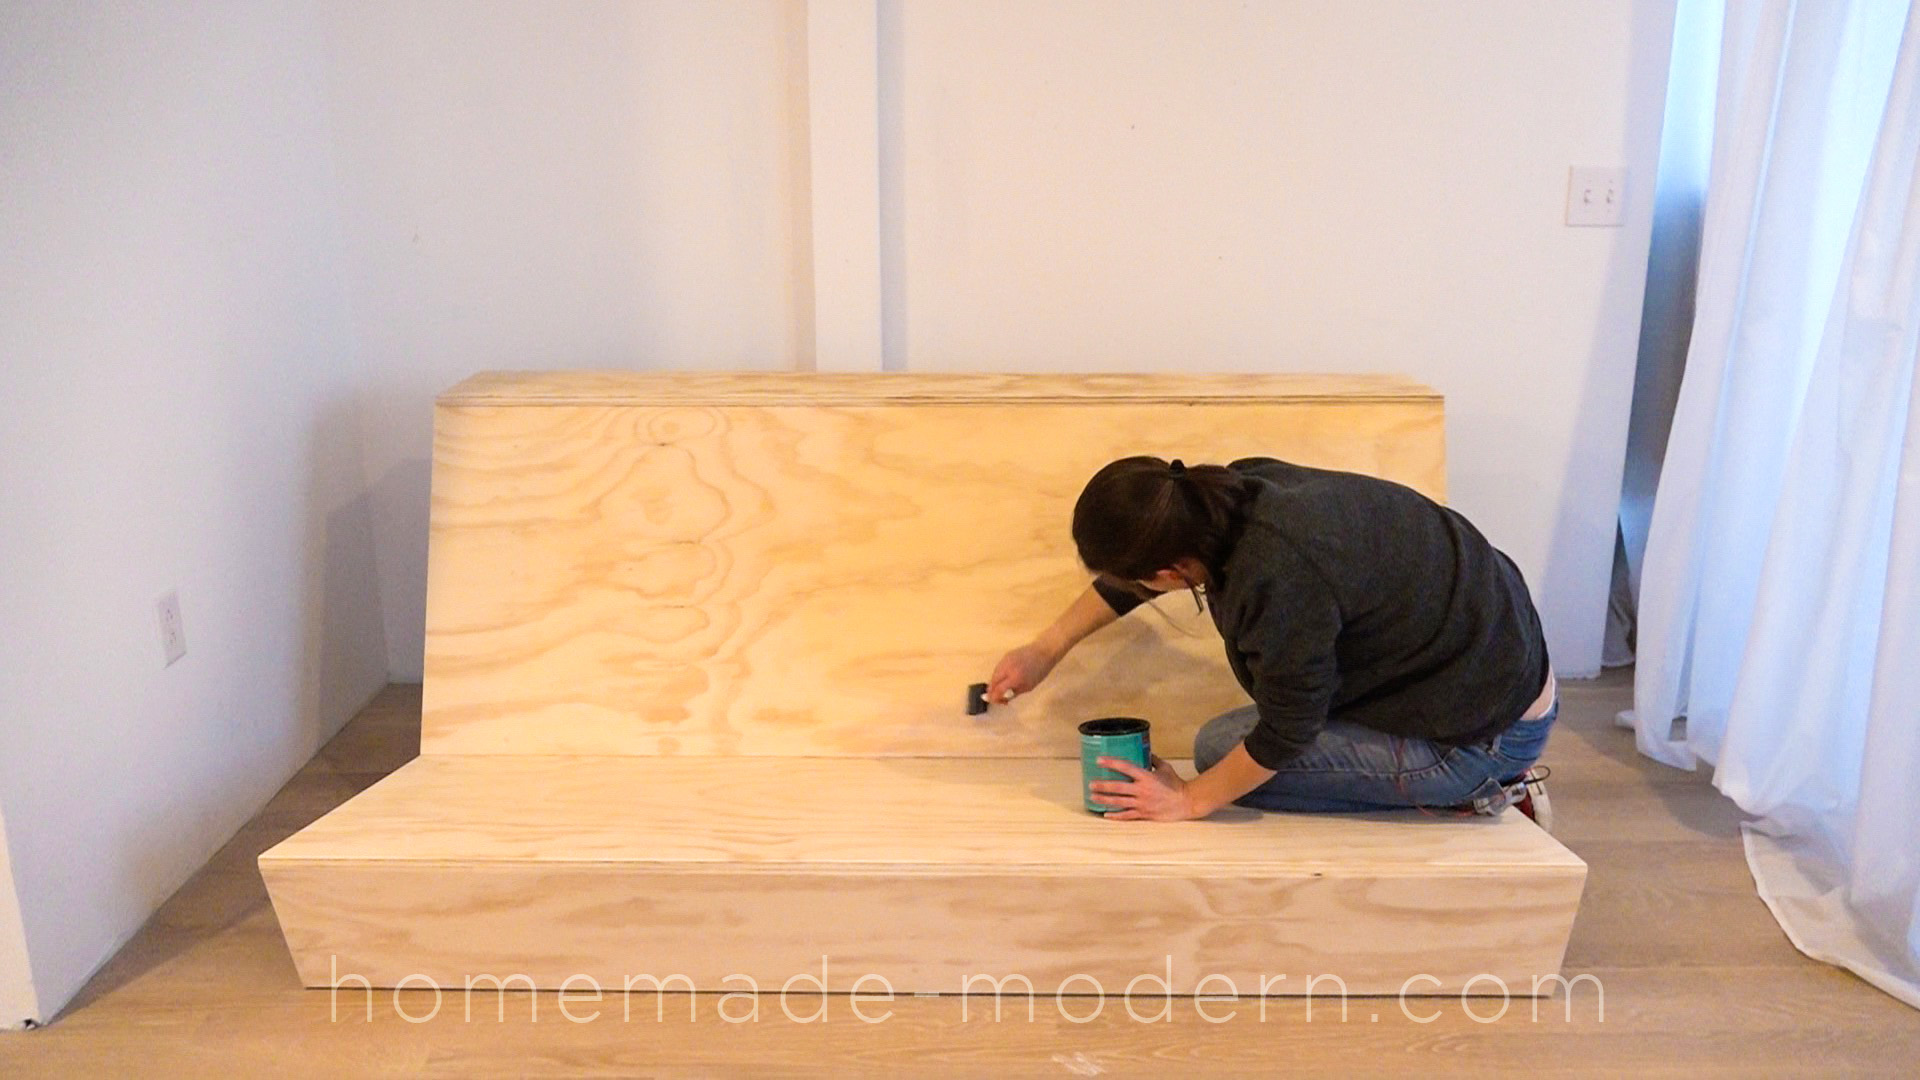
We used minwax polycrylic to seal the plywood.
This DIY Zig Zag Sofa was designed specifically for lofts and has a built-in counter along the back. For more information go to HomeMade-Modern.com

STEP 9: Cover the cushions with leather.
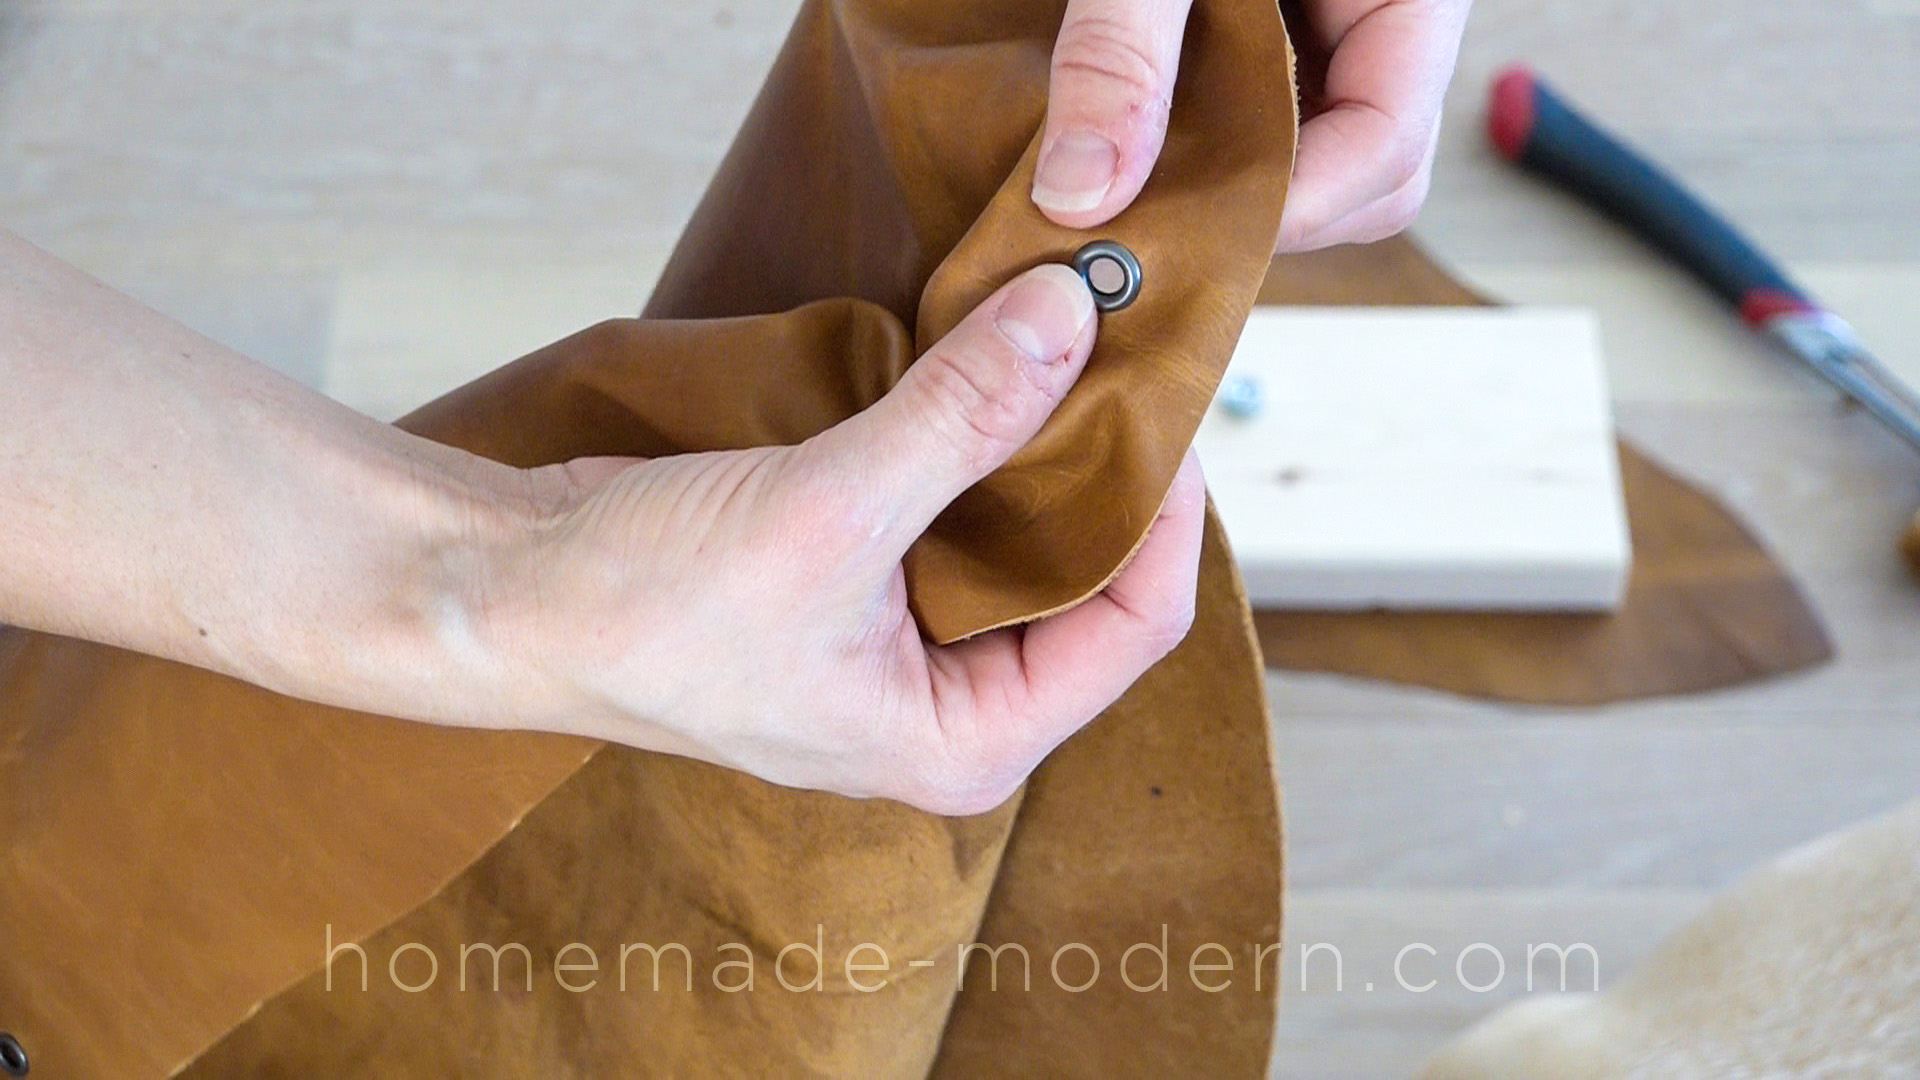
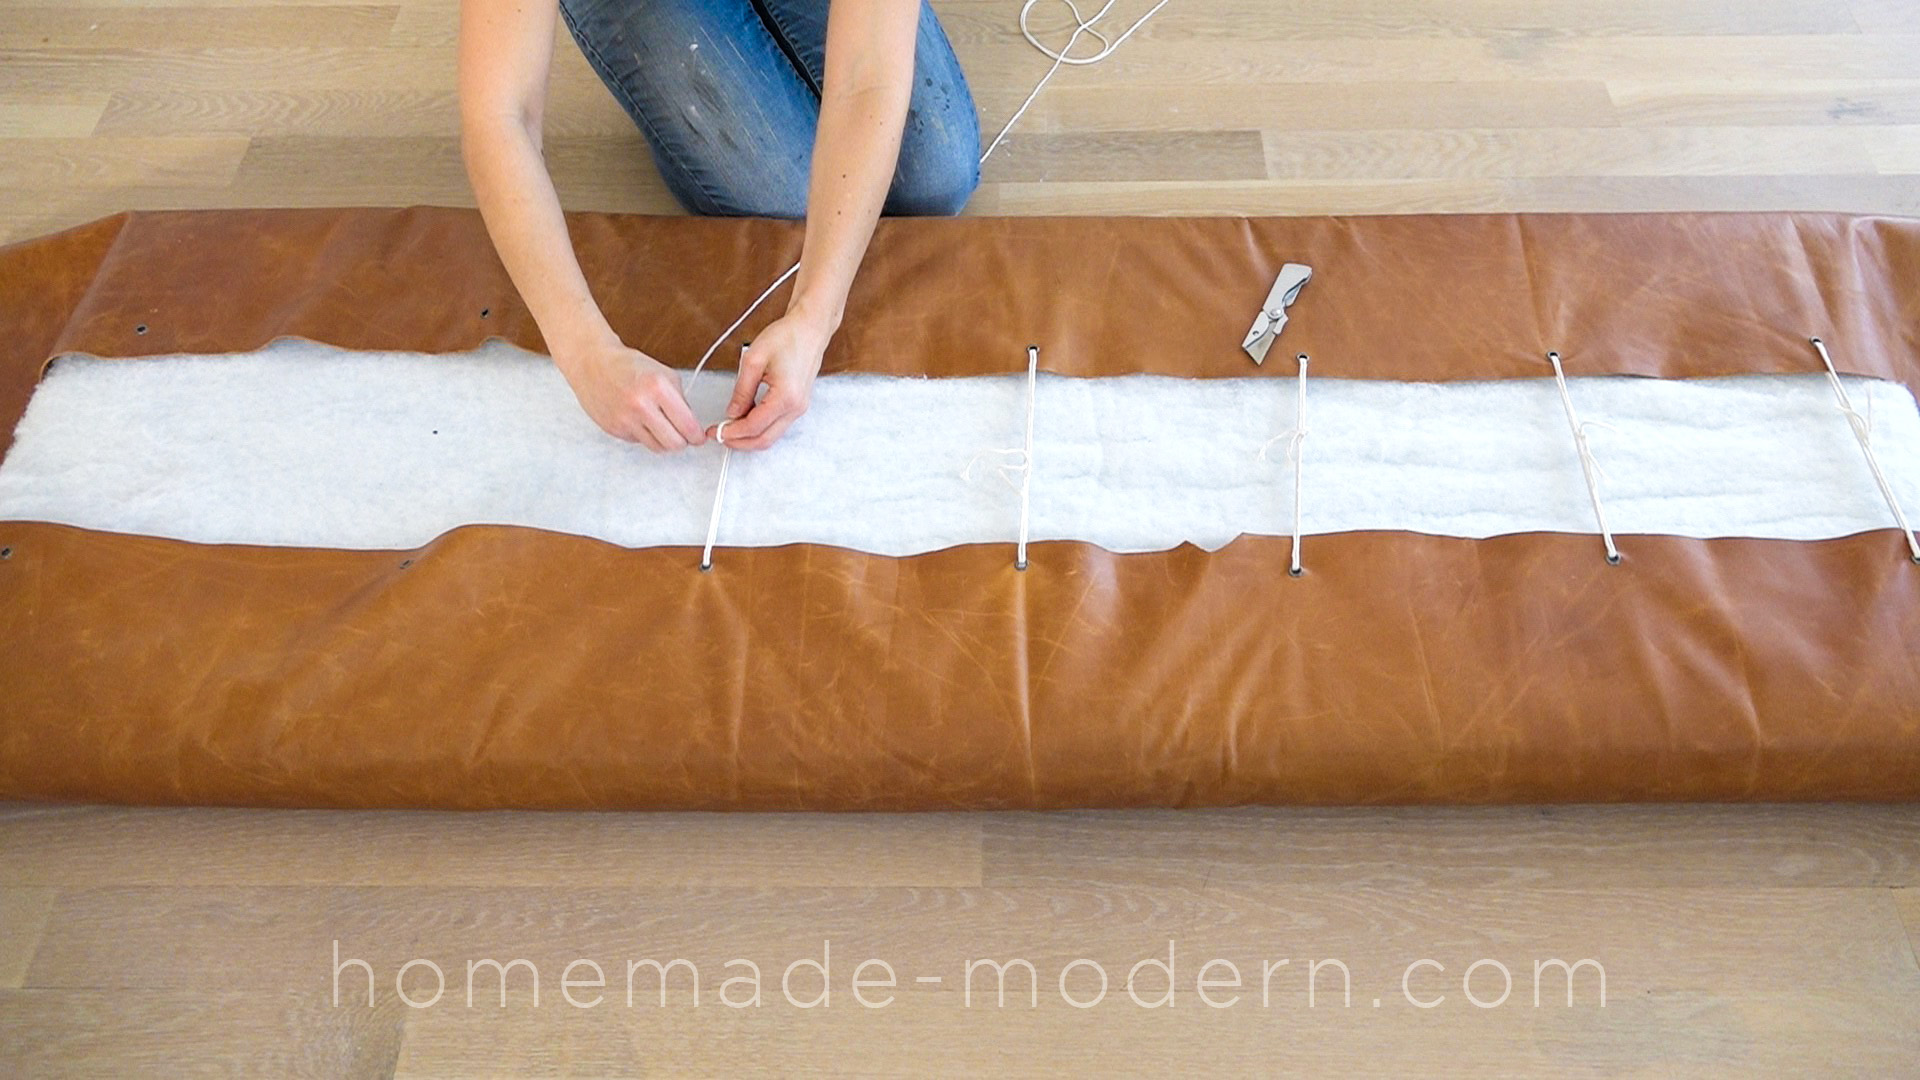
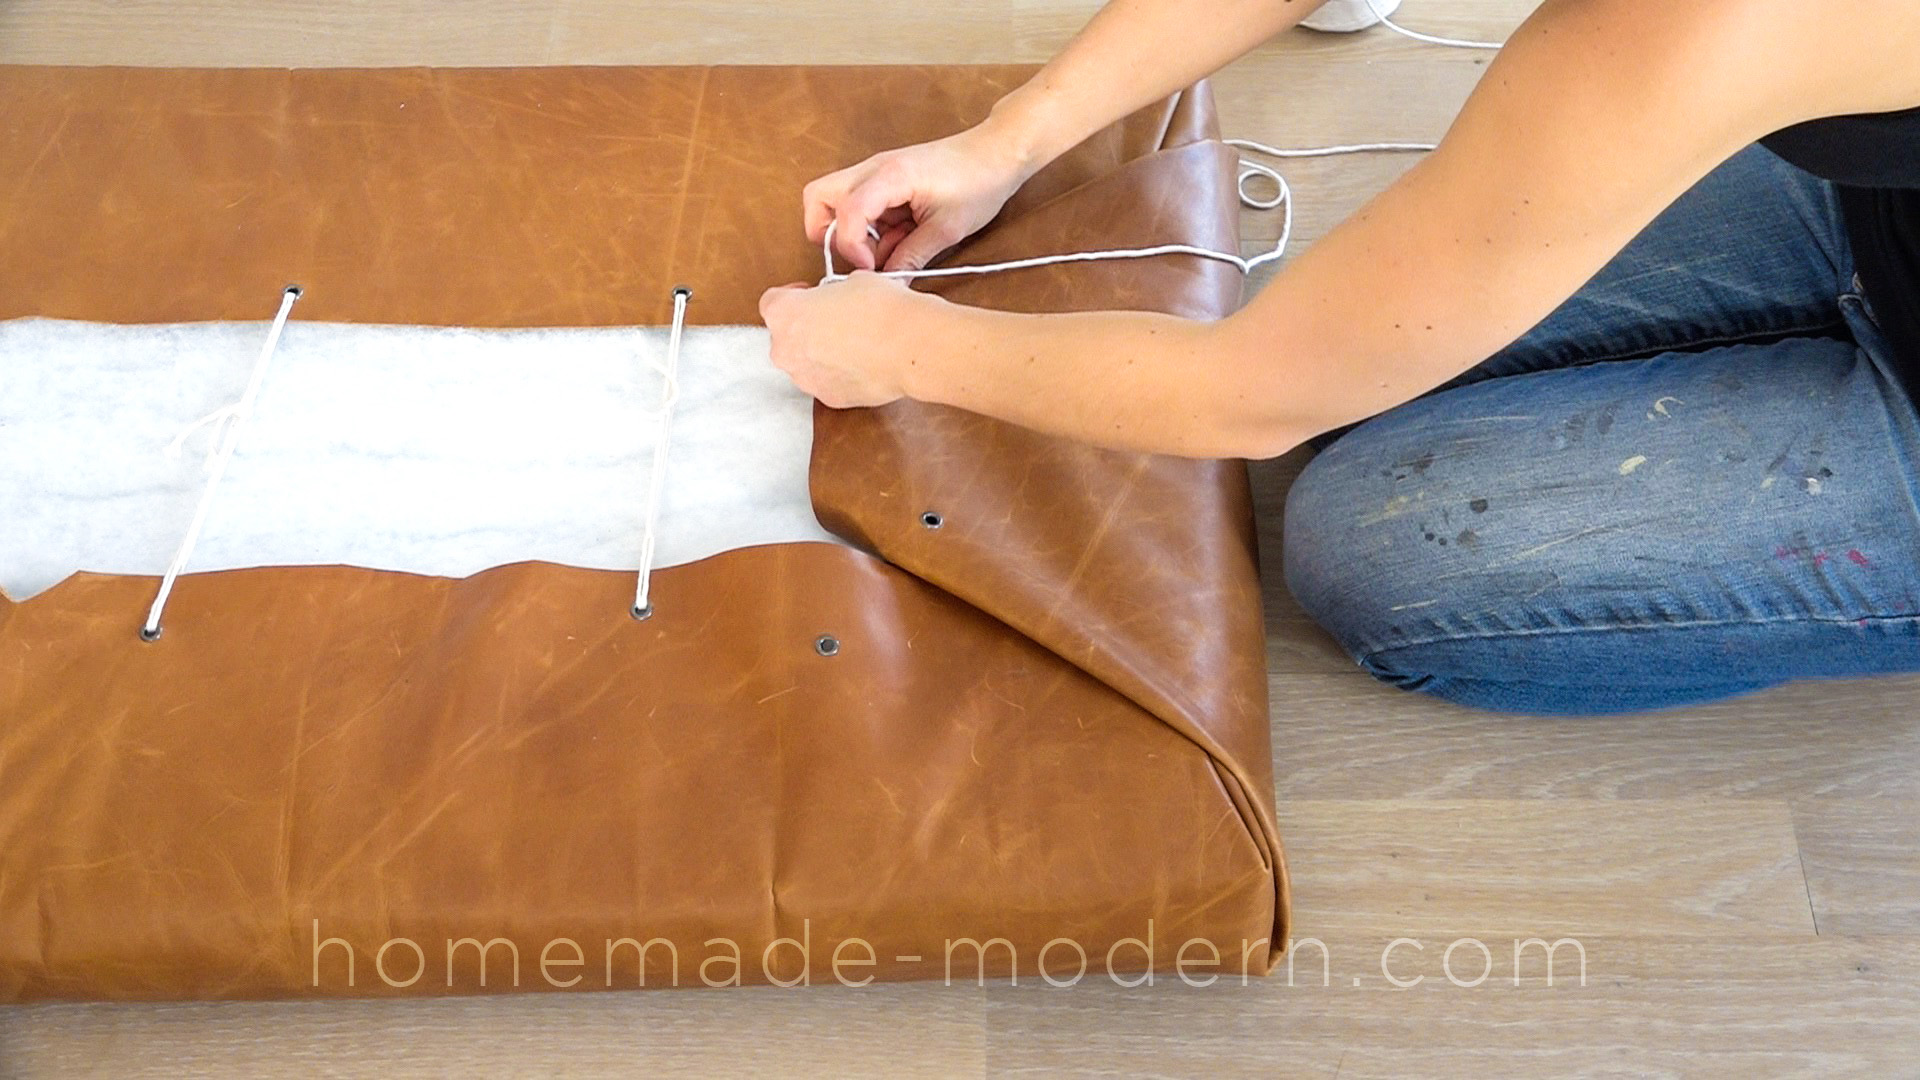
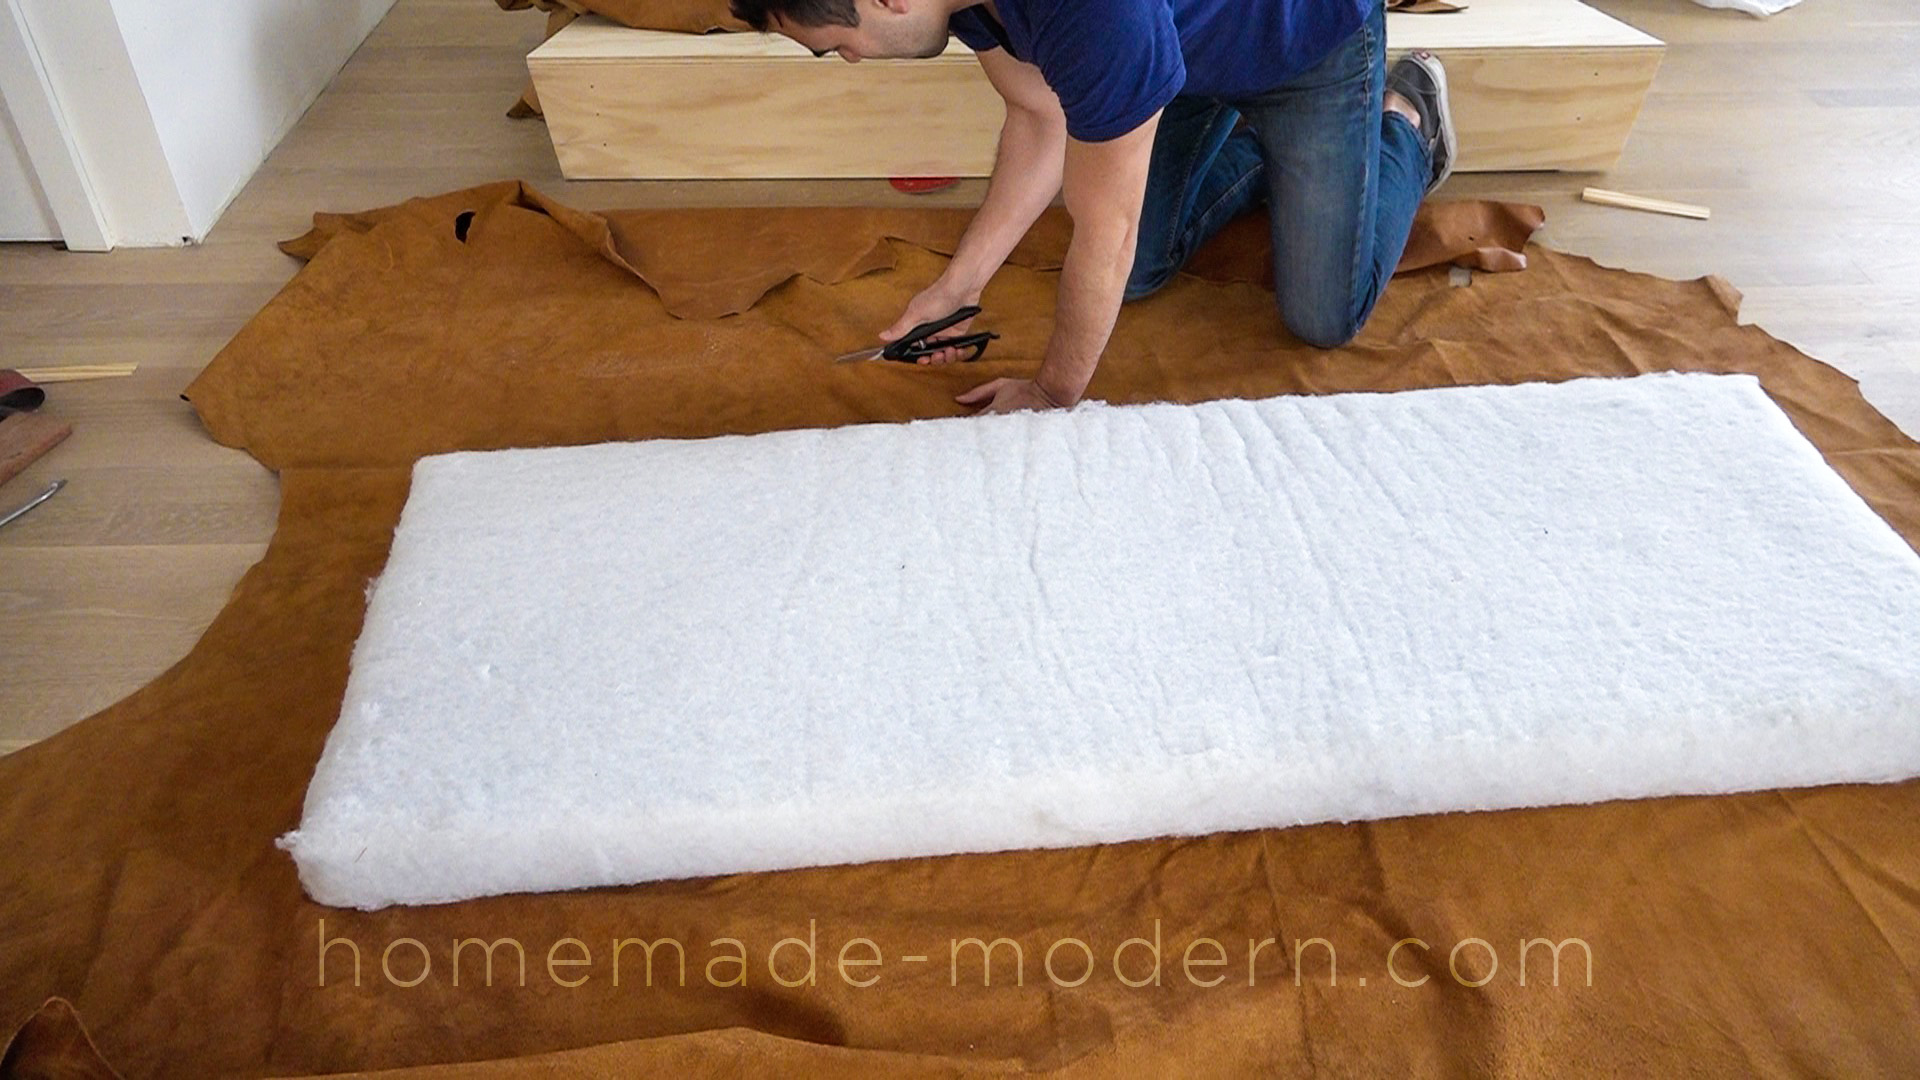
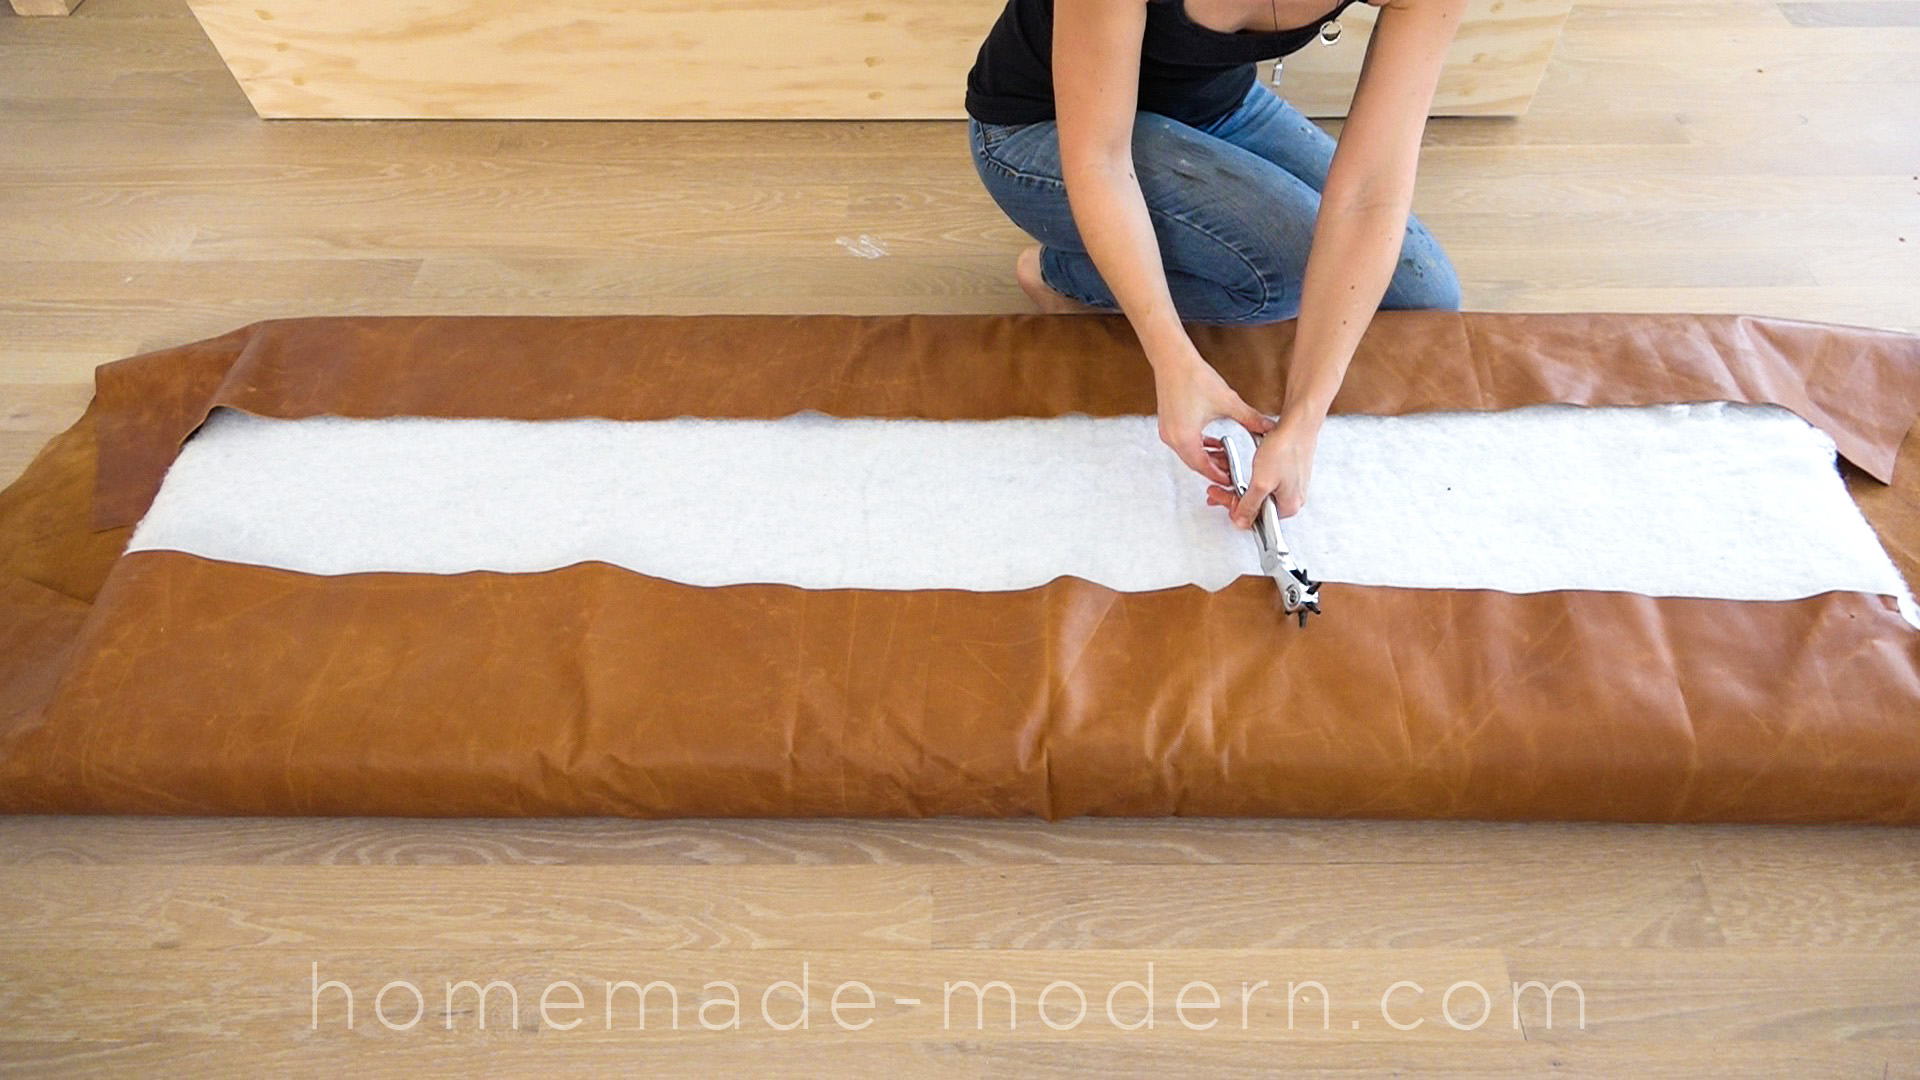
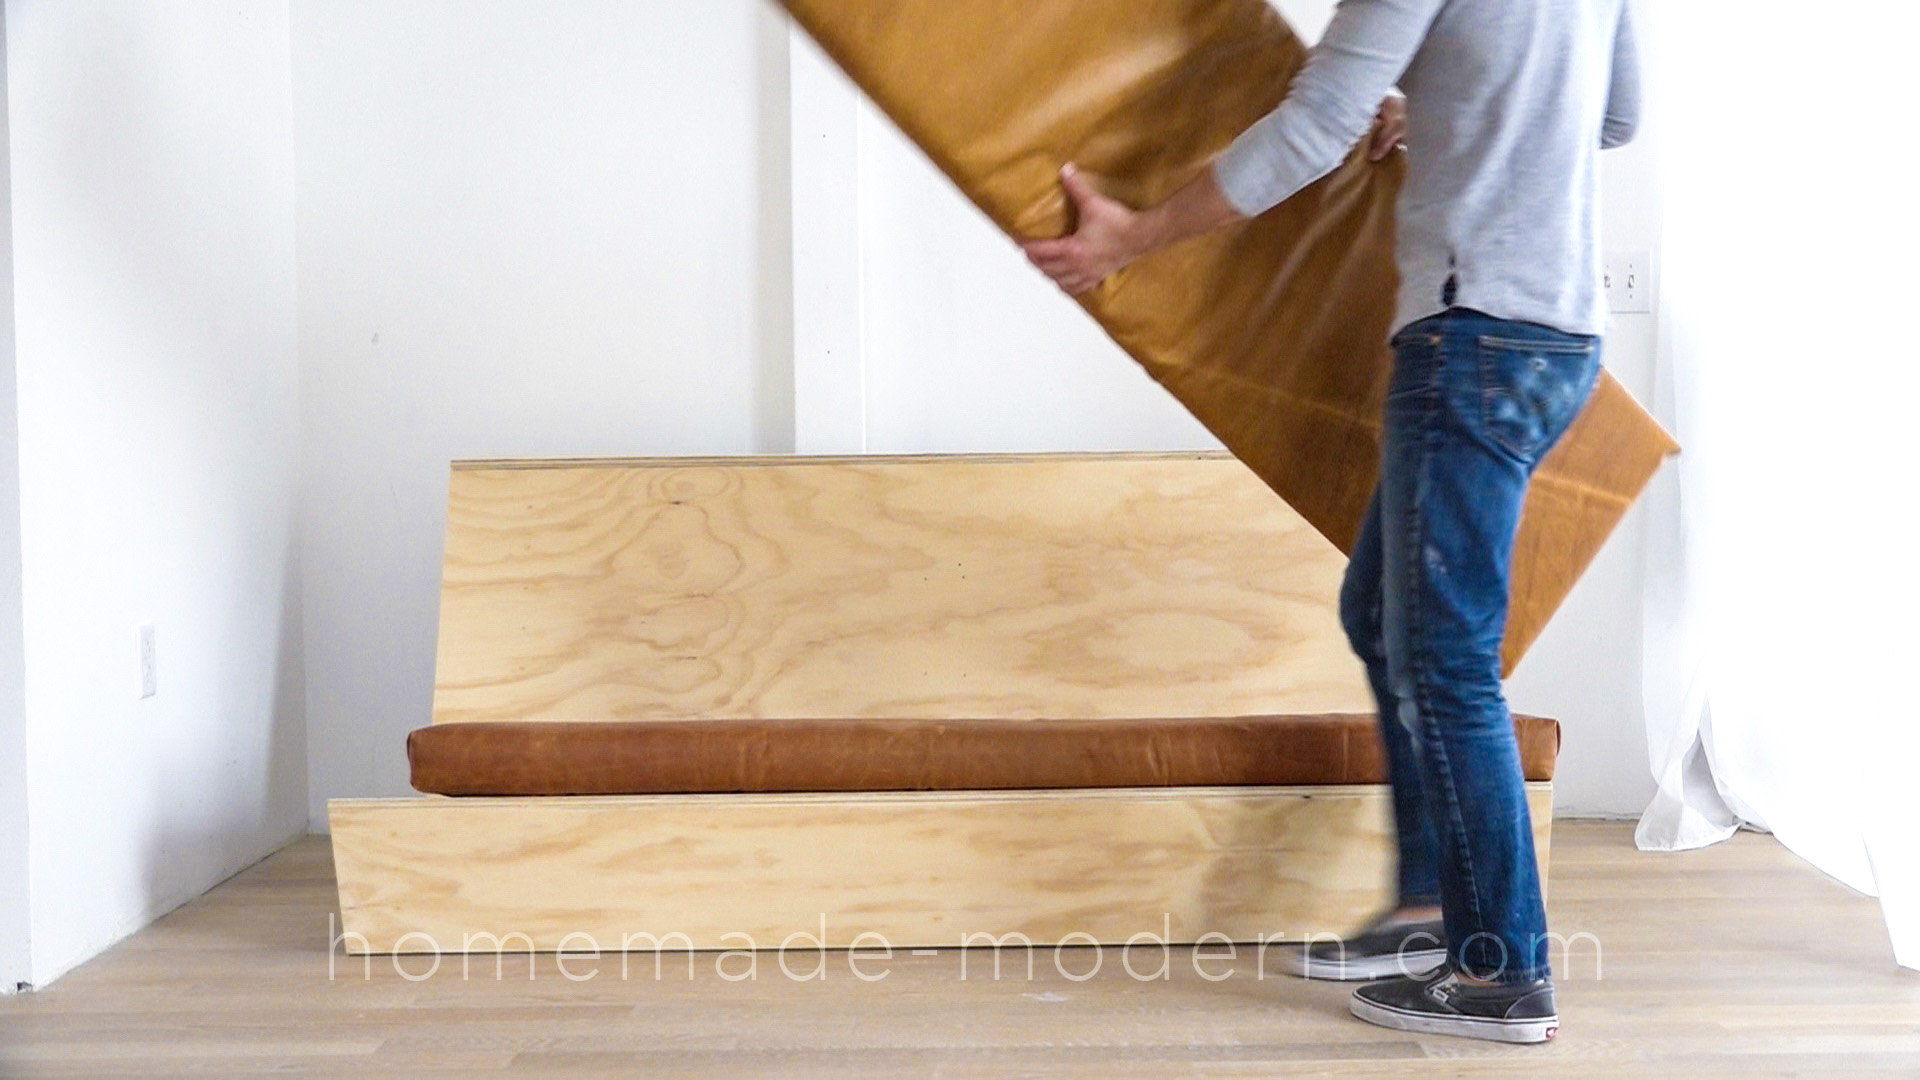
I got some whole leather hides from Tandy Leather. This is genuine leather and isn’t cheap. I will experiment with canvas or another fabric as a more affordable option in the future. The thing I do like about leather is that it doesn’t require a sewing machine. I ordered the foam from foambymail.com and I selected the DACRON wrap over the foam to give the cushions a more rounded shape. We cut the leather with scissors so that it would wrap mostly around the foam. We used a special leather punch to create holes and then reinforced the holes with ¼” grommets. We then used string to lace up the leather around the foam.
This DIY Zig Zag Sofa was designed specifically for lofts and has a built-in counter along the back. For more information go to HomeMade-Modern.com

This DIY Zig Zag Sofa was designed specifically for lofts and has a built-in counter along the back. For more information go to HomeMade-Modern.com

This DIY Zig Zag Sofa was designed specifically for lofts and has a built-in counter along the back. For more information go to HomeMade-Modern.com

This DIY Zig Zag Sofa was designed specifically for lofts and has a built-in counter along the back. For more information go to HomeMade-Modern.com

This DIY Zig Zag Sofa was designed specifically for lofts and has a built-in counter along the back. For more information go to HomeMade-Modern.com

STEP 10: Finish and test.
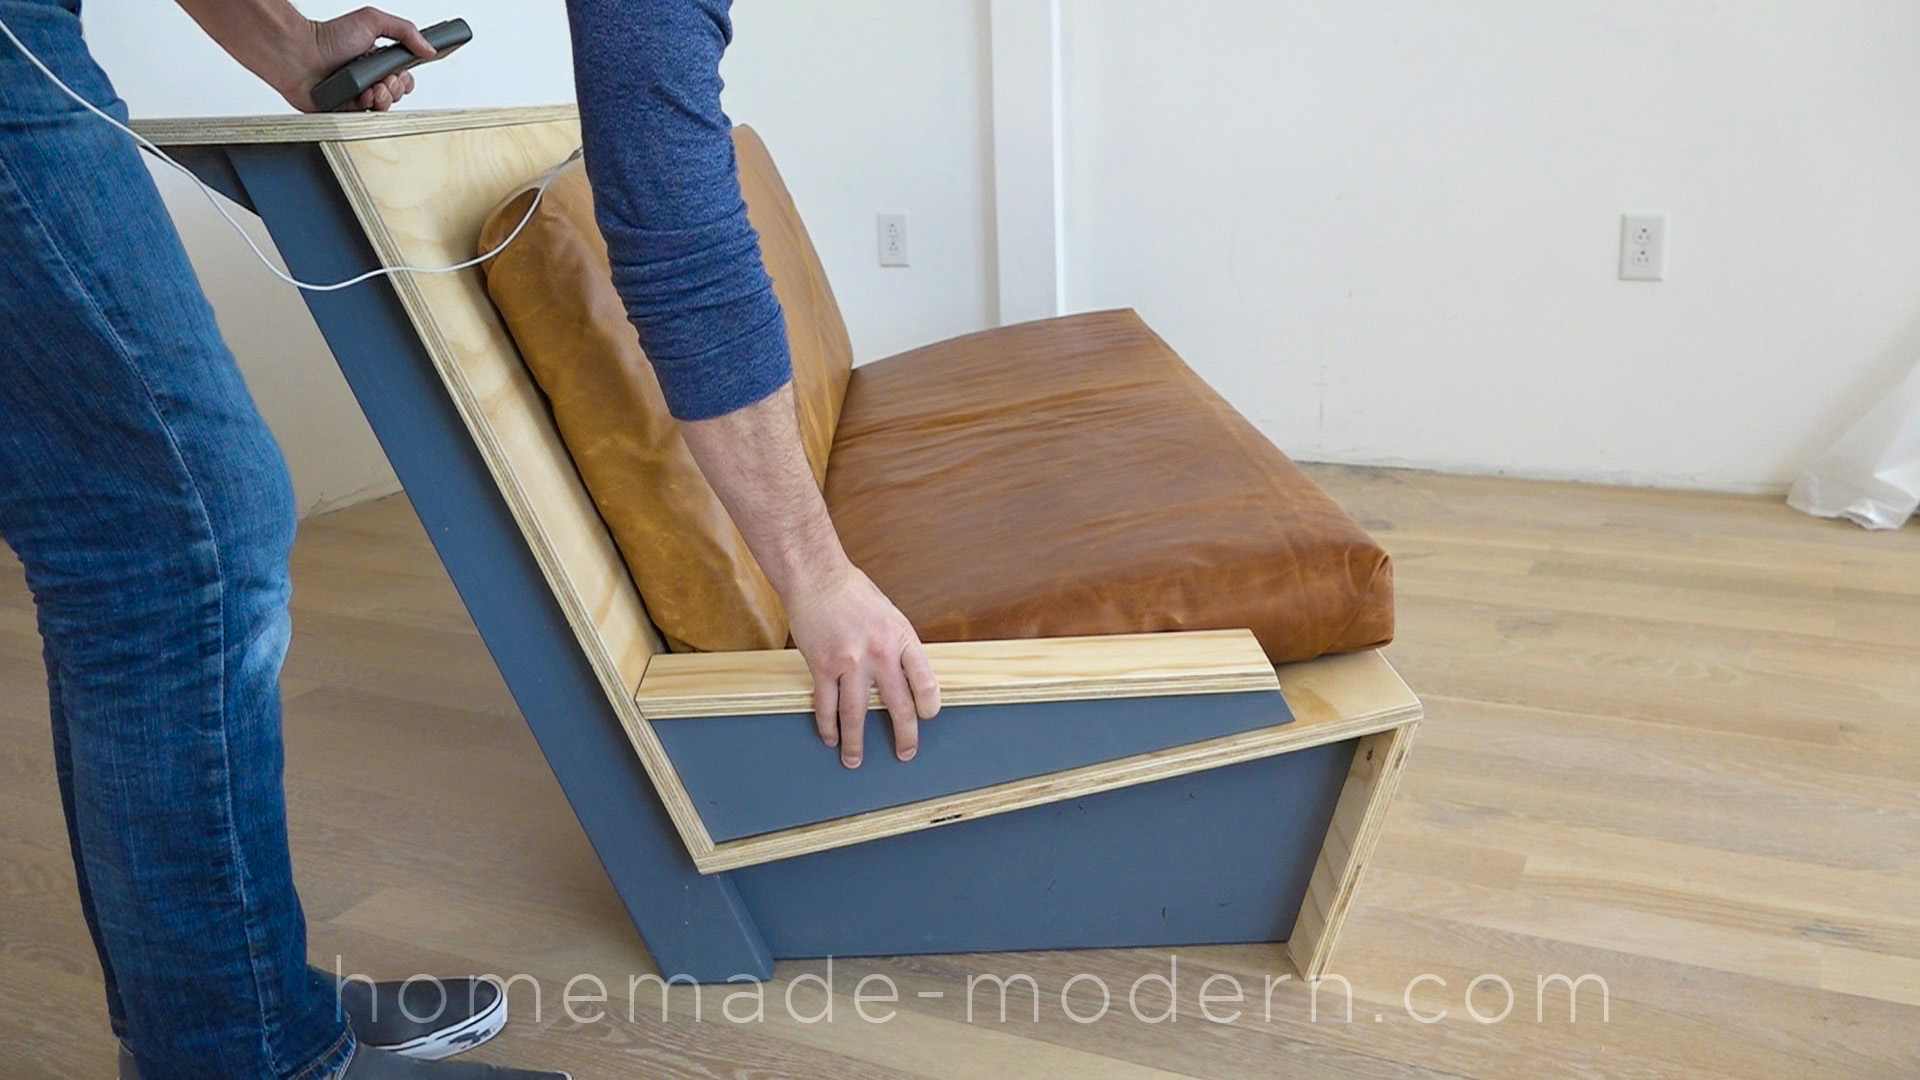
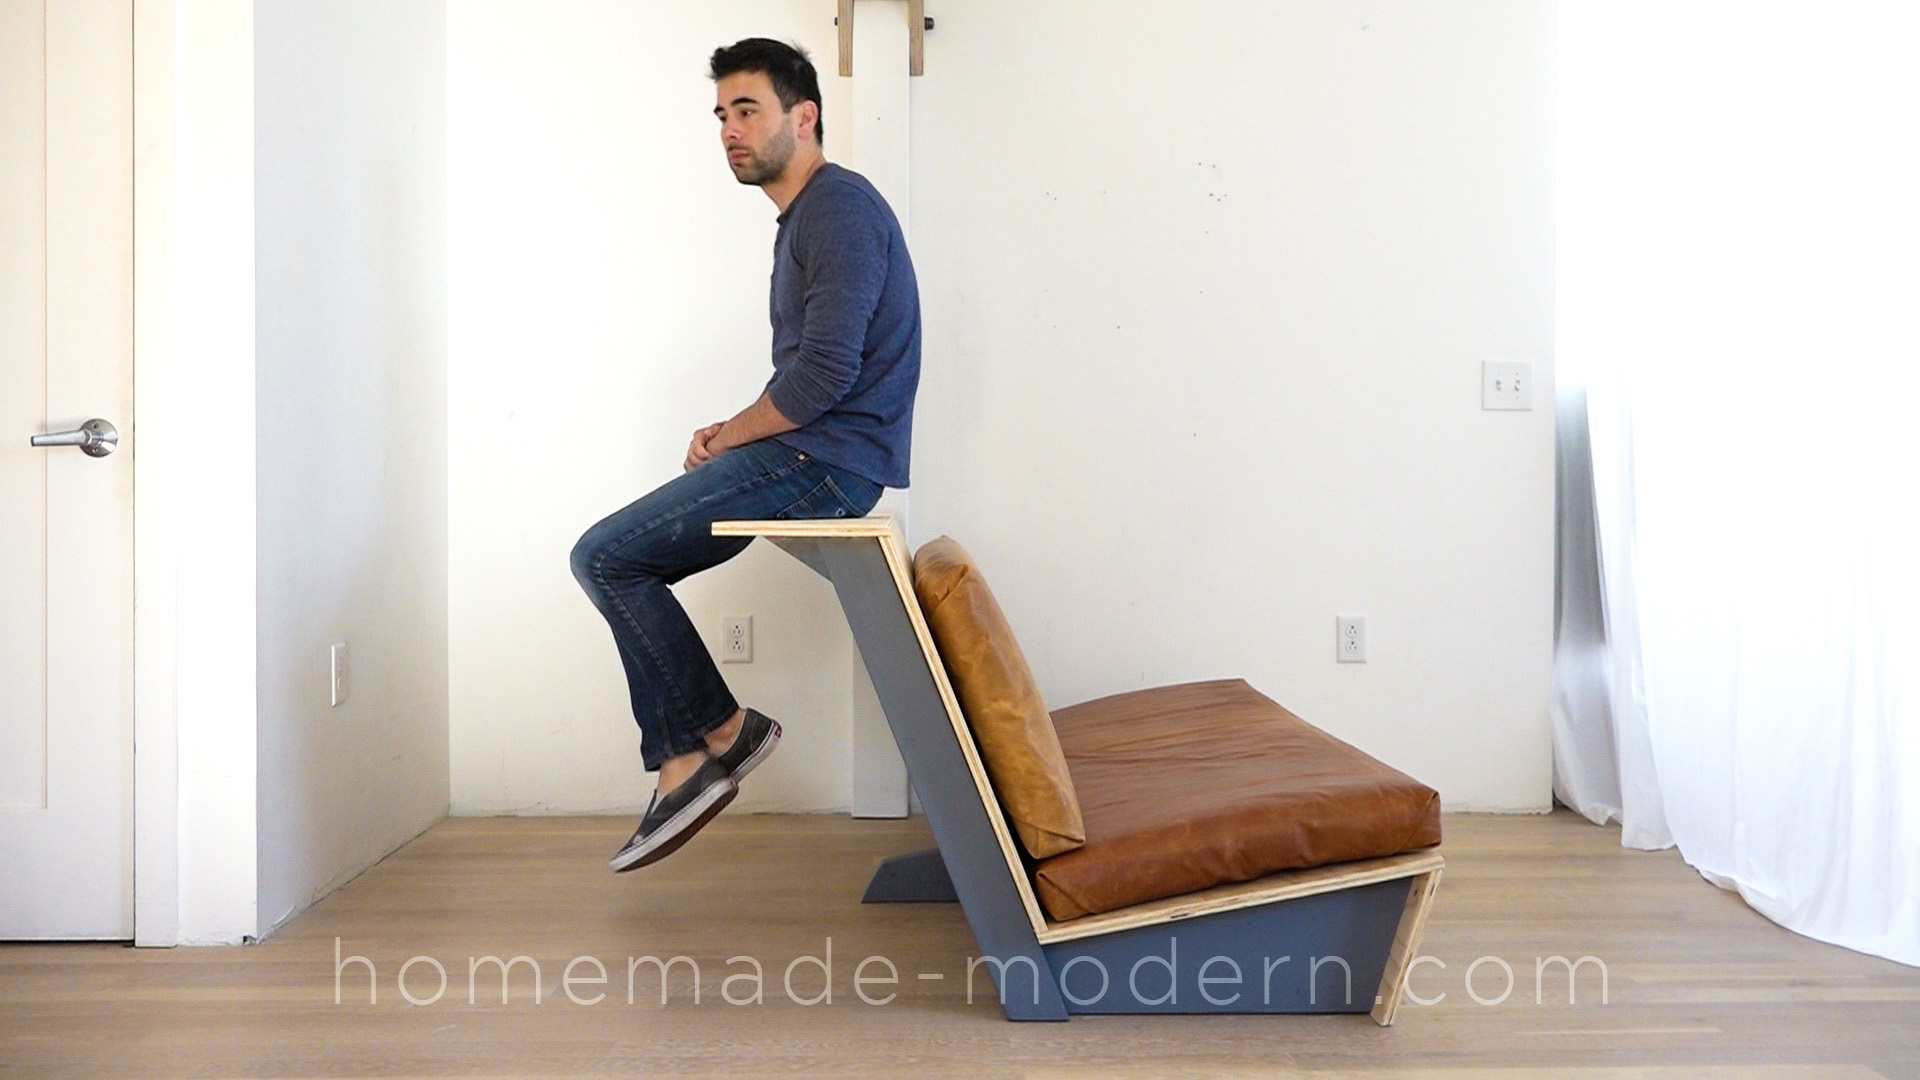
I placed the cushions on the frame and tested out my new sofa. It is quite comfortable and the cushions stay in place. I also tested the balance by sitting on the counter and the sofa didn’t tip over.
This DIY Zig Zag Sofa was designed specifically for lofts and has a built-in counter along the back. For more information go to HomeMade-Modern.com

This DIY Zig Zag Sofa was designed specifically for lofts and has a built-in counter along the back. For more information go to HomeMade-Modern.com

STEP 11: Optional side table.
I used the scrap pieces of 2x10 and plywood to make a mini side table. I just trimmed the pieces that were left over from cutting the frames before gluing them together and painting them. I glued on a scrap piece of plywood and had a great little flat surface for my remote control or beverage.
This DIY Zig Zag Sofa was designed specifically for lofts and has a built-in counter along the back. For more information go to HomeMade-Modern.com

This DIY Zig Zag Sofa was designed specifically for lofts and has a built-in counter along the back. For more information go to HomeMade-Modern.com

This DIY Zig Zag Sofa was designed specifically for lofts and has a built-in counter along the back. For more information go to HomeMade-Modern.com

This DIY Zig Zag Sofa was designed specifically for lofts and has a built-in counter along the back. For more information go to HomeMade-Modern.com

This DIY Zig Zag Sofa was designed specifically for lofts and has a built-in counter along the back. For more information go to HomeMade-Modern.com

This DIY Zig Zag Sofa was designed specifically for lofts and has a built-in counter along the back. For more information go to HomeMade-Modern.com

This DIY Zig Zag Sofa was designed specifically for lofts and has a built-in counter along the back. For more information go to HomeMade-Modern.com

This DIY Zig Zag Sofa was designed specifically for lofts and has a built-in counter along the back. For more information go to HomeMade-Modern.com

If you like this project, please share it!

If you want to see what we're working on next, follow us on Instagram: @benjaminuyeda and @ijessup.

Also check out our book for additional projects, DIY tips and guides.
Read the whole story
Share this story
Delete

5 Lesser-Known Must-Read Books For Entrepreneurs

1 Share

27-books-every-entrepreneur-should-readAs any entrepreneur will tell you, starting your own business is like giving birth to a child; only much more painful and demanding. Despite that, it’s an addiction that aspiring entrepreneurs just can’t let go of. There are a number of popular books available at your local bookstore that is aimed at aspiring entrepreneurs. A few of the popular ones include ‘The 4 hour work-week’, “The E-Myth Revisited”, “Rich Dad, Poor Dad”, “Think and Grow Rich” and “The Lean Startup”. While these are really good books and something that every wantrepreneur must read, they do not cover all aspects of entrepreneurship. Moreover, most of these books are from best-selling authors and celebrity entrepreneurs whose advices may not always apply to someone who only aspires to […]

The post 5 Lesser-Known Must-Read Books For Entrepreneurs appeared first on Dumb Little Man.

Read the whole story
Share this story
Delete

Photoshop Automation to Extract Illustrator Images

1 Share

Yesterday I solved a peculiar problem with a strange solution and felt compelled to share. :-)

Hundreds of Illustrator files each contained 6 images

I needed to extract the images from each of these Illustrator files and save them each individually.

Unfortunately neither Illustrator nor Adobe Bridge had an easy way to do this across hundreds of files.

Photoshop can Open Embedded Illustrator Pictures Individually

Thankfully Photoshop provided me with an awesome option.

Photoshop can open Illustrator files, and then open each embedded image as a separate file.


Photoshop Automation to Extract Embedded Illustrator Images by Exporting them - 1 Photoshop Import PDF - Ellis Benus Web Design Columbia MO

Photoshop’s Import PDF window handles Opening Illustrator Files

The Problem: Having to click the mouse twice for EACH Illustrator file.

That seems like a small problem, but with almost a thousand (1,000) Illustrator documents, that’s A LOT of mindless clicking!

I knew there had to be a better way to handle this.

Recording and Automating Mouse Actions to the Rescue!

Photoshop Automation to Extract Embedded Illustrator Images by Exporting them - 2 MouseController Free Software Automates Records and Automates Playing Back Mouse Actions - Ellis Benus Web Design Columbia MOWith a little Googling I found a cool, free, mouse automation software MouseController.

MouseController seemed like the answer to my prayers!

MouseController was a small, portable, free software for Windows that records mouse actions then allows you play them back repeatedly.

MouseController could click on image 6, then click Ok in Photoshop, opening all the images from all my Illustrator files.

Then Software Disaster Struck!

MouseController DOES NOT record Keyboard Presses!

You must hold the SHIFT KEY down when clicking the final image in the Photoshop Import PDF screen to select all images.

Since MouseController didn’t do this, it was now useless to me. :-(

Back to Google, searching for a Mouse Automation Software that DID record Keypresses.

Victory! GhostMouse rises from the ether to Save Me!

Photoshop Automation to Extract Embedded Illustrator Images by Exporting them - 3 GhostMouse is Free Software Automates Records and Automates Playing Back Mouse Actions - Ellis Benus Web Design Columbia MOGhostMouse DOES record keyboard presses, so it records my pressing the SHIFT KEY, catching ALL of the images in the Illustrator file.

You’ve GOT to be KIDDING ME?!

 While GhostMouse DOES record both keypresses and mouse actions it DOES NOT allow for looped playback of recorded actions!

At this point I’m ready to punch the monitors, gouge my eyes out, and wage death on computers.

Finally, a Solution! Run BOTH Mouse Automation Utilities!

  • GhostMouse records everything.
  • MouseController will run a loop.
  • So I’ll use both!

MouseController clicks the Start Button on GhostMouse which then works in Photoshop to open all the images!

Boom! Lightning in a bottle! Everything works exactly the way I want it to!

  1. In Photoshop I open 30 Illustrator documents.
  2. Photoshop opens the Input PDF window.
  3. I start MouseController.
  4. MouseController clicks Start on GhostMouse.
  5. GhostMouse holds Shift, left clicks on image 6, selecting all images.
  6. Then GhostMouse clicks OK.
  7. Photoshop opens all 6 images as individual files.
  8. Photoshop opens the next Illustrator document with the Input PDF window.
  9. MouseController repeats its run every 15 seconds, opening all the files.

Photoshop Batch Scripts and Actions Finish The Job!

I created an action which Rotated the Images, saved them as JPGs and closed the image.

Photoshop allows you to run Batch Actions on All Open Files.

Click File > Automate > Batch…

Photoshop Automation to Extract Embedded Illustrator Images by Exporting them - 4 Photoshop File, Automate, Batch Menu - Ellis Benus Web Design Columbia MO

The Photoshop Batch Window Opens

  1. Select your Action Set
  2. Select your Specific Action
  3. Select “Opened Files” from the Source menu
  4. Click Okay

Watch Photoshop do all your work for you! :-)

Photoshop Automation to Extract Embedded Illustrator Images by Exporting them - 5 Photoshop Batch run Actions on All Opened Files - Ellis Benus Web Design Columbia MO

Well, that’s my tale of automation with Photoshop, Illustrator, MouseController and GhostMouse so I could be lazy and not click thousands of times!

I hope you’re inspired automate more of your work! :-)

The post Photoshop Automation to Extract Illustrator Images appeared first on Ellis Benus - Web Design Columbia MO.

Read the whole story
Share this story
Delete

Chrome Remote Desktop Arrives on Android

1 Share

Chrome Remote Desktop Arrives on Android

Android: Google's finally released an Android counterpart to its Chrome-based remote desktop application. Install the Chrome Remote Desktop extension for Chrome and now you can log in to your computer remotely from Android.

Read more...


Read the whole story
Share this story
Delete

The English Language is Completely Absurd

1 Share

Submitted by: (via AsapTHOUGHT)

Read the whole story
Share this story
Delete

Aaron Dignan: Digital Isn’t Software, It’s a Mindset

1 Share
About this presentation

The most dominant companies, no matter the industry, are digital-first. Think Netflix over Blockbuster or iTunes over Tower Records. So how can we take advantage of this trend in our work and with our own projects?

Aaron Dignan walks us through how we can have the right mindset to thrive in the future: We need a purpose, a process to support it, the right people, and (most importantly) these need to combine to make products that serve a community larger than any employee or organization. Dignan shows off plenty of examples and tells us what to adopt for our own work. “When we look at the companies that are really dominating, this is what they are doing.”

About Aaron Dignan

Aaron Dignan dressed up like a superhero for 180 straight days of the first grade, which marked the beginning of his life as an iconoclast, observer, theorist, and performer. Now, as a founding partner of the digital strategy firm Undercurrent and based in New York, he advises global brands and complex organizations like GE, PepsiCo, Ford, and Estée Lauder on their future in an increasingly technophilic world. Aaron’s first book, “Game Frame: Using Games as a Strategy for Success,” was released in 2011.

Links

Undercurrent
99U Talk
Game Frame
@aarondignan

Read the whole story
Share this story
Delete
Next Page of Stories